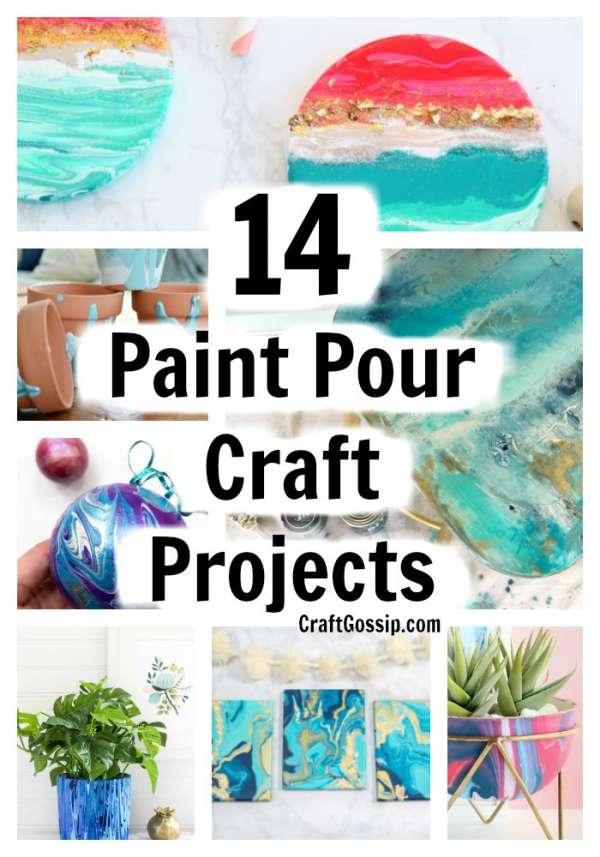
Paint pouring is literally the technique of pouring paint onto a surface and allowing the medium to “flow” into a design. Free-flowing, free-thinking creativity. All of these paint pouring projects are slightly different and use different surfaces to show you the endless possibilities.

Paint pouring is an exciting and fun way to add some color and creativity to your life. With its fluid and organic movements, it can be both mesmerizing and therapeutic to watch paint pour. The best part is that anyone can do it, regardless of your artistic skills. From the beginner to the seasoned painter, paint pouring offers endless opportunities for experimentation and creativity.
I have been doing paint pouring for a few years now and I have come to learn a few tricks along the way. I have gathered a list of my favorite paint-pouring projects that I would love to share with you. From beginner-friendly tutorials to more advanced techniques, this roundup article has something for everyone.
If you are just starting out with paint pouring, here are a few top tips that I have learned that will make your paint pouring experience more enjoyable:
Start with a clean surface – This is key to making sure your paint pour turns out beautifully. Clean the surface you plan to pour on to remove any dust, dirt, or oil residue.
Experiment with different paints – Try using different types of paints, such as acrylics, oils, and even inks, to see which one you like best. Each painting has its own properties, so it’s important to experiment to find what works best for you.
Invest in quality pouring supplies – Invest in good quality pouring supplies, such as silicone oil, pouring medium, and canvases. This will make all the difference in the outcome of your project.
Use a pouring technique that suits your style – There are a number of different pouring techniques to choose from, including the dirty pour, flip cup, and puddle pour, among others. Experiment with different techniques to see what suits your style and the look you want to achieve.
Don’t be afraid to try new things – Paint pouring is all about experimenting, so don’t be afraid to try new things. Whether it’s using a new color, a different pouring medium, or a new technique, don’t be afraid to try something new.
In this roundup article, I have gathered 20 of the best paint-pouring projects that you can try in your own home. From wall art to jewelry, and everything in between, these projects will inspire you to try your hand at paint pouring. So grab your paints and let’s get started!
You will need acrylic paint and a pouring medium
to create these free-flowing techniques. Personally, I like to use PVA
White craft glue as my paint pouring medium. PVA glue is very inexpensive, dries clear and gives the paint a great gloss finish
.
Comprehensive Guide to Acrylic Pour Techniques
DIY Poured Paint Marble Planter
DIY Beach Sunset Paint Pour Coasters
Paint Pouring on Rocks Made Easy [Rock Painting Beginners]
Acrylic Pour Painting on a Budget: A Step-by-Step Guide With Photos
DIY Pour Painting with JOANN – Crafts
How to do a “Geode-Paint-Pour” on a Chair- Inspired by Anthropologie Drawer Knobs
Kids Pour Painting with DecoArt
Acrylic Pour ‘Swirl’ Technique
You HAVE To See How Easy These Marble Wine Glasses Are To Paint!
Here are some Do’s and Don’ts for Paint Pouring:
Q: What should I do before I start paint pouring?
Do choose a well-ventilated area with plenty of space to work in.
Do protect your work area with a plastic drop cloth or newspaper.
Do wear old clothing or an apron to protect your clothes from paint spills.
Q: How should I prepare my paint for pouring?
Do mix your paint and pouring medium thoroughly and consistently.
Do strain your paint to remove any clumps or impurities.
Do add a few drops of silicone oil to your paint mixture to create cells.
Q: What should I avoid when preparing my paint for pouring?
Don’t overmix your paint, which can result in air bubbles and a loss of color vibrancy.
Don’t use too much silicone oil, which can result in too many cells and a muddy appearance.
Don’t use old or expired paint, as this can result in a poor-quality pour.
Q: How should I pour my paint onto the canvas?
Do use a clean, level surface to pour your paint onto.
Do pour your paint slowly and steadily in a consistent stream.
Do tilt your canvas gently to spread the paint and create patterns.
Q: What should I avoid when pouring my paint?
Don’t pour too much paint onto your canvas at once, as this can result in a muddy or overwhelmed appearance.
Don’t tilt your canvas too aggressively, as this can cause your paint to run off the edges or blend together too much.
Q: How should I finish my paint pouring project?
Do allow your project to dry completely before moving or hanging it.
Do seal your project with a clear coat of acrylic sealer to protect the paint and create a glossy finish.
Do clean your workspace and tools thoroughly after you are finished.
Q: What should I avoid when finishing my paint pouring project?
Don’t touch your project until it is completely dry, as this can cause smudging or unevenness.
Don’t skip the sealing step, as this can result in the paint cracking or peeling over time.
Don’t leave your tools or workspace messy, as this can make it difficult to work on future projects.


