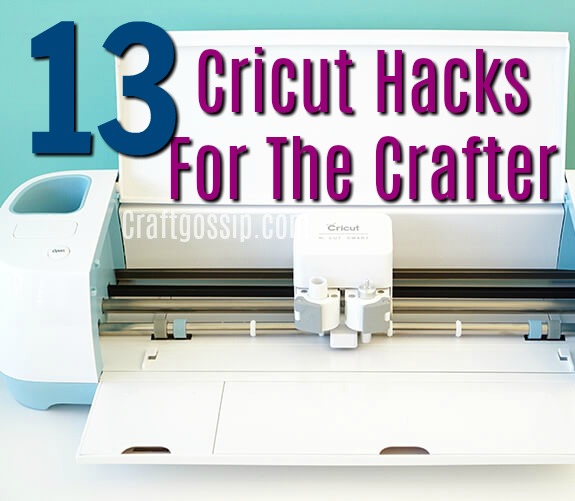
Cricut Hacks for the Crafter
If you own a Cricut you might really benefit from these Cricut hacks below. They are simple solutions to problems you
may face and ways to save you time during your crafting. All those tiny pieces you need to weed out in an intricate design,
I have a hack for that. Want to save money on Cricut pens, you bet I have a trick you can do to save. These Cricut tips and
tricks have really helped me maximize my time and make the process easier.
Test Cuts
In the beginning, I would do test cuts on new sheets of paper and that got expensive quick! Save back your scraps of paper
and when you go to test use them instead of a new sheet. That way if something is off you didn’t waste a new sheet.
Sticky Mat Issues
If you find your material won’t really stick to the mat, reach for painters tape or washi tape. It helps to hold the material in
place without damaging it when you go to peel it off. Works really well.
Cleaning Your Mat
If your mat is losing the stick and you don’t want to use painters tape, use a lint roller. This helps a lot or buy some
alcohol-free baby wipes to clean your mat with. Also just washing with soap and water and allowing it to dry on its own
will sometimes do the trick in bringing the sticky back.
Writing With Cricut Pens
You don’t have to buy Cricut pens when you want to write on some material. Gelly Roll Pens, Crayola Fine-Line Markers
and even Bic Round Stic Ballpoint Pens all fit perfectly in the pen holder on your Cricut. There are other brands out there
that probably work too, these are just ones I found successful. If you find you have issues keeping the pen in place use a
craft stick under Clamp A to help line it up then after you close the clamp, move the stick.
Blade Not Sharp Enough
If your blade is getting dull use this Cricut hack. Place aluminium foil on your mat and cut a simple design. It will sharpen
your blade as it cuts through the aluminium foil.
Upload Files
You can upload your own files to use in your Cricut which is really nice. The DXF, PNG, or SVG style of images will give
you the crispest images in most cases. There are other options to save your image as to upload, I personally recommend
these types of files.
USB Port
If you didn’t know on the side of your Cricut maker there is a USB port where you can plug in your tablet or smartphone
to use. It is so handy not to have to turn the computer on and find a place on the table to set it.
Cardstock Designs
If you have a really detailed design on cardstock, grab a lint roller and run it over the mat once you have it cut out. It will
pick up the small cut out pieces and make the weeding process a lot faster!
Weeding Tools
Dental tools can be a great item to have for weeding as well as pointed tweezers.
Light Box
Make or buy a light box , this will help a lot with seeing all the little areas you need to weed for your intricate designs.
Transfer Paper
If you run out of transfer paper, grab the adhesive lint roller and use that to remove the cutout.
Cut Through Mat
If you accidentally cut through your mat grab some sturdy tape, and apply to the back. It is flexible and gives it that sturdy
feel it needs.
Wax Paper Stencils
Consider using wax paper to cut out stencils and then tape and paint on your project. It will save you money from buying vinyls.
Check out more SVG files and bundles over at Design Bundles

I’ve learned the importance of taking good care of my Cricut cutting machine. Whether you’re a seasoned Cricut user or just starting out, maintaining your machine will ensure it lasts for years to come and continues to produce high-quality cuts. Here are my top tips for looking after your Cricut cutting machine:
Clean after every use: After each use, make sure to wipe down the blade and mat with a clean, dry cloth. This will prevent any build-up of residue that could affect your cuts in the future.
Store it properly: When not in use, store your Cricut cutting machine in a safe place, away from direct sunlight, heat, and moisture. This will prevent damage and ensure the machine is in good working order when you’re ready to use it again.
Regularly check the blade: Regularly check your blade to make sure it’s not worn down and still making precise cuts. If the blade is dull, it’s time to replace it to ensure you’re getting the best cuts possible.
Use the right mat: When using your Cricut cutting machine, be sure to use the correct mat for the material you’re working with. This will prevent any damage to your mat or your machine and ensure you get clean, precise cuts every time.
Avoid overloading the machine: Overloading your Cricut cutting machine can cause it to wear down more quickly and produce subpar cuts. Make sure to use the recommended materials and thicknesses for your machine to keep it working properly.
Keep the software updated: Regularly update your Cricut cutting machine software to ensure it’s functioning optimally and to take advantage of any new features or improvements.
Don’t use harsh chemicals: When cleaning your Cricut cutting machine, avoid using harsh chemicals that could damage the machine or affect the accuracy of your cuts. Use only a clean, dry cloth and, if necessary, a mild soap solution.
By following these simple tips, you’ll be able to take good care of your Cricut cutting machine and keep it working smoothly for years to come. Whether you’re a seasoned DIY enthusiast or just starting out, maintaining your machine will ensure you get the most out of it and continue to produce high-quality cuts every time.

