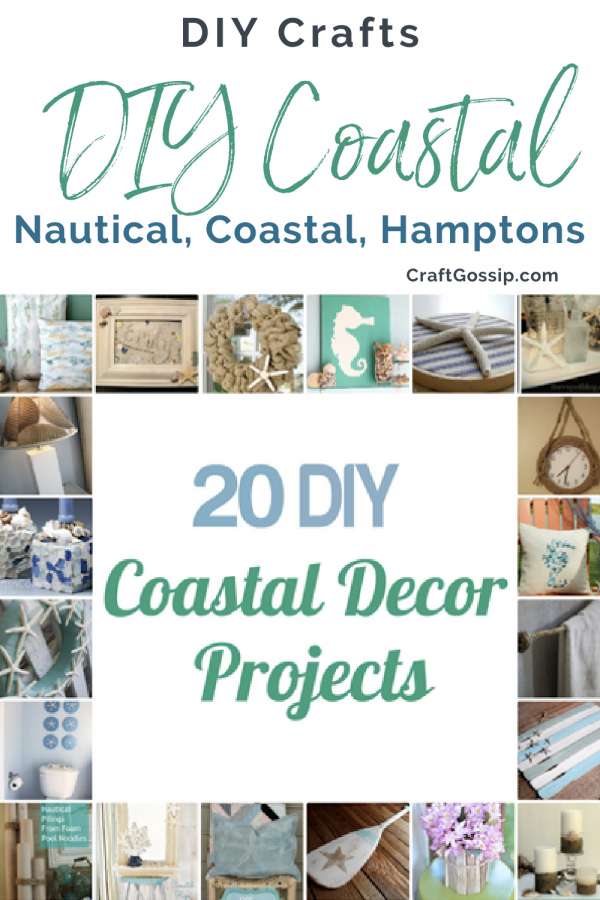
Are you longing for the beach, but stuck at home? Bring the coastal vibe into your own home with these 20 DIY coastal decor projects. I’m Colleen from Just Paint It, and I’m excited to share these fun and easy projects with you.
Coastal decor is all about creating a relaxing and inviting atmosphere, and it’s a great way to bring a touch of the ocean into your home. Whether you live near the coast or not, these projects will help you achieve that beachy feel. From wreaths for your front door to charming coastal-inspired signs, these projects are perfect for adding a touch of coastal charm to any room in your home.
One of the great things about these projects is that you can use materials you already have around the house, or you can pick up a few inexpensive supplies at your local craft store. With a little bit of creativity and a few basic tools, you’ll be amazed at the beautiful coastal decor you can create.
So let’s start with the front door, and we’ll show you how to make a wreath that’s cute enough to hang anywhere in your home. From there, we’ll move on to other fun and easy projects like coastal-inspired signs, candle holders, and more. Whether you’re a seasoned DIY-er or a beginner, these projects are perfect for anyone looking to add a touch of coastal charm to their home. So grab your tools, gather your materials, and let’s get started!
After all the coastal décor inspiration of last week, I thought it’d be fun to share some projects that we can make ourselves and bring that coastal influence into our own homes.
Looking for more crafts using collected keepsake seashells or maybe just store-bought ones.
Check these out Seashell Frame and Seashell Windchime from our sister site Craftbits
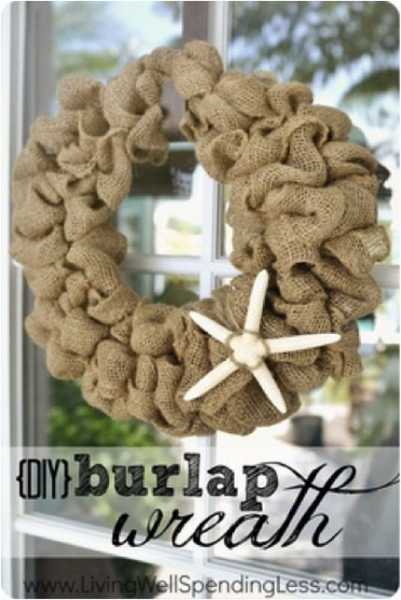
Source: Living Well Spending Less
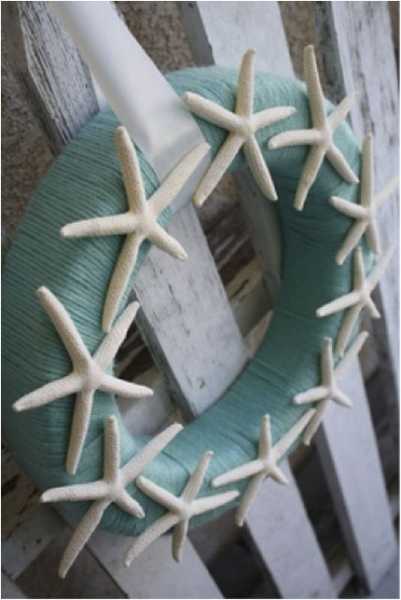
Starfish are certainly iconic for coastal décor, aren’t they? These DIY projects all have starfish in common, and if you can’t find any locally, there’s even a tutorial to make your own! You can also purchase starfish at the craft store.
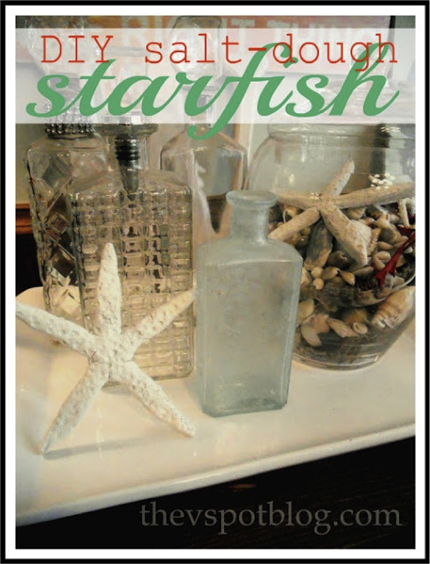
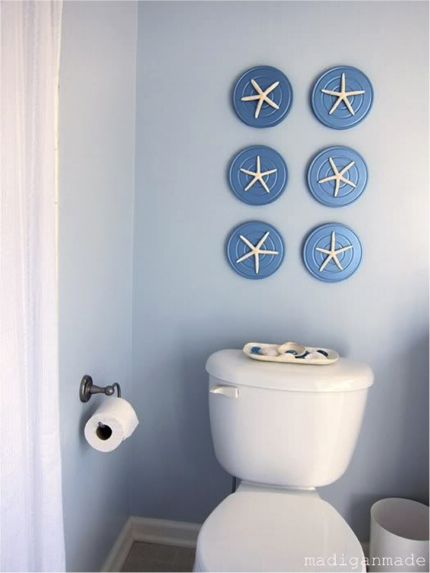
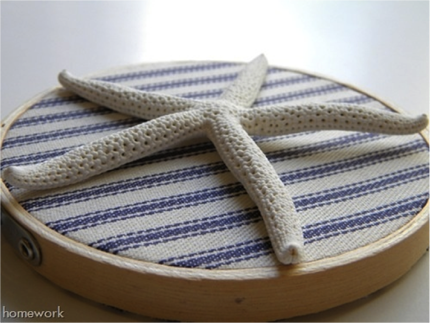
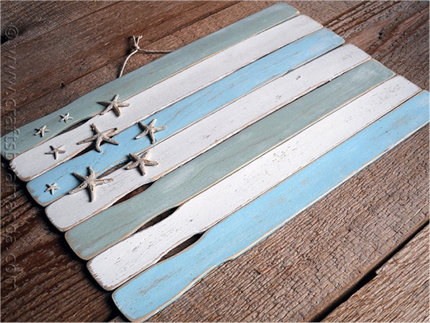
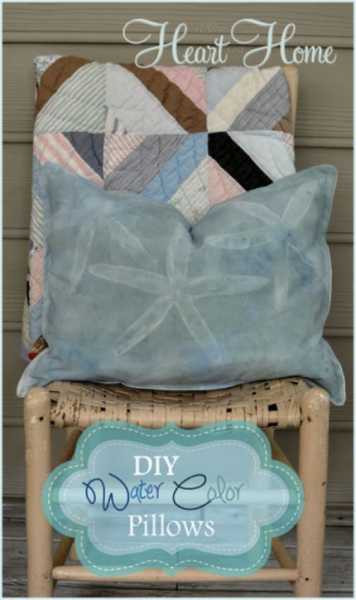
Source: All Things Heart & Home
Another fun, and easy, way to bring in a touch of the beach is with rope or jute. Maybe it’s the natural color or maybe it just brings to mind boating and sailing. There’s no denying that decorative items with natural rope lend a nautical feel.
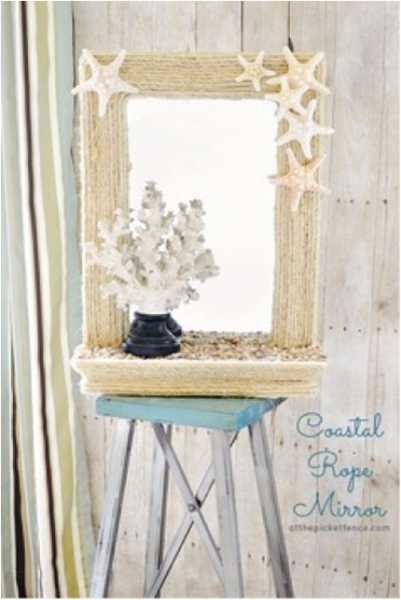
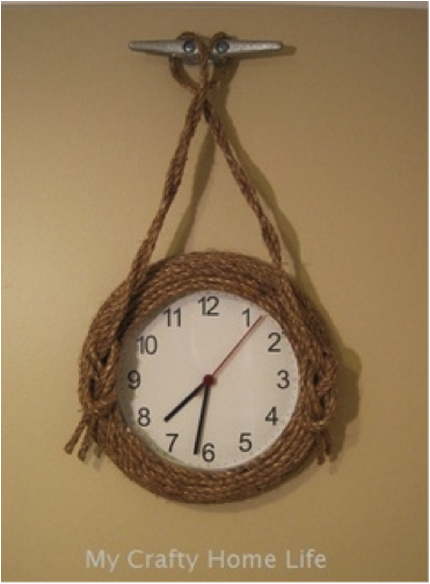
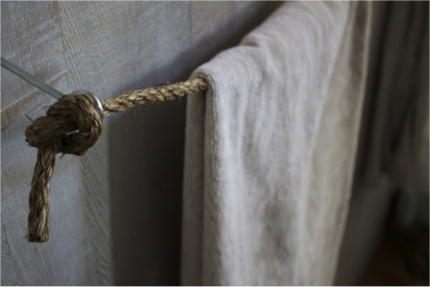
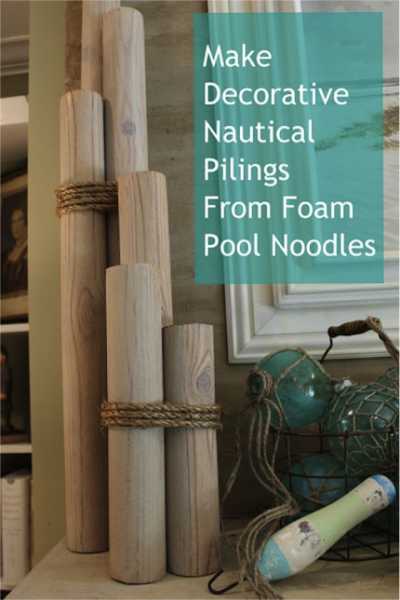
While rope binds these decorative pilings together, it’s the sheer creativity and ingenuity of using pool noodles that I find delightful.
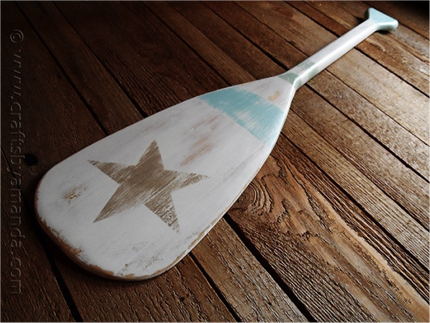
If rope brings boats to mind, then certainly oars do too. However, you can tie in your room’s colors with a little bit of paint, like this darling painted paddle.
Nothing says “beach” like sand. Here are some creative ways to include sand in your décor, without getting any in your shoes!
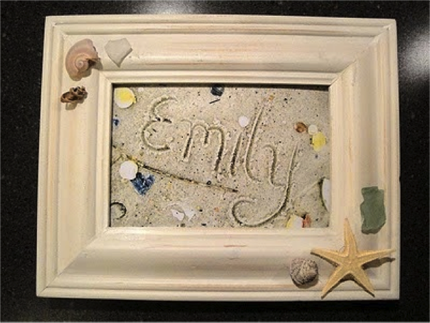
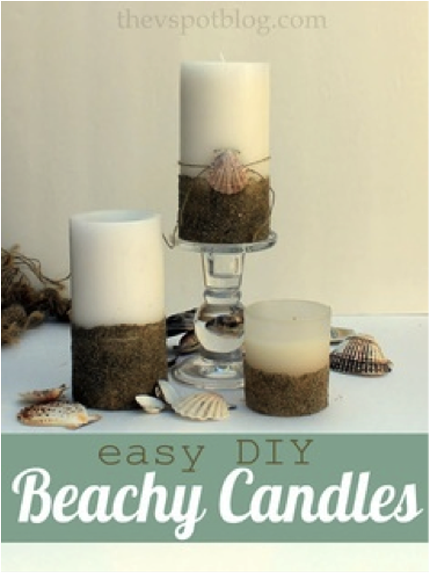
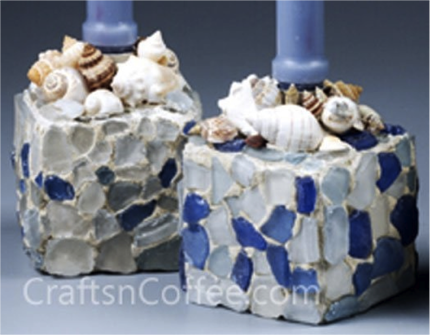
Of course, beaches are full of little treasures, like seashells and driftwood. A simple display of shells is an easy way to remember a favorite vacation. Or you use shells and driftwood to create other things, like vases and candleholders.
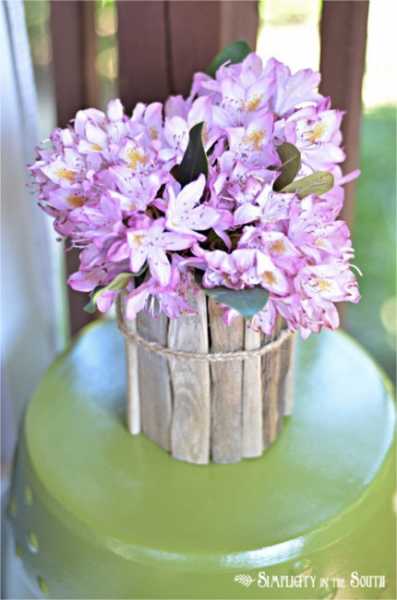
Source: Simplicity in the South
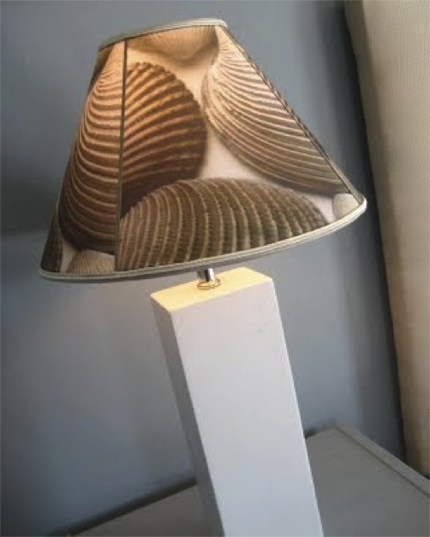
How about taking a photograph of your shell collection to make a lovely lampshade?
Source: Completely Coastal via Someday Crafts
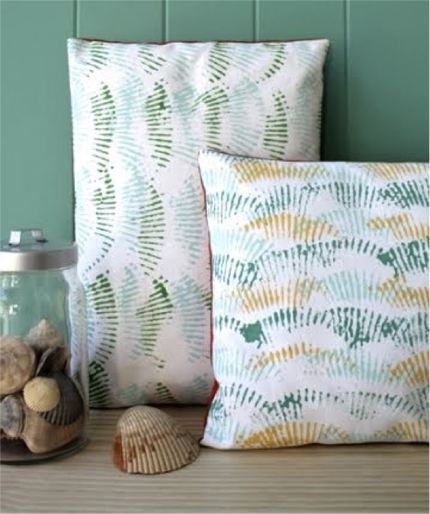
Or dip a shell into some paint and use it as a “stamp” for a darling pillow.
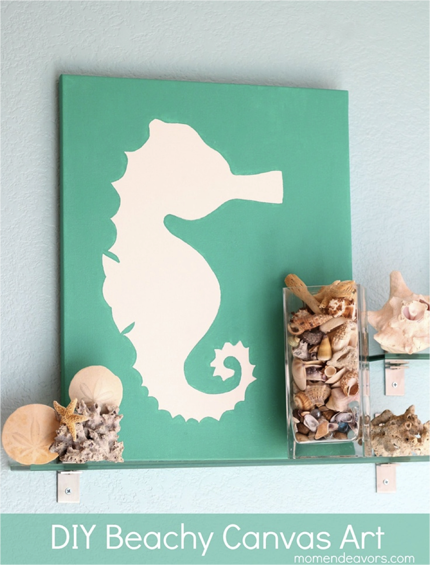
Last, but certainly not least, are the delightful seahorses. You don’t have to be an artist to create these projects either. Step-by-step tutorials are given at the links.
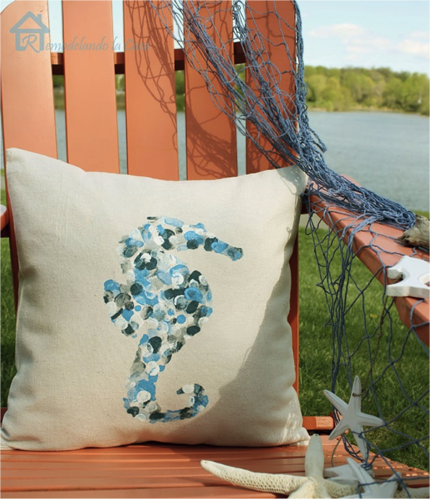
Hey, you don’t have to live by the beach to enjoy coastal décor. All you need is a little inspiration and creativity. Happy creating!
Colleen Jorgensen is a regular guest poster at Craft Gossip and the talented painter behind the blog Just Paint It where she offers free tutorials as well as live painting classes via Google Hangouts! Be sure to visit Colleen today.
Sand Beads
Making beads out of the sand with children is an easy, although somewhat messy, project to do.
Ingredients:
Clean sand
White glue
Nail
Plastic container for mixing
Tray for drying
Directions:
1. In a plastic container, mix one cup of clean sand with 1/4 cup of white glue. Kids really like getting their hands in there and mixing it up.
2. Check the texture of the mixture. You want it to be stiff enough to hold a shape without collapsing. If it is not stiff enough add more sand until it reaches the texture you want.
3. Pinch off a piece of the mixture to roll into the size bead that you want. Beads can be made into any shape or size.
4. Using the nail, poke a hole through the center of the bead. This has to be done before drying. If you try to do it after the bead will break. You can use different sized nails depending on what you will be threading the beads on.
5. Let the beads dry on a tray until hard.
6. Once the beads are dry you can decorate them with markers or paints. It is easier for children to use markers.
7. Now the beads are ready for to be used.
To make sand beads that look a little more professional there is a recipe which involves cooking the mixture. This recipe gives you beads that are stronger and more polished looking. This mixture can also be used to make small figurines. I remember using this in school to make cars and planes to add to a model of an airport the class was making.
Ingredients:
4 cups of sand
2 cups of corn starch
1 tablespoon plus 1 teaspoon of cream of tartar
3 cups of hot water
Large sauce pan
Nail
Tray for drying
Directions:
1. Mix the dry ingredients into a large sauce pan.
2. Stir in the hot water.
3. Cook over medium heat. Stir constantly until all the water is absorbed and the mixture is too stiff to be stirred anymore.
4. Allow the mixture to be cooled until it is at a temperature where it can be handled without burning your hands.
5. Pinch off a piece of the mixture to roll into the size bead that you want. Beads can be made into any shape or size.
6. Using the nail, poke a hole through the center of the bead. This has to be done before drying. If you try to do it after the bead will break. You can use different sized nails depending on what you will be threading the beads on.
7. Let the beads dry on a tray until hard.
8. Once the beads are dry you can decorate them. A good acrylic paint and let dry.
9. If you have painted the beads then you should seal them with a clear sealer. I like the spray on ones the best.
If you should have any of the mixture remaining you can store it in an airtight container for future use.
Making your own beads can be a fun family activity; especially if you use sand that you have collected while on vacation. Many beaches have different colored sand which can make unique sand beads. Making a necklace or bracelet out of beads you have made from sand you collected is a nice way to remember family outings. Just be sure that before you collect the sand that there is not a law prohibiting the removal of sand from that beach.
Happy beading!


What great ideas!
Wow! What a great round-up of really wonderful beachy projects! I pinned several of them. Thanks for including my pool noodle pilings too.
love these crafts
I thought the noodles were a brilliant thought and just love what you made with them, thank you for this, going to try and make some as a gift for one of my daughters.
I love this post. So many great ideas.