What you will need
Inexpensive plastic cooler
Wood paneling (as nice or rustic as you wish)
Hinges
3 Fence boards 1”x6”x8’
Bottle cap opener
Nails (and a nail gun if you’re lucky!)
Handle
Process:

1.
Disassemble cooler lid
To begin with, you will take the cooler lid off and remove any plastic straps. Once your
cooler is taken apart, set it aside.
2.
Build frame with boards
Using 8’ fence boards, cut each board to the length of the height you desire your cooler
to be. Then cut the board length wise giving you two, 3” wide pieces that you will
connect to make each leg of the cooler. Repeat this step until you have 8 identical
pieces of board. Set aside.


3.
Next, cut the fence boards to the width of your cooler. You will want to add a couple of
inches so that your cooler fits into the box you are creating snugly. Attach these pieces
to the legs of the cooler by nailing them to the inside of one board that creates the leg.
You will want to attach one board at (what will be) the top of the cooler and one at where
the bottom will be, width wise as shown here.

4.
Do the same thing again but for the depth of the cooler instead. This will be the short
side of your cooler stand. Attach to the inside of the long boards that are making the legs
of the stand. Secure the legs of the stand to the shorter boards so that each leg makes a
“V”. You should now have an open frame.
5.
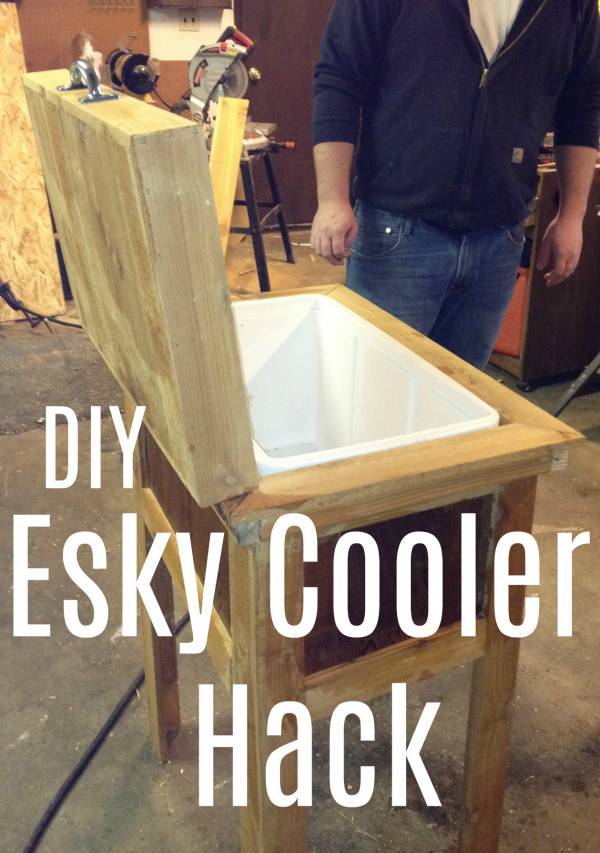
Nail the wood paneling to the frame.
Cut the paneling so that each piece reaches from the top of the cooler frame to the
bottom, shorter board. Nail each panel to the boards running the width of the frame, from
the inside. (See image above.)

6.
Nail support boards underneath cooler.
In what will be the bottom of the cooler, position one board that runs the width of the
cooler, in the middle of the inside of the frame. This will be nailed from the outside on the
short side of the cooler.
7.
Next, cut your boards so that each end is at an angle that will fit together to make an
open box. There should be 4 boards that are about 2” longer than the frame you have
built on the top and sides of the cooler stand. This will make a frame for the top of the
stand. Nail this frame to the top of the stand.
8.
Make a platform for the lid to close onto.
You will cut the boards to be wider than the frame you just made in step 5. This is your
choice as to how wide you want your over hang to be. Cut these boards at an angle as
well, so that their ends attach to make a square and nail them to the top of the frame as
shown here.
9.
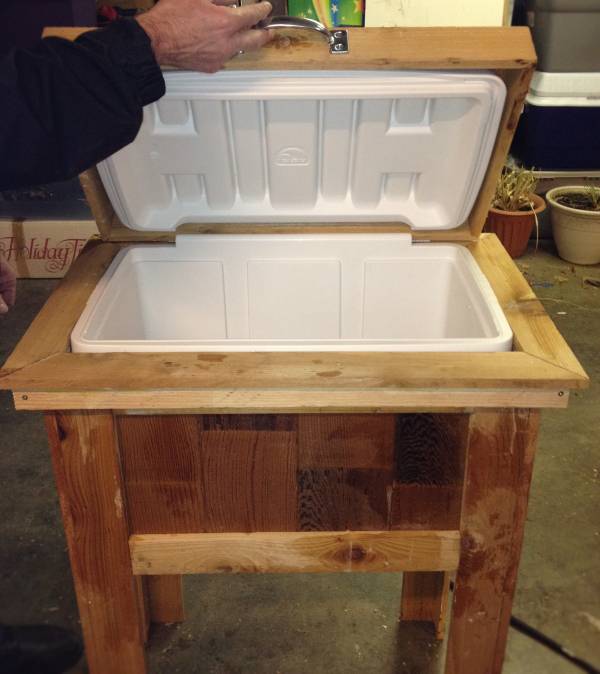
You now have a complete frame and can insert your cooler.

10.
Build a frame for your lid.
You will do this by cutting 4 boards in order to make a box around your lid. 2 short sides
and 2 long sides. Cut these boards at an angle as well so that they match the style you
have used in steps 5 and 6.

11.
Flip your box that will house your lid over so that the top of the cooler lid will be against
your work surface. You will then cut the remaining wood paneling so that they create a
top to your box. This can be done vertically or horizontally. I attached each panel
vertically. This is done by arranging the panels to the inside of the box and nailing them,
from the outside, to the frame of the box that you created in step 8. The part of the wood
that will show when the cooler lid is closed should now be flush against your work
surface.
12.
You can now attach the plastic lid which you earlier removed to the box you have
created in step 9. I did this by applying a generous amount of gorilla glue to the plastic
then insert it into the wooden box and allowing to dry.
13.
Attach your hinges.
Align your wooden lid on top of the cooler frame in the fashion you want it to open. Then
screw the hinges to the frame of both the lid and the cooler frame. Make sure your
screws aren’t so long that they puncture the plastic cooler inside the wooden frame!
14.
Attach handle and bottle opener.
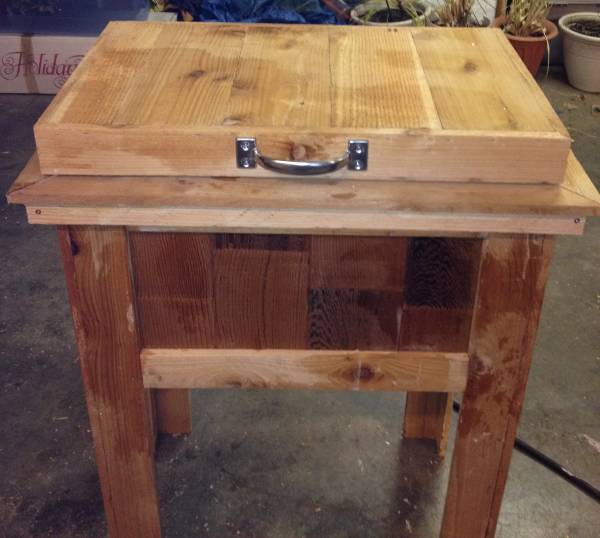
While the bottle opener can go anywhere you want it to be, the handle should be exactly
in the middle of the lid, on the front of the cooler. You can make sure it is in the center by
measuring the length of the front of your lid, measure your handle, subtract the length of
your handle from the length of the front of your lid and divide this number by 2. This
number is how far in you will attach your handle so that it is perfectly centered.
Ex-
Length of lid 34”- length of handle 3”= 31” / 2 = 15.5”
So I would measure 15.5” into the front of the lid where I would attach the handle
Conclusion.
One thing I wish I would have done in the end was use a cooler that had a drain. This could be
done by simply building around the cooler and cutting a hole around the drain spout. If you wish
to, you can also stain or finish the wood


