There’s nothing more charming than stepping out into the garden and seeing neat rows of herbs with handmade markers standing proudly beside them. Store-bought tags? Sure, they do the job, but they lack personality. These DIY ombre herb garden markers are inexpensive, stylish, and add that touch of handmade charm every green-thumbed crafter loves.
Whether you’re growing basil in a windowsill pot, rosemary in the backyard, or thyme for your Sunday roasts, these garden markers will keep things organized while looking like a little art installation in your planter.
Why Ombre Markers?
The ombre effect (shading from light to dark) is trendy, eye-catching, and incredibly easy to do—even if you don’t consider yourself artistic. Plus:
- They hold up well outdoors if sealed properly.
- You can coordinate the colors to match your garden, patio pots, or kitchen decor.
- They make wonderful gifts for gardening friends, especially when paired with a potted herb.
Supplies You’ll Need
- Wooden paint stir sticks, popsicle sticks, or craft spoons (larger is better for visibility)
- Acrylic paint in 2–3 shades of the same color family (greens, blues, pinks—whatever suits you)
- A foam brush or small paintbrush
- Permanent marker or fine paint pen for labeling
- Clear outdoor sealer (spray or brush-on)
Optional extras:
- Sandpaper for smoothing rough edges
- Stencils for decorative lettering
- Twine or ribbon if gifting
Step-by-Step Tutorial
Step 1 – Prep Your Sticks
Lightly sand your wooden sticks to remove splinters and help the paint stick better. Wipe off any dust with a dry cloth.
Step 2 – Mix Your Ombre Colors
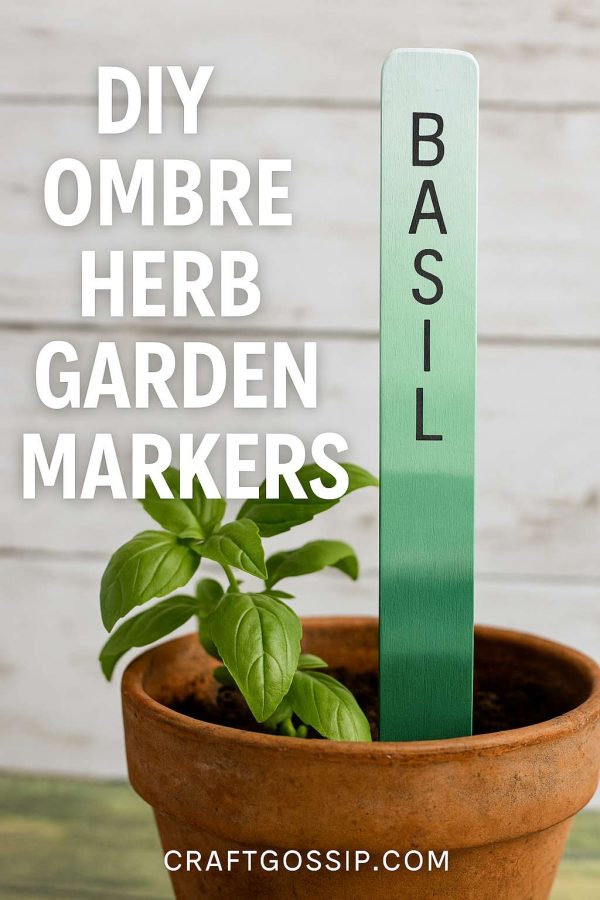
Choose one base color and lighten or darken it with white or black paint. For example, if you want green markers:
- Dark green for the bottom
- Medium green in the middle
- Light mint at the top
Step 3 – Paint the Gradient
Start at the top with your lightest shade and work downward. Before the first section dries, blend in the next color, overlapping slightly so they merge seamlessly. Continue until you reach the bottom with your darkest tone.
Tip: Don’t stress about perfection! A little uneven blending gives it that handmade, rustic look.
Step 4 – Add Plant Names
Once the paint is fully dry, use a permanent marker, paint pen, or stencil to write the herb names. Keep it bold and legible—especially if these will live outdoors where sun and rain might fade fine details.
Step 5 – Seal for Outdoor Use
Apply a coat (or two) of outdoor sealer to protect your beautiful work from rain, dirt, and sunlight. Let it cure completely before placing them in the soil.
Design Ideas & Variations
- Color Themes: Match to your herbs! Basil → green ombre, Lavender → purple ombre, Mint → teal ombre.
- Metallic Touch: Add a thin stripe of gold or copper paint for an elegant finish.
- Chalkboard Style: Paint the top section with chalkboard paint so you can rewrite plant names as your garden changes.
- Giftable Set: Bundle a few painted markers with a packet of herb seeds tied in twine for a thoughtful handmade gift.
Tips for Long-Lasting Garden Markers
- Always seal well—acrylic paint on bare wood won’t survive outdoors for long without protection.
- If you’re using them in pots indoors, sealing is optional but helps them last longer.
- Store extra markers in a dry place during the winter so you can reuse them next season.
Why You’ll Love This Project
This DIY ombre herb marker tutorial is quick, inexpensive, and endlessly customizable. You can whip up a full set in less than an hour and instantly add color and personality to your garden. Plus, they’re a great way to use up leftover paint from other craft projects.