• Home
  • Suggest A Craft
  • DIY Newsletter

Home and Garden

Ideas For DIY

  • About CraftGossip
  • Our Network
    • Bath & Body Crafts
    • Candle Making Ideas
    • Crochet Ideas
    • Cross Stitch
    • Edible Crafts
    • Felting Patterns
    • Glass Art
    • Home & Garden Ideas
    • Indie Crafts
    • Jewelry Making
    • Kids Crafts
    • Knitting Patterns
    • Lesson Plans
    • Needlework
    • Party Ideas
    • Polymer Clay
    • Quilting Ideas
    • Recycled Crafts
    • Scrapbooking
    • Sewing Patterns
    • Card Making
    • DIY Weddings
    • Not Craft Ideas
  • Giveaways
  • Roundups
  • Store
  • Search

DIY Spring Daffodil Wreath

February 10, 2019 by Shellie Wilson

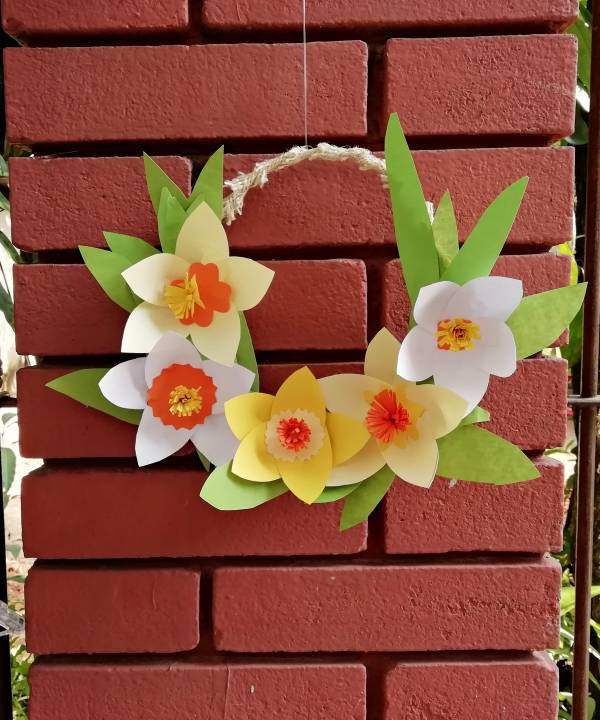
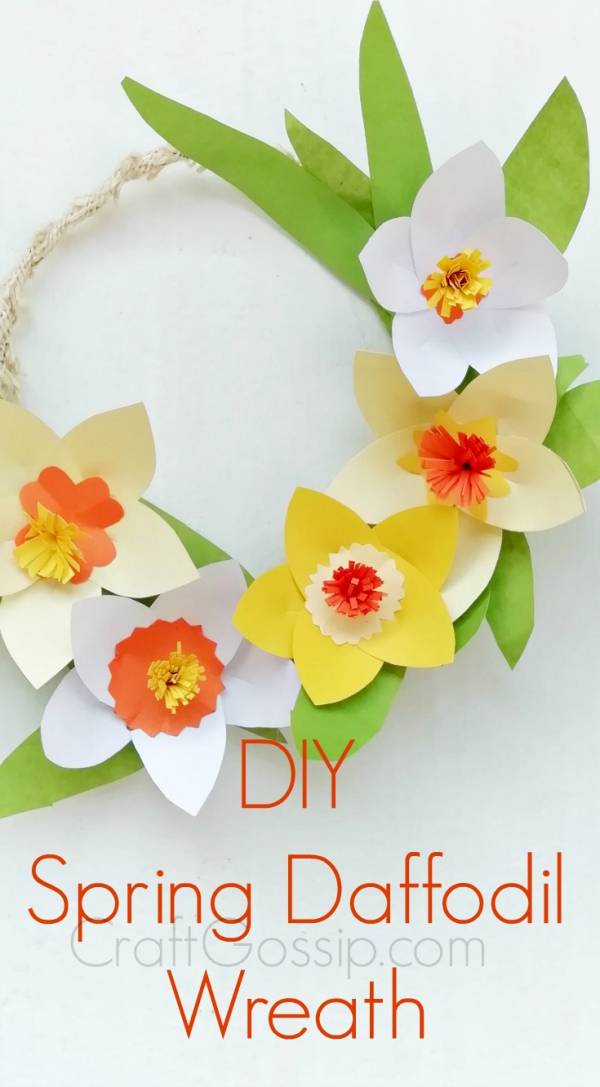
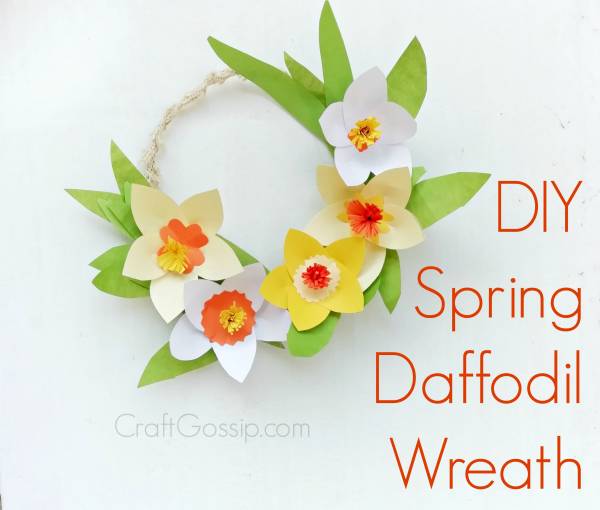
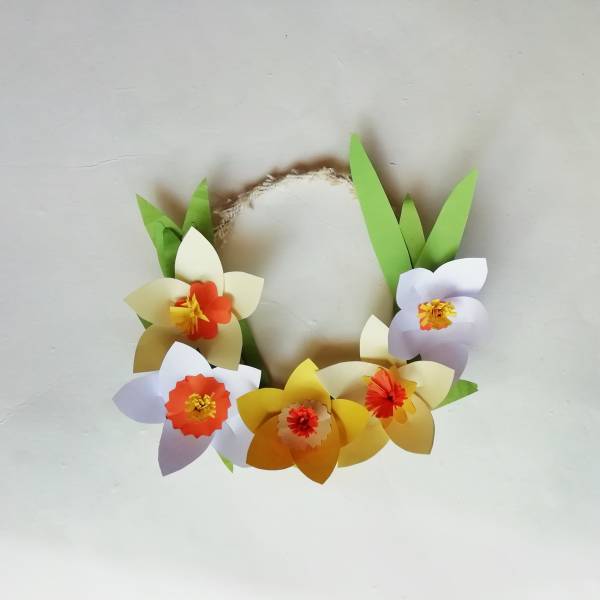
DIY Paper Daffodil Wreath – This springtime wreath is perfect for Spring or Easter decor. This spring project is made with paper flowers and you can use the printable templates below to create each flower for your Wreath.

Daffodil templates 1c

Daffodil Template 2

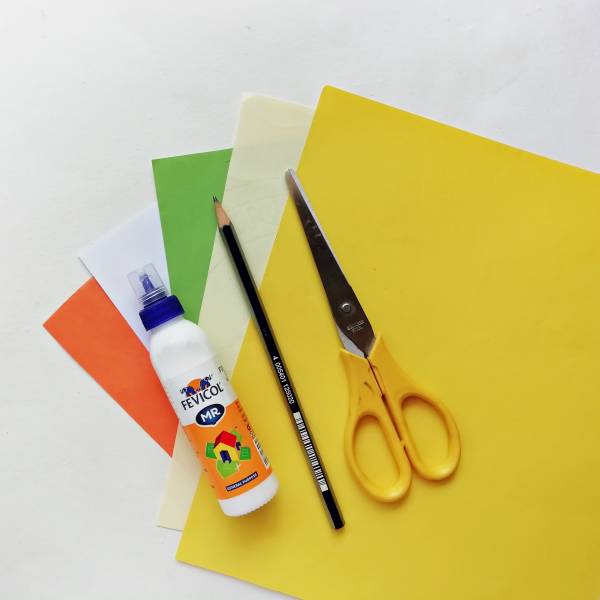
Supplies
1. Colourful Paper.
2. Paper Glue
3. Scissors.
4. Pencils.
5. Wire.
6. Burlap Fabric.
7. Hot Glue Gun.

Introduction:
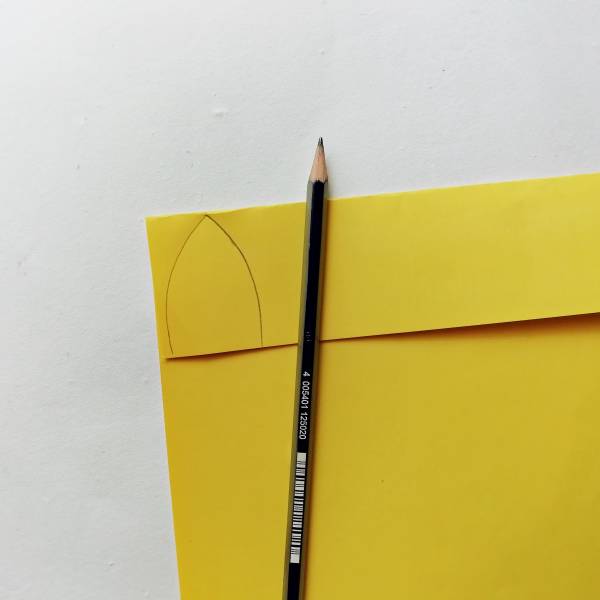
Step 1: Draw a petal shape using the template. Or you can print the templates directly
on the paper.

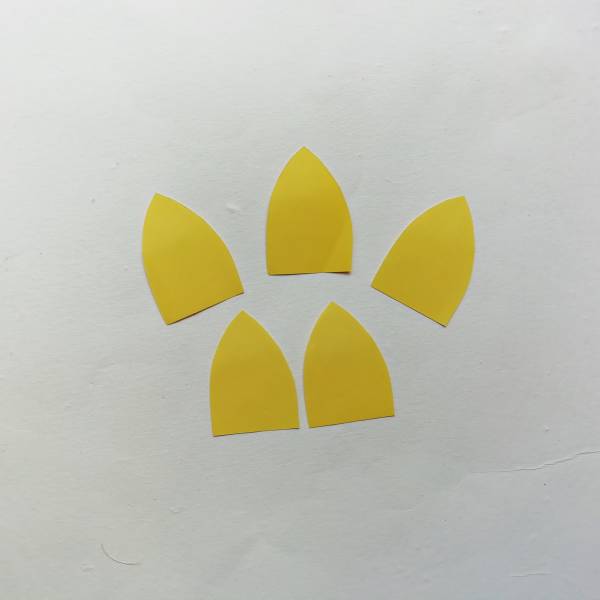
Step 2: Cut out the petals using the templates.

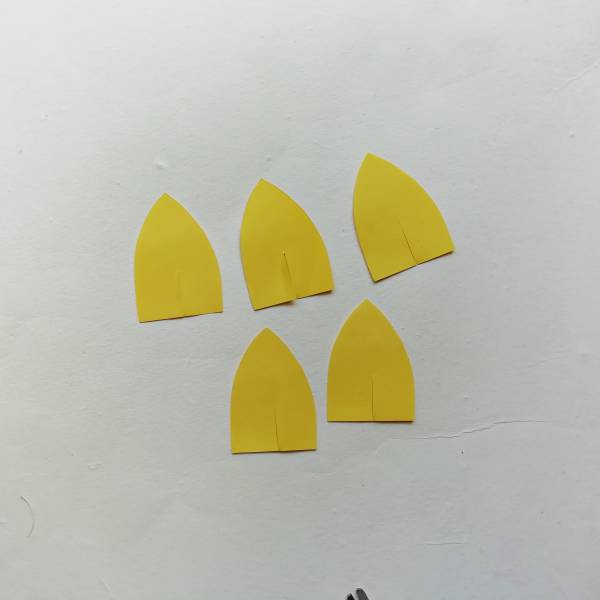
Step 3: Cut the petals halfway through the middle from the bottom side.

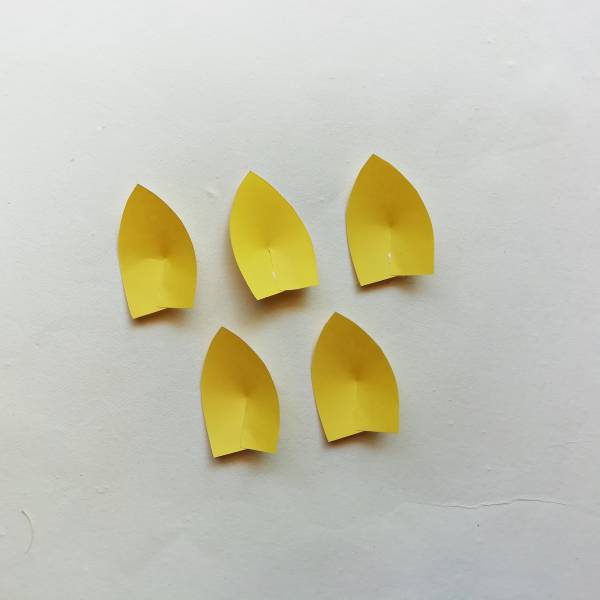
Step 4: Overlap the both slits and glue them together.

Step 5: Cut out a circular piece of paper from the templates.
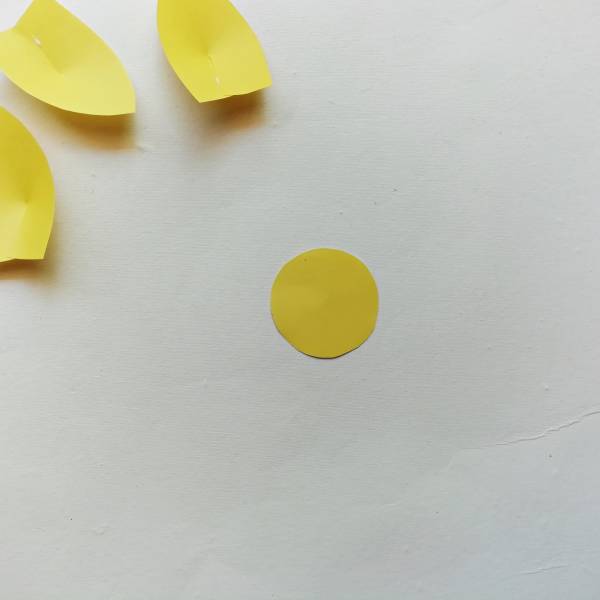

Step 6: Place a petal over the circular paper piece and glue it there.
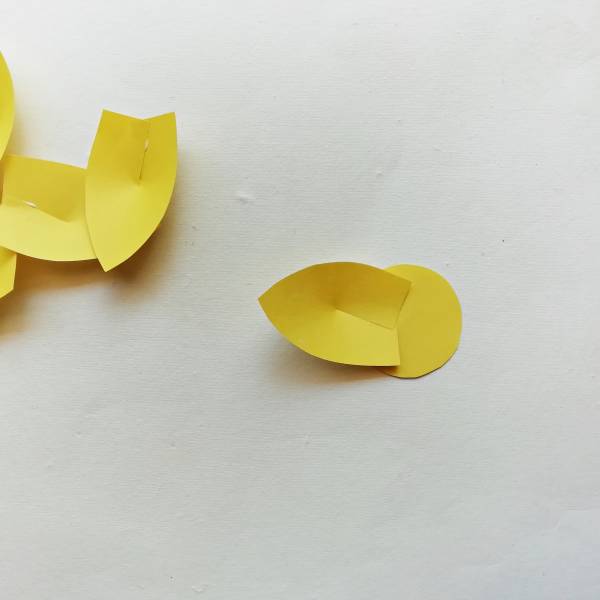
Step 7: Glue rest of the petals over and around the circular piece.
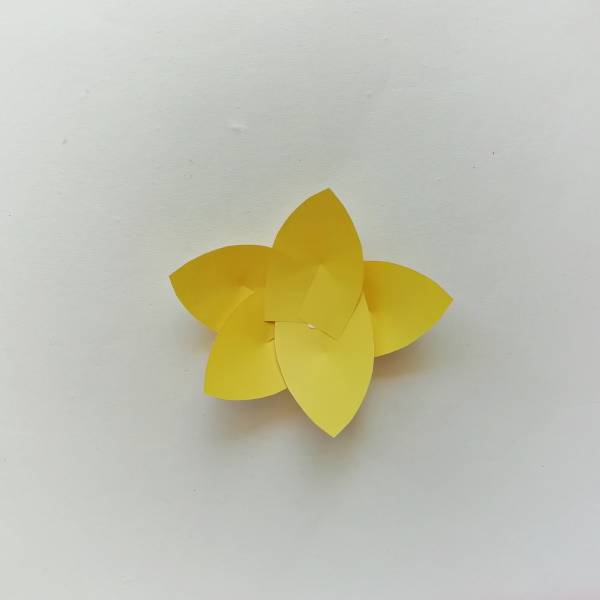
Step 8: Cut out another circle from the template (the one with zigzag edge).
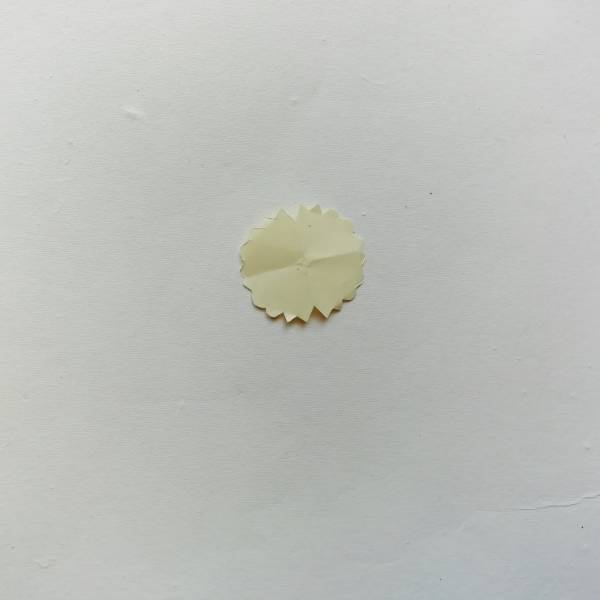

Step 9: And glue the piece on the middle of the flower.
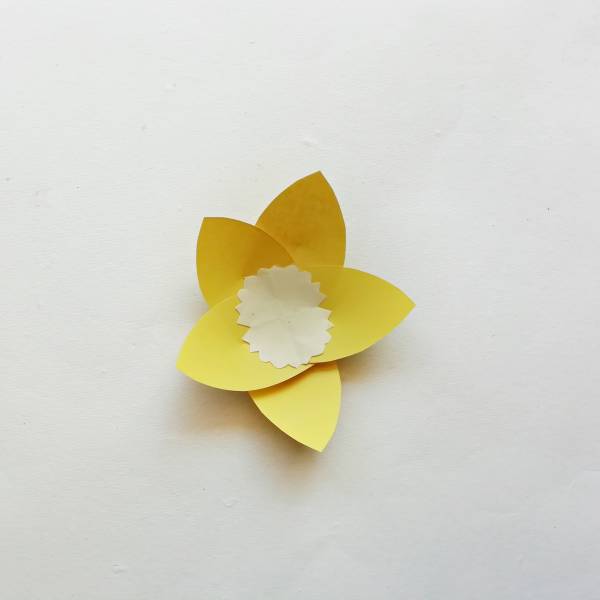

Step 10: Cut out a strip of orange paper.


Step 11: Make some horizontal cuts on the paper from start to end. Don’t cut all the
way through.
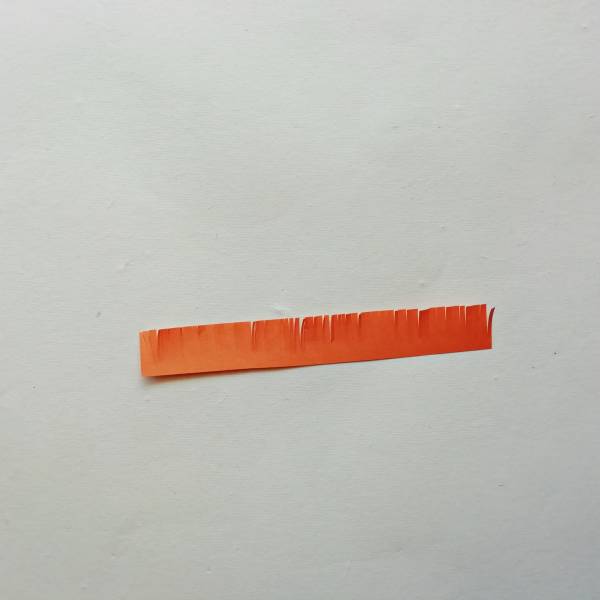

Step 12: Then roll the strip and glue it to secure the roll.

Step 13: Then glue the rolled strip on the middle of the flower.
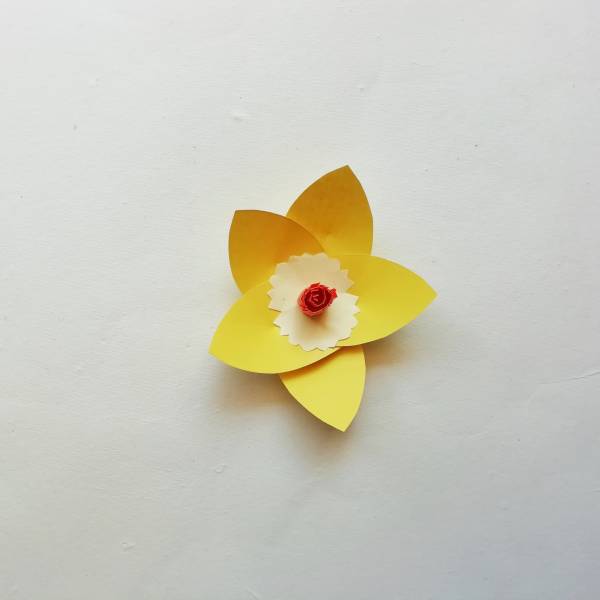
Step 14: Make more flowers similarly. Make at least 5-6 flowers or else the wrath might
look incomplete.

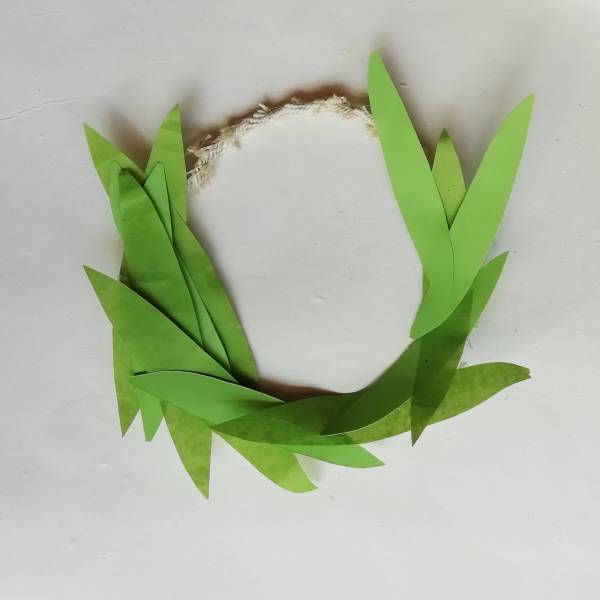
Step 15: Cut out some leaves for the wrath using the template.
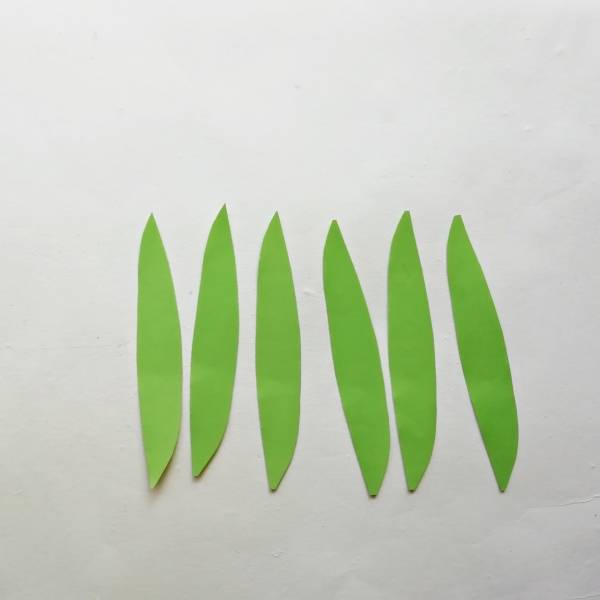
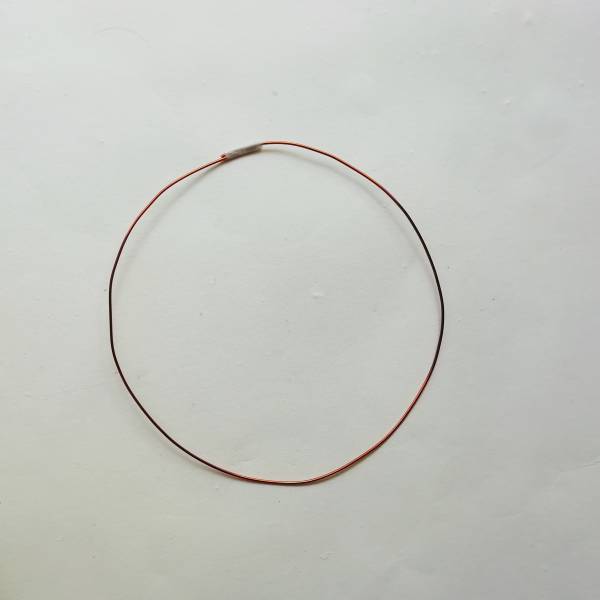
Step 16: Now take a wire about 2 feet long and give it circular shape. Wrap the both
ends together with another thinner wire to secure the round shape.
Step 17: Now take strips of burlap fabric.
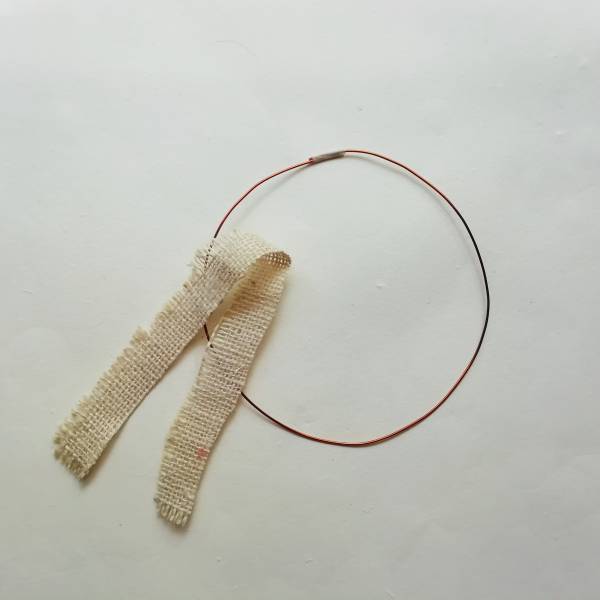

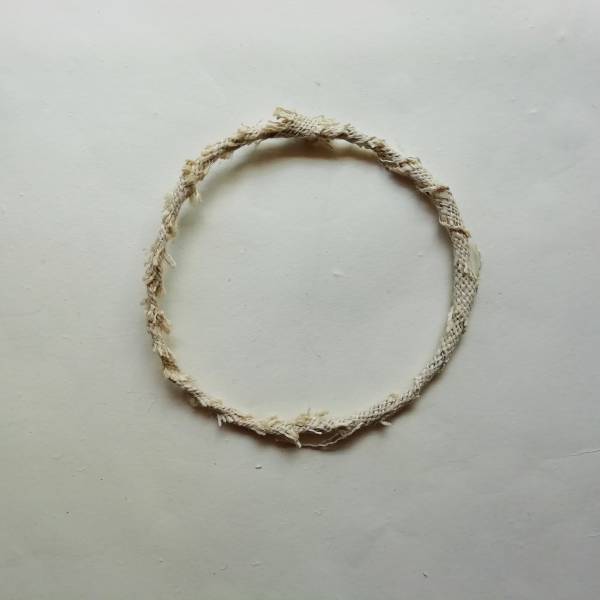
Step 18: Wrap the whole wire around with the burlap fabric and use hot glue to secure
the wrap.

Step 19: Now take the flowers and leaves for the wreath,
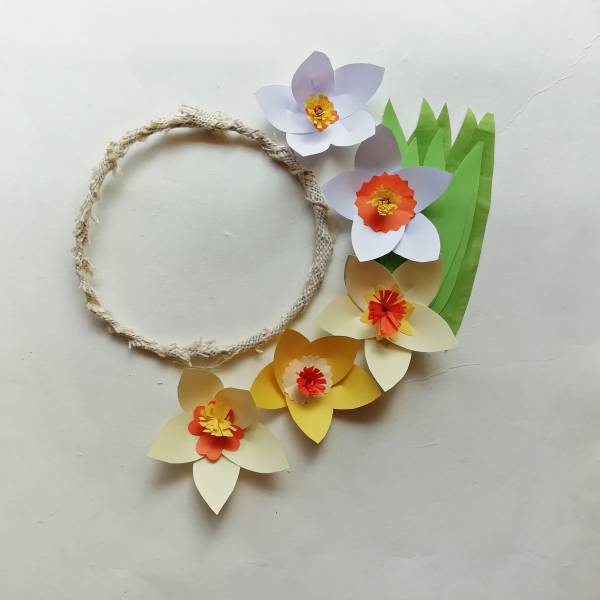

Step 20: Glue all the leaves around the wreath, keep 2-3 inches blank on the top side.

Step 21: Now glue the flowers over the leaves. And the wreath is now complete.
 

Wanting to be part of our crafting community? Check out our Facebook Groups.

Craft Gossip & DIY

Easter Crafts & DIY

Christmas Crafts & DIY

Organize my life and get my sh#t Together

Get Featured On CraftGossip 

Amazing Christmas Recipes


This project is a great toddler craft and also suitable for Seniors to make as a craft lesson or activity.
Related Posts:

  • DIY Spring Wreath with Leftover Flowers
  • DIY Tulip Crafts For Spring
«
»

Have you read?

Master the Art of Polka Dots with This Easy Painting Tutorial!

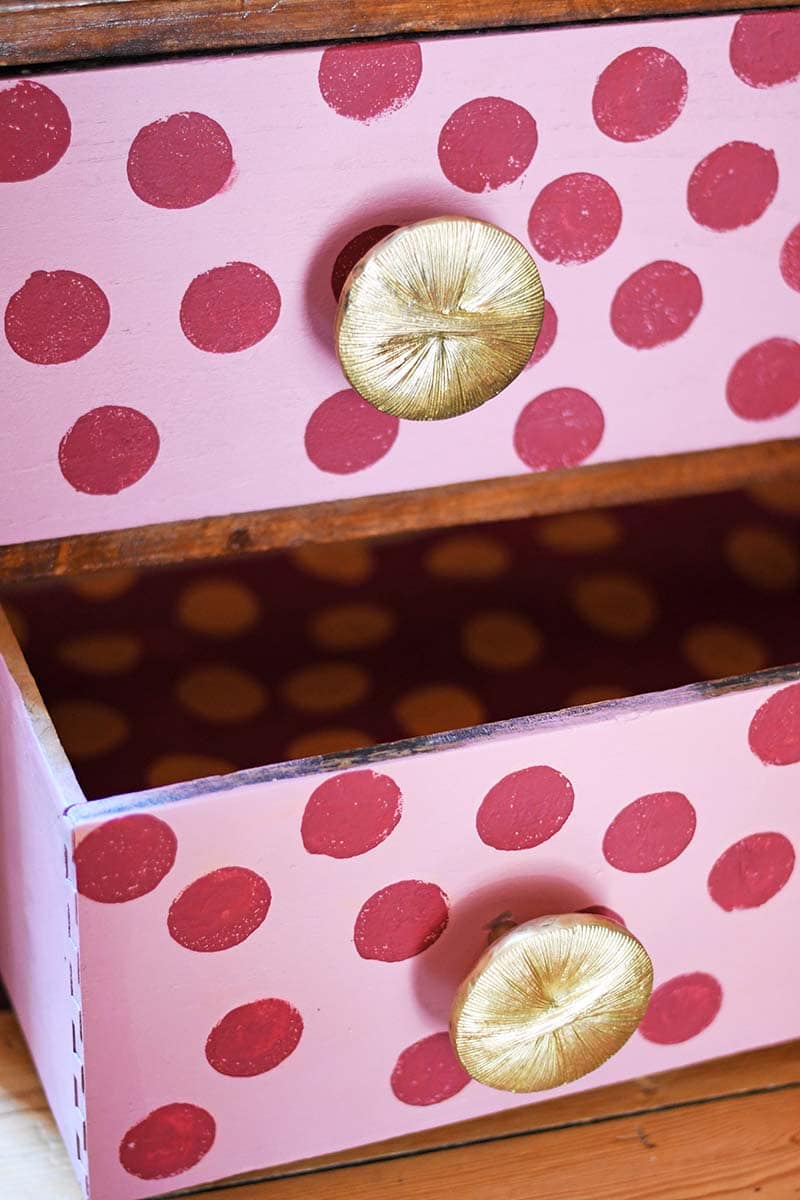
Polka dots are timeless, fun, and the perfect way to add a little pop of personality to any project. Whether you’re looking to update home decor, clothing, or craft projects, learning how to paint polka dots is an easy way to elevate your designs. This step-by-step guide on how to paint polka dots will show you how to create perfect, uniform dots every time, no matter your skill level!

From choosing the right tools to picking the best surface for your project, this tutorial makes polka dot painting simple and fun. You can add them to pillows, canvas art, mugs, or even furniture for a fresh, playful look. So if you’re ready to get crafty and embrace the dot trend, this tutorial is for you!

Excited to start painting your own polka dots? href=”https://www.pillarboxblue.com/how-to-paint-polka-dots/” target=”_new” rel=”noopener” data-start=”888″ data-end=”979″>Check out the full tutorial here!

How To Strip Paint From Your Old Furniture With Easy Off Oven Cleaner

Transform Furniture For Under $10

Thrift Store Furniture Makeover

Explore

Bedrooms Christmas Craft Ideas Easter Garden and Yard Halloween Holidays Home Decor Kitchens Living Areas Makeovers and Redos More DIY's Organizing Outdoor Decor Porches, Patios and Decks Recycled Crafts Seasonal Trash to Treasure Windows and Walls Wreaths

RSS More Articles

  • Amazon Deal Roundup – CraftGossip Picks!
  • Chats on Needlework by Emily Leigh Lowes – A Vintage Stitcher’s Treasure Trove
  • Designer Spotlight: Haunted Frames
  • Press Bubble Animals Crochet Kit with keychain
  • Build Big Memories on a Budget: DIY Cubby House Using Recycled Pallets
  • 12 Handmade Stamped Card Ideas Featuring Bears
  • How To Sew a Banner from felted wool sweaters
  • A Sweet Skater Dress to Knit
  • Printable Animal Flash Cards
  • 20 Cowl Crochet Patterns For Winter Gifting

Copyright © 2025 · CraftGossip | Start Here | Contact Us | Link to Us | Your Editors | Privacy and affiliate policy