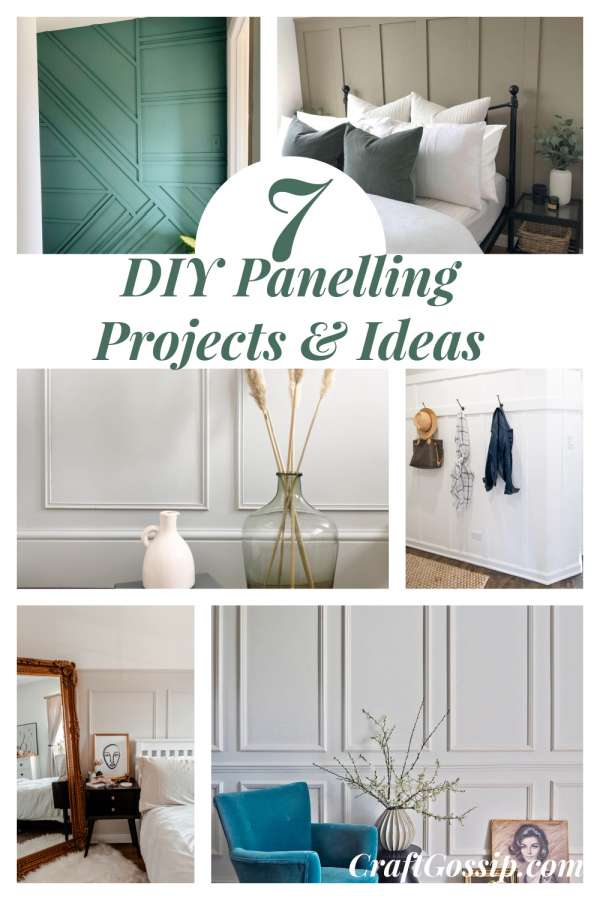
Wall panelling has been a popular trend in home décor for several years now, and for good reason! Not only does it add a touch of elegance and sophistication to any room, but it also helps to hide any imperfections on the walls. Whether you’re a seasoned DIY enthusiast or a beginner, you’ll find a wall panelling project in this roundup to suit your skills and preferences.
The beauty of wall panelling is that you can choose a style and design that fits with your personal aesthetic and the overall style of your home. From farmhouse-style shiplap panelling to more contemporary designs, there is something for everyone in this roundup. The projects range from simple and straightforward to more detailed and complex, so whether you’re short on time or want to tackle a more challenging project, you’ll find a project here that’s right for you.
Another great aspect of wall panelling is that it’s a cost-effective way to refresh your home’s look. By doing the work yourself, you can save money on labor costs and choose materials that fit your budget. Whether you use real wood planks or opt for MDF or PVC, the possibilities are endless.
So, if you’re ready to tackle a new DIY project and add some charm to your home, check out these wall panelling tutorials! You’ll be amazed at how much of a difference a simple change like this can make.
Making your own wall panels can be a fun and rewarding DIY project. With the right tools and materials, you can create beautiful and unique panels that perfectly fit your style and decor. One of the most important things to keep in mind is that you will only be limited by your own ability and budget.
To get started, you will need some basic supplies such as a small saw for cutting the beading. A Ryobi battery saw is a great choice for this task, as it is easy to use and highly efficient. However, if you prefer a more traditional approach, you can use a good old-fashioned hand saw and mitre box.
In addition to the saw, you will also need some other supplies such as a measuring tape, level, and pencil for marking out your cuts. You will also need the actual wall panels themselves, which can be made from a variety of materials such as wood, MDF, or even foam board. Finally, you will need the beading or trim to create the decorative frame around the panel.
Once you have gathered all of your supplies, it’s time to get started! With a little patience and practice, you can create stunning wall panels that will be the envy of all your friends and family. Just remember to take your time, measure carefully, and have fun with the process.
How to Create DIY Board and Batten Wall Panelling Tutorial
Modern Wainscoting « Home Newbie’s
Panelling: 5 Step Guide – Stripes and Sage
How To Add Chair Rail + Picture Frame Molding | The DIY Playbook
Wall panels are a versatile and stylish way to transform the look and feel of any room. Not only do they add a unique visual element to a wall, but they can also serve a practical purpose in defining a specific area of a room. With a variety of materials to choose from, such as wood, metal, or even faux finishes, the possibilities are endless when it comes to incorporating wall panels into your interior design.
Faux wall panels, in particular, have gained immense popularity in recent years. They are a cost-effective and easy-to-install alternative to traditional wall paneling, offering the same look and texture of real wood, stone, or concrete without the added expense and hassle. Whether you want to create an accent wall, add dimension to a room, or create a rustic or modern aesthetic, faux wall paneling is an excellent option.
One of the biggest advantages of faux wall panels is the vast range of styles and designs available. From classic wood finishes to contemporary concrete or sleek metal looks, there is a faux wall panel wallpaper to suit any decor. Plus, the installation process is typically straightforward and can be completed by anyone with basic DIY skills. Overall, faux wall panels are an excellent choice for those looking to add depth and character to their home’s interior design without breaking the bank.
We have put together a list of our FAQ’s for DIY wall Panelling.
Q: Do I need to prepare the wall before installing adhesive wallpaper or wall paneling sheets? A: Yes, preparing the wall is an important step before installing adhesive wallpaper or wall paneling sheets. The wall should be clean, smooth, and dry.
Q: How do I clean the wall before installing adhesive wallpaper or wall paneling sheets? A: Use a damp cloth to wipe down the wall and remove any dust or debris. If there are any stains or marks, use a gentle cleaning solution to clean them off. Allow the wall to dry completely before installing the wallpaper or wall paneling sheets.
Q: Should I fill in any holes or cracks in the wall before installing adhesive wallpaper or wall paneling sheets? A: Yes, it is recommended to fill in any holes or cracks in the wall before installing adhesive wallpaper or wall paneling sheets. Use a spackle or joint compound to fill in the holes or cracks, then sand them down to create a smooth surface.
Q: Can I install adhesive wallpaper or wall paneling sheets on textured walls? A: It is not recommended to install adhesive wallpaper or wall paneling sheets on textured walls as it may not adhere properly and could result in an uneven finish. It is best to first smooth out the texture or use a smooth surface liner.
Q: Do I need to prime the wall before installing adhesive wallpaper or wall paneling sheets? A: It is not necessary to prime the wall before installing adhesive wallpaper or wall paneling sheets, but it may improve adhesion and create a smoother finish. If the wall has a glossy or slick surface, it is recommended to prime it first.
Q: How do I ensure the wallpaper or wall paneling sheets are straight and level? A: Use a level and a straight edge to ensure that the first piece is straight and level. Use a pencil to mark the wall where the first piece will go, then use that as a guide for the rest of the installation.


