 I’m excited to present you with today’s guest poster! Angie from Burton Avenue has been on my radar for a while now. She makes lots of awesome projects so I was really happy when she agreed to share a project with you all. I love what she’s created and know you will too! Without further ado, here’s Angie!
Hi everyone, I’m Angie and I am super excited to be guest posting here at Craft Gossip! I blog over at Burton Avenue where I love to share simple and inexpensive craft projects. I especially love all things vinyl! I have been blogging almost 4 years, but never really liked sharing craft projects on our family blog. So, earlier this year, Burton Avenue began. I have been married for 10 years and we have 6 cute little kiddies (9 years and under). They keep me busy! I love blogging because it gives me a chance to take a break from the day to day tasks of being a mom and keeps my creative juices flowing.
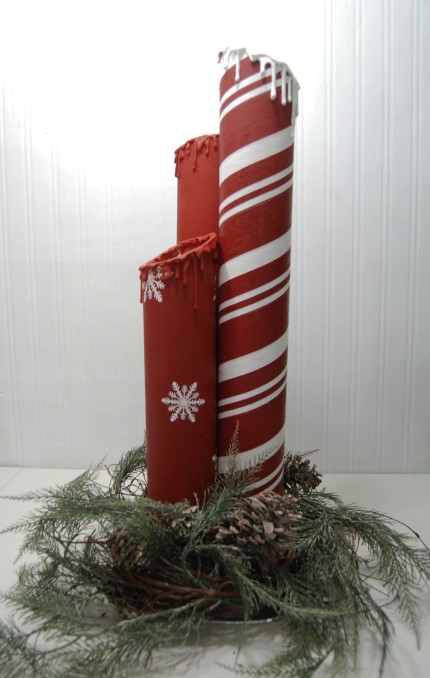
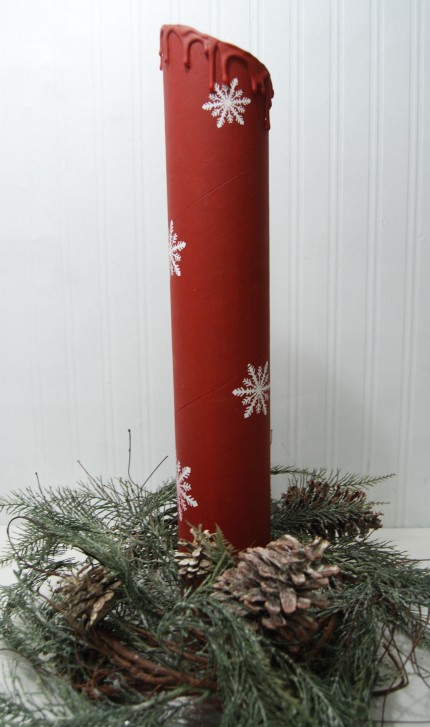
 Don’t you love the look of over-sized pillar candles? Unfortunately, they can be quite expensive. Why not save some major bucks and make your own. As I said before, I love vinyl and I go through quite a few rolls each month. So, I always have plenty of empty tubes laying around. I thought they would be perfect to make these candles.
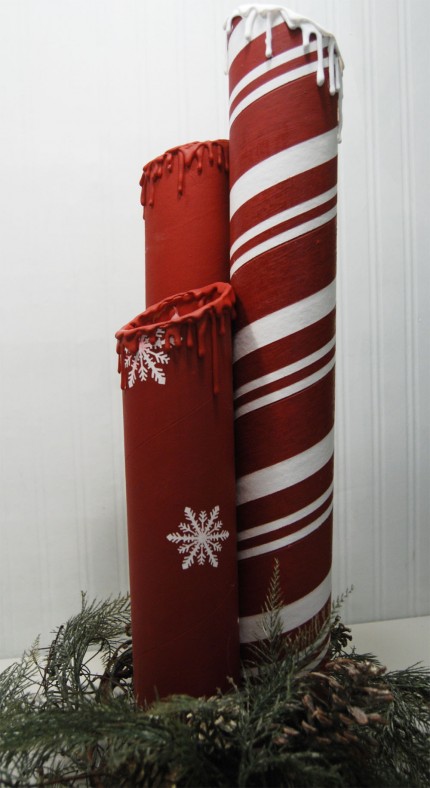
 Aren’t they cute? They are super easy to make and made from supplies you probably already have. Here is what you will need:
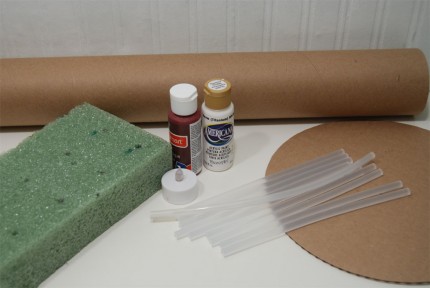 Cardboard Tube (you could also use PVC pipe)
Paint
Battery Operated Candle
Styrofoam
Glue Gun and Plenty of Glue Sticks
Cardboard Circle for Base
Wax Paper
Start by cutting your tube down to size. Cut it angle it to create the look of a partially burned candle.
 Paint the tube. I used stencils to paint snowflakes and painters tape to create stripes. Use the top of the tube to make an indentation in the styrofoam. Then, cut out the circle (I used a serrated kitchen knife).
 Place your battery operated candle in the center of the styrofoam and trace around it. Use a knife to cut out the circle, without going all the way through. This will give the candle a place to sit and make it easy to turn on and off.
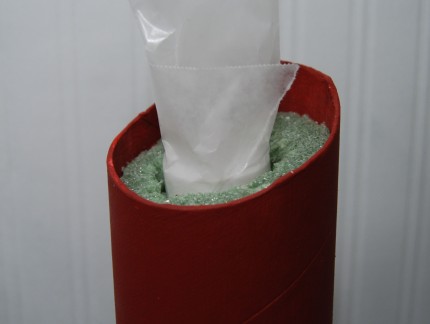
 Put the styrofoam circle in the top of the tube and glue it in place.
 Wrap a strip of wax paper around the candle and place it inside the styrofoam.
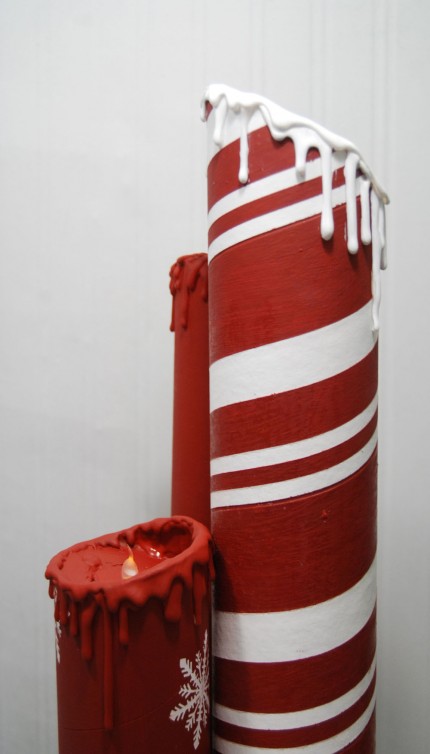
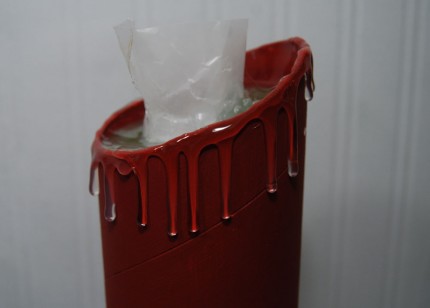
 Now, the fun part…making the dripping wax. Begin applying hot glue to the top edge and sides of the tube. Go slow and squeeze hard. You can make longer drips by squeezing and not moving the glue gun. Create a “drippier” candle by adding more layers of glue.
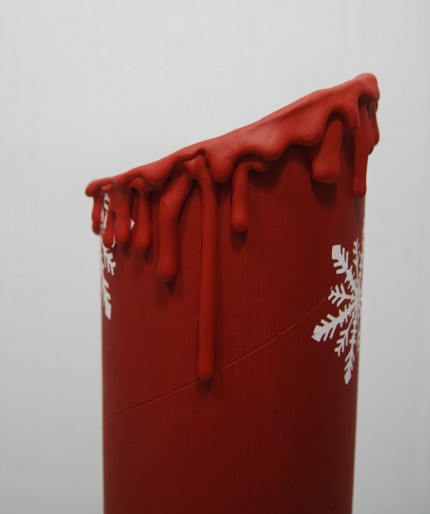
 Once the glue has completely cooled, remove the candle, wax paper, and any hot glue strings. Paint all the drips and inside the top of the candle. You can also paint the top of the battery operated candle.
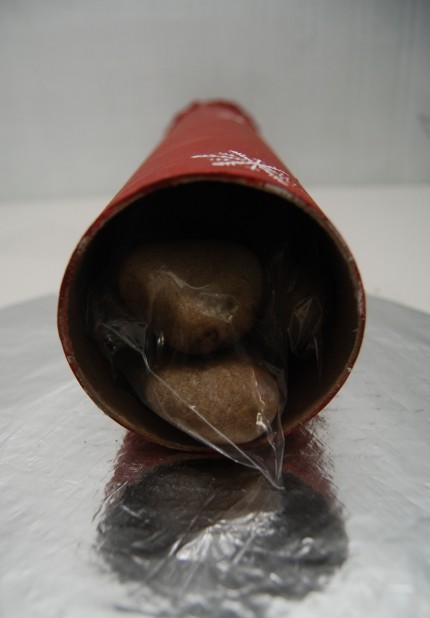
 For the base, cover a cardboard circle with tinfoil. Put a bag of rocks or marbles inside the bottom of the tube and glue to the base
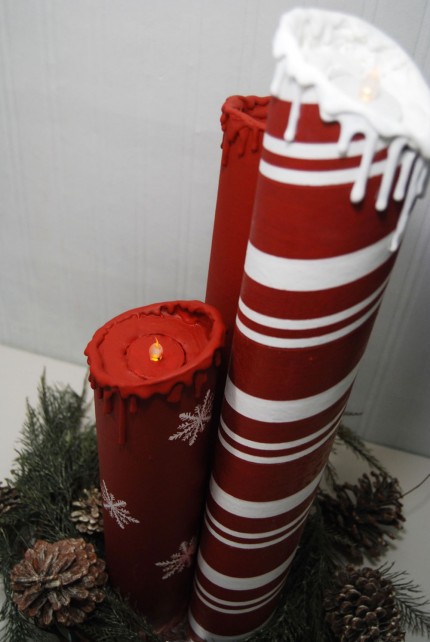
 Wrap greenery or other Christmas decor around the base and this candle is done!
 You can make just one, or create several candles, cut at different heights to create a super-sized candle arrangement!
 Thanks so much for having me! I hope you’ll stop by Burton Avenue and take a look around.
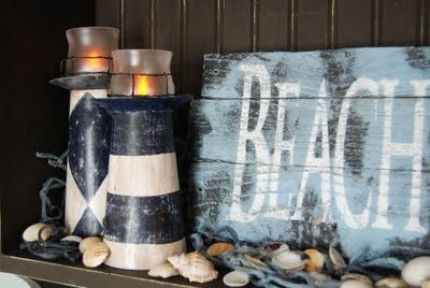
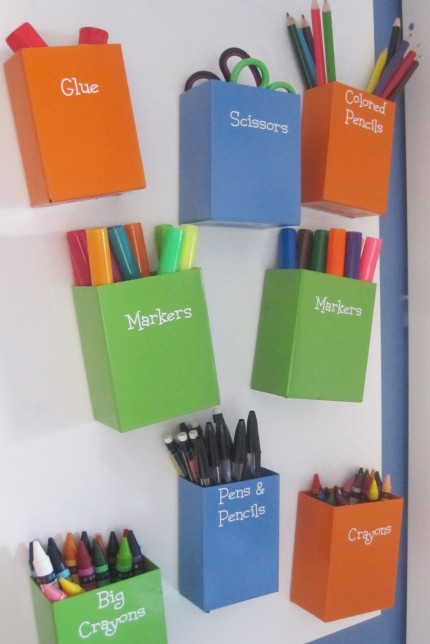
Here are three of my favorite projects.
Check out Angie’s Etsy Shop to see what she has for sale! Thanks for sharing this tutorial with us today Angie!


just wondering how you were able to make the stripes straight?
AWESOME. Very creative. Love, love, love them!!
Luv the candles I think I can make them great gifts.
These candles look awesome. Apart from Christmas I’m going to make some for halloween, I’ll paint them a dark red then draw spiders and/or bats with a black sharpie pen.
I love halloween it’s getting popular every year here in Australia.
Thank you for great tutorial.
Very very interesting . Love it
What type of paint did you use for the candles? If they were used outdoors did the paint stay or was there peeling or flaking issues with the paint?