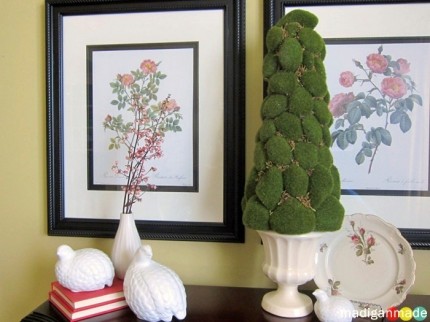
 I’ve been following Shannon’s blog, Madigan Made, for quite some time now. She’s quite a talented crafter and I have featured many of her projects here on Craft Gossip. I asked her to come up with a guest tutorial for all of you and she presented me with this lovely moss topiary using dollar store materials! Brilliant! I won’t delay things any longer, take it away Shannon!
Hi!
I’m Shannon and I blog over at Madigan Made. I’m a 30-something year old gal who works by day and creates and blogs by night. I crave simple and easy solutions for my home and I love to make crafts for my house!
Aside from the craft store and hardware store… one of my favorite local haunts is the dollar store! I don’t know about you, but I get so excited when I find great craft supplies there. I wanted to share with you a topiary that I made from moss rocks you can find at the dollar store.
 I was inspired to make this topiary after I saw a lovely moss rock wreath at Southern Fried Gal
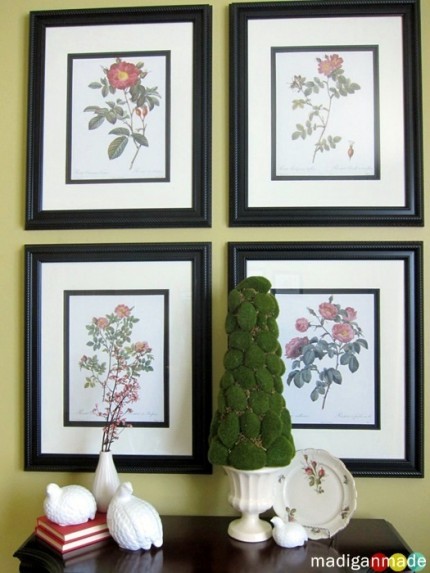
It was such a simple and elegant idea – the perfect kind of craft for me! I decided to make a topiary instead of a wreath because I needed an accessory for this one small table in our den. Given the height of the botanical prints behind the table, I wanted an accessory for that table that also was tall.
Want to learn how to make a simple moss topiary? The steps are pretty easy, just follow below:
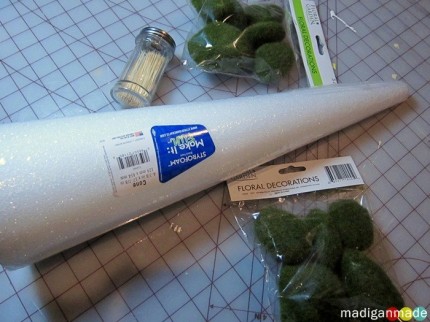 Supplies needed:
Several bags of moss rocks
Toothpicks
Tall Styrofoam cone
Serrated knife or blade
Spanish moss
White craft glue
Steps:
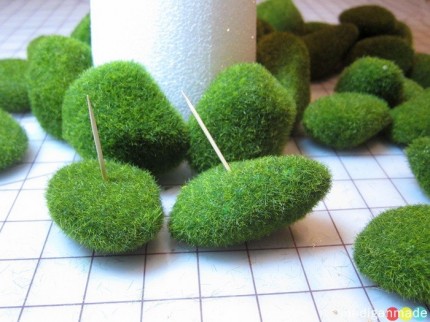 First, I stuck a toothpick in each rock and poked the other end into the cone. I placed another rock right next to it I kept adding more rocks and nestled them right next to each other. I started with the larger rocks at the bottom and worked up towards the tip of the cone using the smaller ones. I occasionally cut some of the rocks in half sometimes to get the right size I needed.
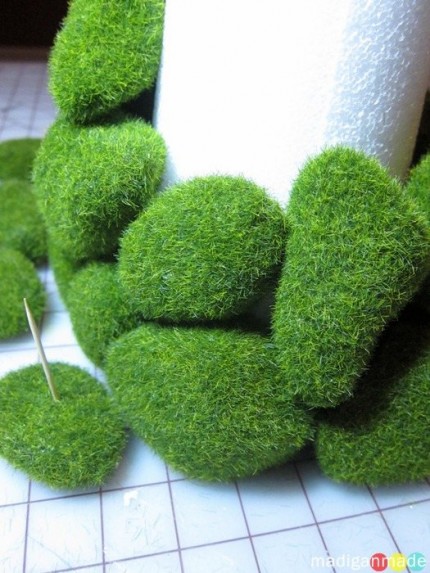 Half way up, I realized that the very top of the cone was quite narrow and it would be difficult to attach rocks to that thin area. So, I lopped off several inches of the cone so that one of the moss rocks could easily sit at the top.
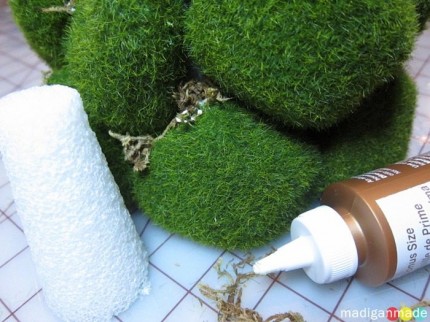 I did my best to place the moss pieces on the cone nice and snug… but I inevitably ended up with some gaps between the rocks.
So, I filled in the gaps with white glue and packed loose moss on top of that glue. If needed, I added a little more glue on top of the moss so everything would stay put.
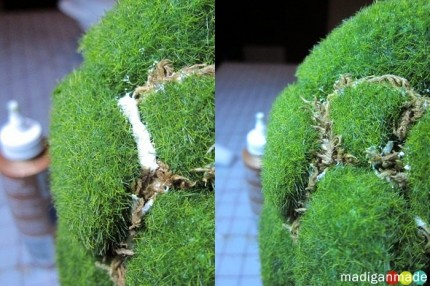 Once the glue was dry, the topiary was done! See, I told you… so easy!
I placed the tree on top of a white planter pot that I already had around the house. I did not secure it to the container. I just let the topiary sit on top, but you could glue it down. I want to be able to change out the base for a completely different look!
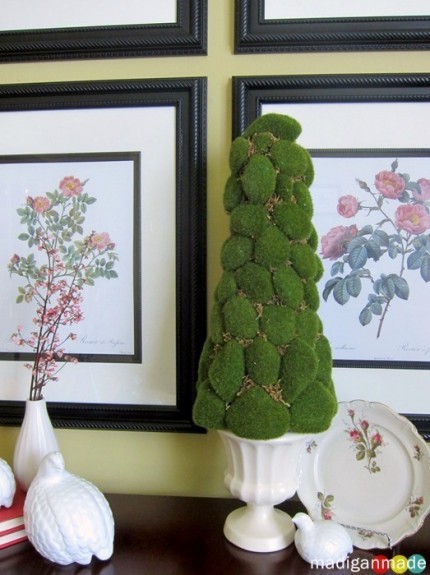 This tree would be a cute idea to display for the winter season if you wanted to make one today. But I also think this topiary and the moss rocks are a bit ‘seasonless’. I love the idea that I can use the topiary year round. It is simple, easy and it adds a lot of height and impact to my little table!
Thanks so much for letting me share this tutorial with you!
If you like this project, I’d be delighted if you wanted to visit me at Madigan Made! I love sharing simple DIY ideas with my readers there.
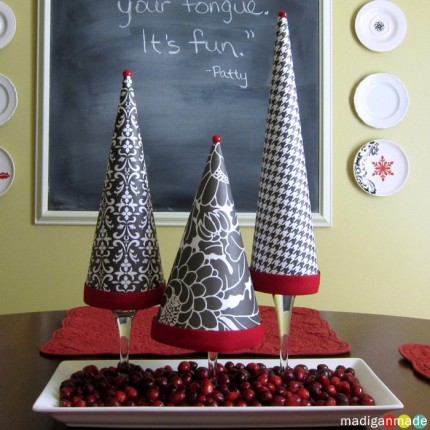 Stop by and see some of my Christmas decor, like my easy topiary trees made from just scrapbook paper and a wine glass.
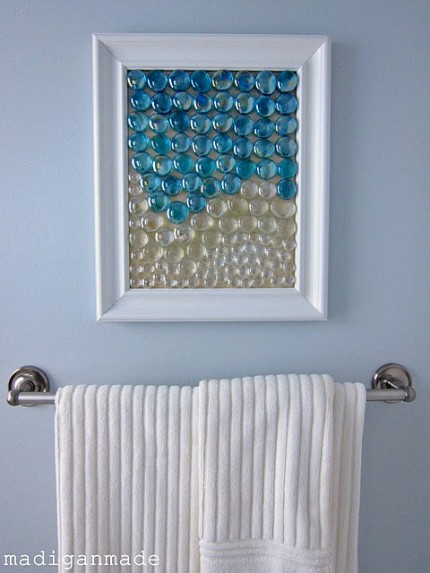 I’m a big fan of creating my own wall decor and I love the beach glass wall art I made for our master bathroom.
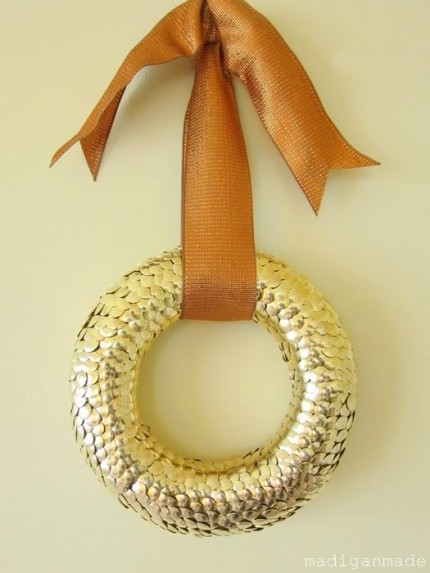 I also love making wreaths and one of my all-time favorites is my brass thumbtack wreath. I’d love to ‘meet’ you!
You can like Madigan Made on Facebook, follow Shannon on Twitter, and check out her Pinterest boards as well. Thanks for sharing with us today Shannon!


Such a clever lady. Beautiful and original ideas. Thanks!
I love this Shannon! Lovin’ the texture from the moss “rocks”. I have two bags of these rocks for some future project and this might be it! Will definitely share this on the StyroCraft Facebook page. Thanks. Sharon
Great topiary! I think it should be displayed year round too. Now I want one for myself. Thanks for this great tutorial.