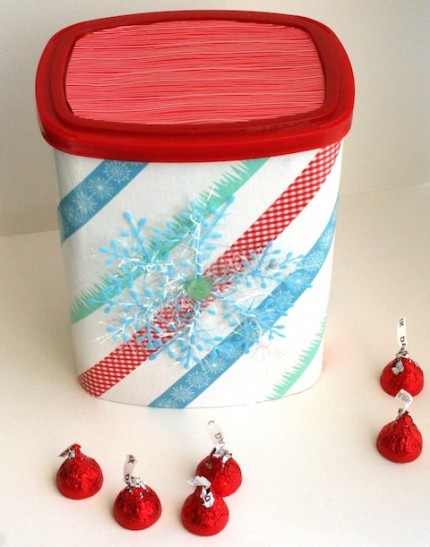
I have a special treat for you today. Amy, from Mod Podge Rocks fame is sharing a tutorial with us! I absolutely love Amy. She has an upbeat personality and is full of creative ideas. Amy will show us how she upcycled a cookie container left over from the holidays. Welcome Amy!
Hello! I’m Amy from Mod Podge Rocks. I first met Amanda when we were a team on Crafting with the Stars – but the truth is, she’s a huge star in her own right. I was so delighted when she asked me to guest post for Craft Gossip. I get the newsletter every day and there are so many awesome craft ideas. I just had to return the favor.
I am excited to share a holiday cookie container that I revamped into a winter cookie container. Once the cookies were gone from the container, I realized that it was very sturdy and I could Mod Podge it. So that is what I did! This container can not only be used for more cookies, but also for a gift box or to store craft supplies. Here’s how I did it.
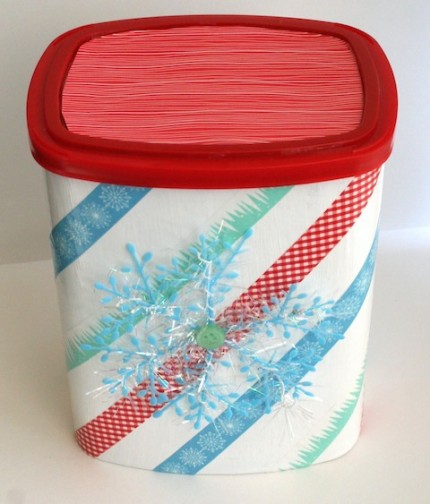 Gather These Supplies
Used Cookie Container
Mod Podge Satin
Martha Stewart Decorative Paint – Wedding Cake
Martha Stewart holiday paper tape
Scrapbook paper – one sheet, coordinating
X-Press It double sided tape, high tack
Snowflake ornament, from Dollar Tree
Scrap piece of white paper
Paintbrush
Pencil
Scissors
Craft knife
Craft glue
Button
 This is the container I started with (of course I ate the cookies first. All of them).
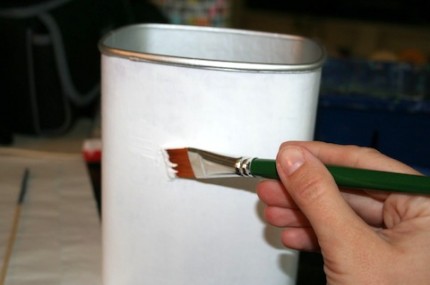 Paint with Wedding Cake white. You’ll want to give it several coats so that you can see the print any more. Let it dry.
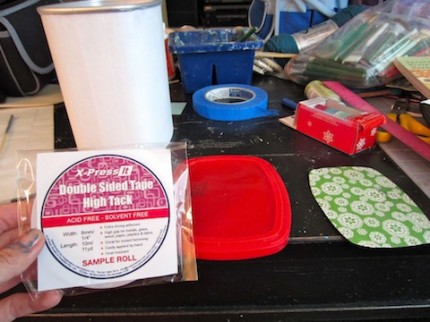 I used the white scrap paper and pencil to create a template for the lid insert. Cut it out and set aside. Mod Podge doesn’t stick well to a lot of plastics (most craft glues don’t either) so I busted out the high tack adhesive tape.
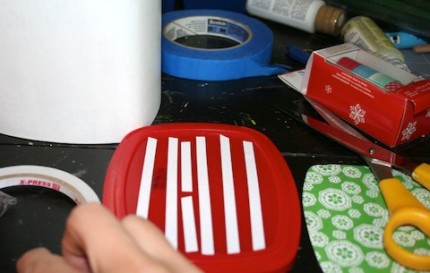 The tape was easy to put down. This tape is REALLY strong.
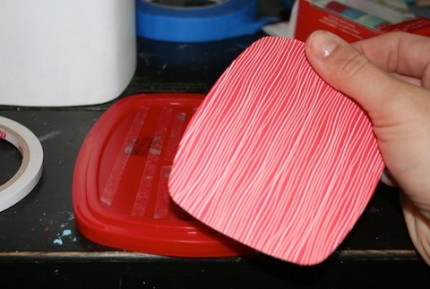 Remove the second side of the tape and set the paper insert into the lid. Smooth it down. This paper isn’t going anywhere!
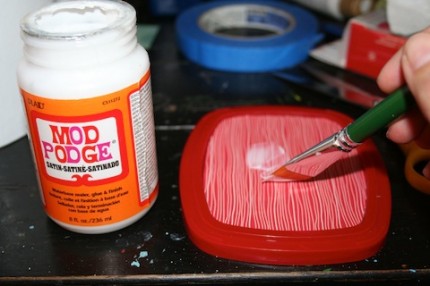 Paint the paper on the lid with Mod Podge. Why? Because this will protect the paper on the lid from those crumbs that put oil spots on paper. I hate it when that happens!
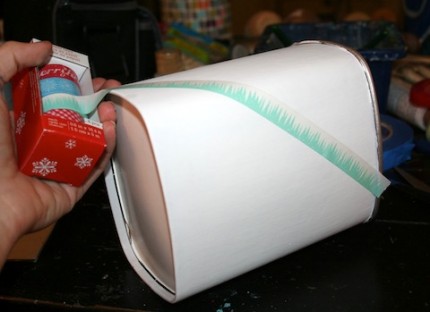 When your container is dry, use the paper tape to create diagonal stripes. I didn’t even remove the tape from the container. It was very easy. Continue taping and smoothing all the way around.
Tip: If you are a detailed crafter, you’ll probably want to measure and mark where the tape should begin around the rim with a pencil to ensure that your stripes are evenly disbursed. Um, I’m not that detail oriented.
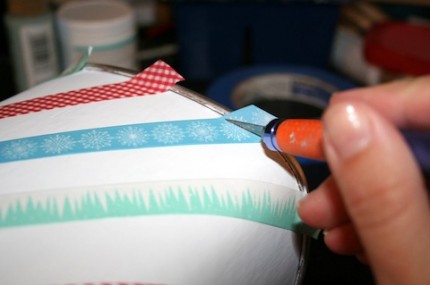 Once the tape is all the way around and smoothed down, use a craft knife or scissors to trim the edges.
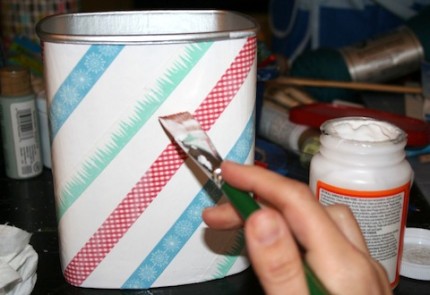 Mod Podge the entire container. Let it dry and then give it another coat. Let it dry.
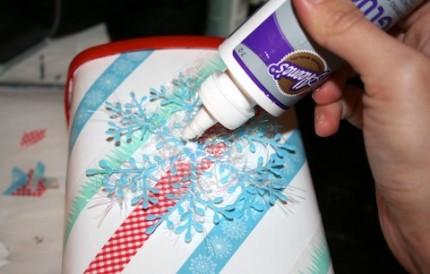 Add the snowflake ornament (or any embellishment) to the front with craft glue – then add a button. Let it dry.
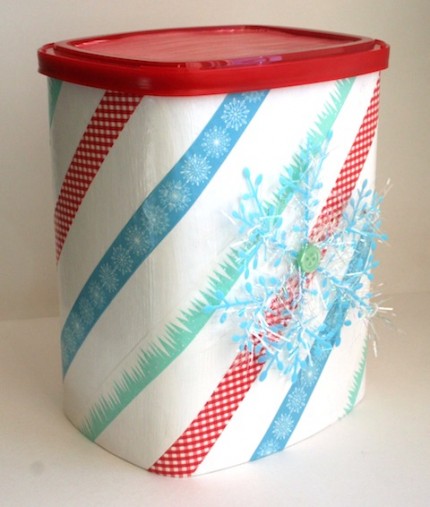 I love my new container. I can “re-cookie” it, so to speak.
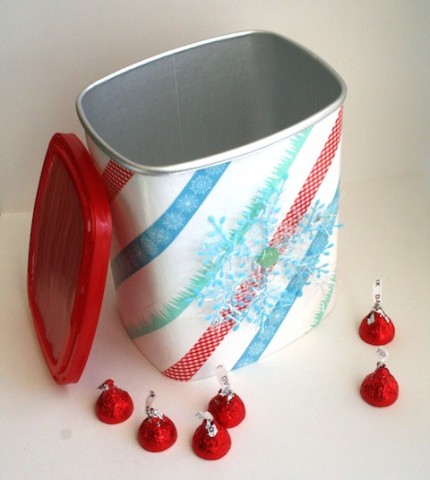 What would you put in your upcycled container?
Big thanks to Amanda for the feature and to all of you for reading. I appreciate it. If you are interested in what other things Mod Podge can do, come see me at Mod Podge Rocks. You’ll be surprised. You can even revamp furniture with it.
You can “like” Mod Podge Rocks on Facebook, follow on Twitter, and follow along on Pinterest too.



Thank you so much for the feature my friend!
Can you do this with coffee containers too. Are they strong enough. I have tons hidden away in a closet just waiting for inspiration to hit:)
Thanks for such a great idea.
I would have to put Hershey Kisses in there, definitely. This is such a cute project and can be done with so many types of containers. Great tutorial, thanks a lot! I’m new in the blogging world and trying to visit everyone I can to see all the awesome projects!
For plastics, just wondering, if it would be okay to spray paint plastics with Rustoleum before Mod Podge?
Gordon, I would think that you could do it with coffee containers.
Debi – it’s actually a good idea to spray paint plastics before Mod Podging them. You should use special plastic spray paint though, like this:
http://www.krylon.com/products/fusion_for_plastic/
Otherwise it will just scrap off.