 Gourd art is around 365 days of the year, but in the fall is when we see them the most. Farmer’s markets, craft fairs and art shows. We had a beautiful weekend here in southeast Wisconsin about a week ago. So hubby and I hopped in the car and took the short 15 minute drive into McHenry, Illinois to buy some delicious home grown tomatoes and other produce from Stade’s Farm & Market. It’s one of our favorite autumn jaunts, I’m especially fond of their cinnamon sugar covered apple cider doughnuts. Yum! It’s a favorite of ours and we’ve been visiting for ages. See some of the beautiful fall foliage I see every year and check out the amazing giant pumpkins from one of our visits to Stade’s on my poor neglected family blog. haha
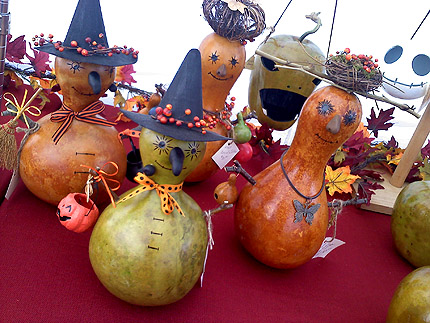 Anyway, while visiting Stade’s, sipping apple cider and digesting a delicious doughnut, I decided to check out the vendor tents out behind the produce market. I have to admit, being a crafter myself and loving handmade items the way that I do, I have grown quite disappointed in how the “made in China” products, Avon booths and other non-crafty booths have taken over these spots. As I perused the the shirts made in Indonesia and the Yankee candle collection, I turned and spotted some handmade gourds. Now that’s more like it!
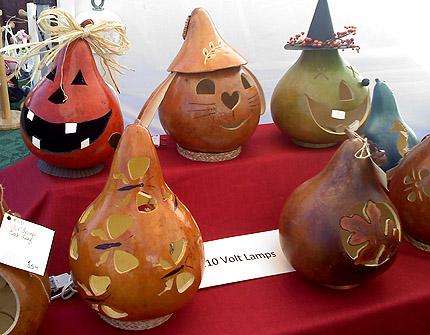
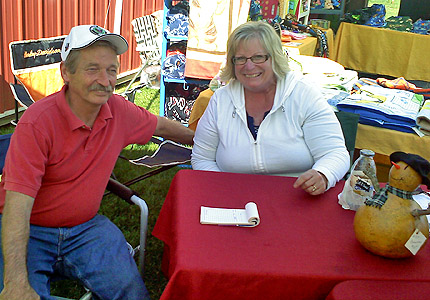 As I wandered over, the first gourd creation that caught my eye was the Jack O’Lantern you see pictured at the top of this post. There were several designs, all hand carved and created by the husband and wife team of Lynn and Diane Abbott. While I didn’t stay long, they were kind enough to let me snap a few pictures (with my cell phone no less) and grab their business card so I could share their fun wares with you.
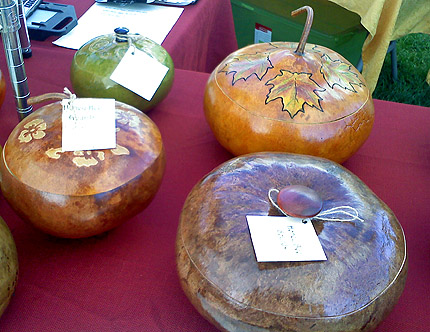 Their work was top notch and really quite beautiful. But you don’t have to live in southeast Wisconsin or even northern Illinois to get a hold of these whimsical pieces. Lynn and Diane have a website and will ship orders to you. They will even ship internationally, so be sure to add them to your Christmas gift radar.
Check out Honey Bee Gourds to see even more of what this talented couple has to offer.
Have you seen some talented local artisans lately?