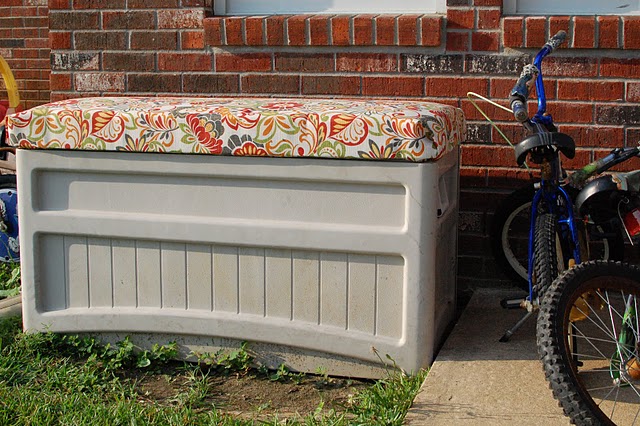
 I love this quick bench makeover. While these heavy duty plastic trunks and storage cabinets are very sturdy and do a great job, they certainly aren’t very pretty. Check out this “prettied up” bench over at Random Thoughts of a SUPERMOM.
How to Paint an Outdoor Plastic Storage Tub
Transforming a plain plastic storage tub into a vibrant, customized piece is easier than you might think! Follow these simple steps to give your tub a fresh, colorful look.
What You’ll Need:
- Plastic storage tub
- Mild dish soap
- Sponge or cloth
- Sandpaper (fine grit)
- Primer for plastic (e.g., Rust-Oleum Specialty Plastic Primer)
- Paint suitable for plastic (e.g., Krylon Fusion for Plastic)
- Clear acrylic sealer (optional for extra protection, e.g., Krylon Clear Acrylic Coating)
- Paintbrushes or spray paint (depending on your preference)
- Drop cloth or newspaper (to protect your work area)
- Masking tape (for any areas you don’t want to paint)
Step 1: Clean the Tub
Start by giving your plastic tub a thorough cleaning. Use mild dish soap and warm water to remove any dirt, grime, or residues. Rinse it well and allow it to dry completely. A clean surface is crucial for the paint to adhere properly.
Step 2: Sand the Surface
Once the tub is dry, lightly sand the entire surface with fine-grit sandpaper. This step helps to create a rough surface, which improves the primer’s and paint’s grip. Be sure to wipe away any sanding dust with a clean cloth before moving on.
Step 3: Apply Primer
Apply a primer specifically designed for plastic. Rust-Oleum Specialty Plastic Primer is a great choice for this task. Follow the instructions on the primer can for application and drying times. Typically, you’ll need to apply a thin, even coat and let it dry completely before proceeding.
Step 4: Paint the Tub
Choose a paint that’s formulated for plastic, like Krylon Fusion for Plastic. You can use either a paintbrush for detailed work or spray paint for an even finish. If you’re using spray paint, make sure to do this in a well-ventilated area and protect your work area with a drop cloth or newspaper.
For paintbrush application, apply the paint in thin, even coats, allowing each coat to dry before applying the next. If you’re using spray paint, hold the can about 6-12 inches from the surface and apply in light, sweeping motions.
Step 5: Seal the Paint (Optional)
For extra durability, especially if the tub will be exposed to the elements, apply a clear acrylic sealer like Krylon Clear Acrylic Coating. This step helps to protect the paint and extend its lifespan. Follow the manufacturer’s instructions for application and drying times.
Step 6: Allow to Dry
Let the painted tub dry completely. This can take several hours to a day, depending on the paint and weather conditions. Make sure it is fully dry before using or placing any items inside.
Product Recommendations:
- Rust-Oleum Specialty Plastic Primer: Great for prepping plastic surfaces.
- Krylon Fusion for Plastic: Ideal paint for a durable and long-lasting finish on plastic.
- Krylon Clear Acrylic Coating: Provides additional protection and a glossy finish.
And there you have it! Your once plain plastic storage tub is now a stylish and personalized addition to your outdoor space. Enjoy your newly revamped tub and the satisfaction of a job well done!