
Painting a plastic resin patio table red is a super fun way to refresh your outdoor space, and honestly, it’s easier than you might think. I decided to give it a go myself after realizing my old, faded table had seen better days. The process turned out to be pretty straightforward, and the result? A bright, eye-catching centerpiece for my backyard. Let me walk you through how I did it.
First things first, prep is key. I started by giving the table a thorough cleaning. You don’t want any dirt, grime, or mildew ruining your paint job. I used a simple mixture of dish soap and warm water, scrubbing the entire surface with a sponge. Don’t skip this step—it’s important to get into all the nooks and crannies. After the scrub down, I rinsed it off with a garden hose and let it dry completely in the sun. You could also use a plastic-friendly cleaner like Spray Nine Heavy Duty Cleaner from Amazon if your table is particularly grimy.
Once the table was dry, it was time to rough it up a bit. Resin is slick, so you need to give the paint something to grip onto. I grabbed some fine-grit sandpaper (about 220 grit) and lightly sanded the entire surface. You don’t need to go crazy—just enough to take off the shine and create a bit of texture. After sanding, I wiped it down with a damp cloth to remove any dust. Some folks might use a tack cloth here, but I found a damp rag did the trick just fine.
Next up, I chose a spray paint that’s made specifically for plastic surfaces. This is crucial because regular paint just won’t adhere properly to plastic. I went with Krylon Fusion All-In-One Spray Paint, and let me tell you, it worked like a charm. It’s available on Amazon and comes in a bunch of colors, but I opted for their vibrant red. Before spraying, I made sure to shake the can really well—like, for a solid two minutes. It might seem like overkill, but you want that paint mixed up nicely.
I started by spraying light, even coats, keeping the can about 10-12 inches away from the table. It’s better to do several thin coats rather than one heavy coat to avoid drips. I applied three coats in total, letting each one dry for about 20 minutes before applying the next. Don’t rush this part; patience really pays off. After the final coat, I let the table cure for a full 24 hours before putting anything on it.
The transformation was amazing! The table looked brand new, and the bold red color added a pop of color to my patio that I absolutely love. One last tip: if your table is going to be exposed to the elements, consider applying a clear sealant like Rust-Oleum’s Clear Gloss Spray to protect your paint job from UV rays and rain. I did this, and so far, it’s held up really well against the weather.
All in all, painting my plastic resin patio table was a quick and easy project that made a huge impact. If you’re looking to give your outdoor space a facelift, I definitely recommend giving this a try. The whole process—from cleaning to painting—took me a weekend, and now I’ve got a table that looks like I just bought it new. Plus, doing it myself saved a ton of money compared to buying new furniture. So go ahead, grab some spray paint, and let your creativity run wild!
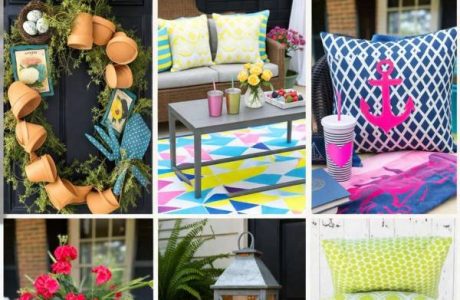
Head on over to Laura Bray and see her resin patio furniture makeover.


I painted my set with Krylon 4 years ago and it still looks great.
That’s great to know it lasts so long!
The red and the patterns are really cozy too.
I think my set is ready. Such a cute idea to paint the flowers on! Very pretty!