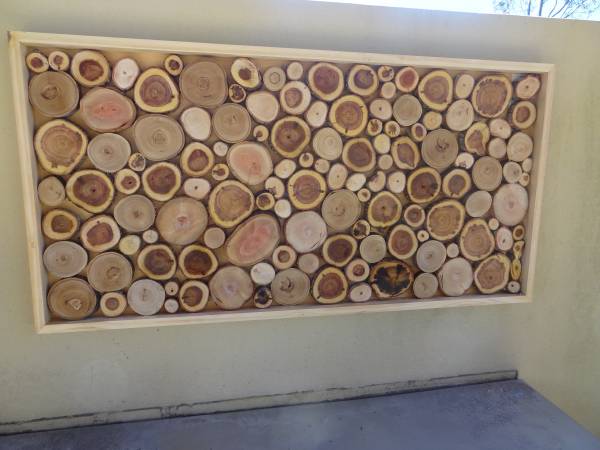
I was offered the opportunity to pitch my very own DIY idea to Ryobi for a promotion. Literally, the day before I had sent photos of a wall in a cafe saying “Why cant we do this?” to my mother (my DIY crime partner). She replied with why can’t you?
So guess what I pitched the idea to Ryobi. A wood slice wall feature.
I had to send Ryobi a list of all the tools I thought I would need and I headed into Bunnings (who are exclusive stockists of RyobiOne+) to ask some questions to make sure I was on the right track.
BTW, here is a 2 minute video that shows the whole process.
https://www.facebook.com/craftgossip/videos/479857865859238/
Now to clarify; I only used RyobiOne+ products because they have a range of over 70 tools that all connect with the one battery. So they are all cordless. I didn’t use any powered tools to create my project, which was SO much easier. I don’t think I could plug a tool in ever again.
I didn’t pick the easiest of projects to tackle for my first girly DIY project but this was an ALL or nothing kinda project of self-discovery. I started out with a “Can I actually do this?” mindset and finished up with “Hell Ya, I did” attitude.
First I had to go and find some branches. I headed out to my parent’s house to trim some trees for the wood slices. One thing led to another and my father had me cutting down his dead trees with my new RyobiOne chainsaw. So what was meant to take an hour, took several. But hopefully, you won’t need to cut down a whole bunch of trees like in the movie “The Lorax”.
I grabbed branches that were anywhere from 20mm to 120mm in size. In fact, I used the chainsaw to create some bigger slices too, but that is for a whole other project, which I will share later.

So here are the details about how I went ahead and did this project, thanks to Ryobi!
Wood Slice Feature Wall Tutorial
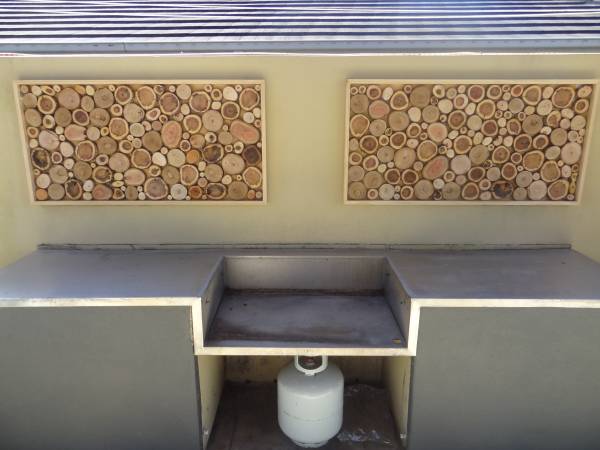
This tutorial creates a 1.2m feature frame x 2
Tools you will need
ONE+ BLOWER VAC (optional for cleanup)
One+ 18V Brushless Hammer Drill
You will need around 5-6 different thicknesses of branches. I chose branches of different textures too so that I would have different colors in the wood grains.

Start by cutting your branches off the tree, For the larger ones I used the chainsaw. I was a little scared at first so I pulled my big girl panties on and just started doing it. I can’t believe I ever used a handsaw to cut firewood.


Then cut the branches into manageable lengths.

My wood slices were 20mm each, I used approx. 300 rounds. So around 6 -10 meters of branches.

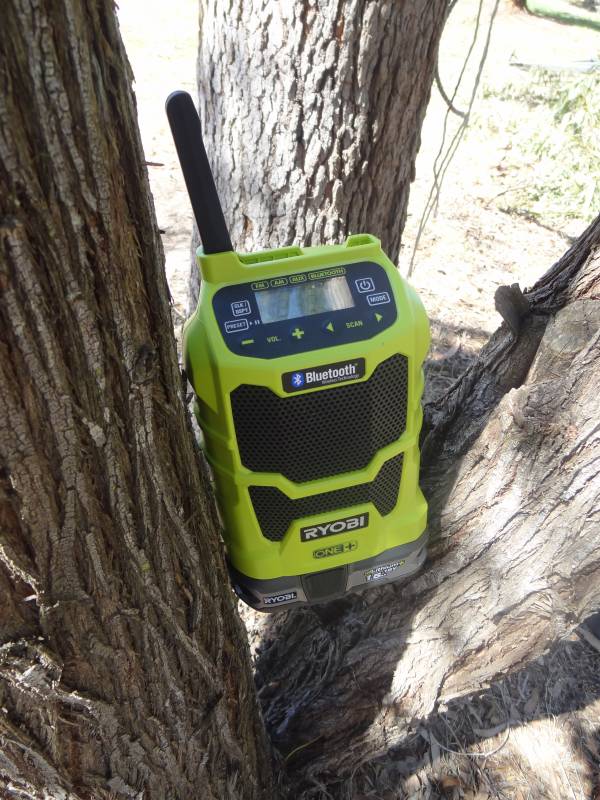
The next thing you need is your MitreSaw. This process is a little slow as it is literally cutting over and over again till you have enough rounds to complete your project. Again, my tool was cordless so I just wheeled my work table out into the garden. I used my cordless Bluetooth radio for company too. Which is an amazing requirement and for me, it was a necessary piece of work equipment, but it is optional if you don’t have one.


So a gazillion rounds later or 3-4 hours later (with coffee breaks and stopping to go collect the kids from school), I had finished the tedious bit.
Now what was I going to do with all those rounds? Frame them! You have two options here, make your own frame or buy a picture frame and take out the glass. This would make for a much faster and easier project but where is the fun in easy, right?
You will need to measure up and make your frames. These frames were cut on a mitre which is the name given to the angle you see on a picture frame. The frame was attached to a plywood base to create a shallow box.

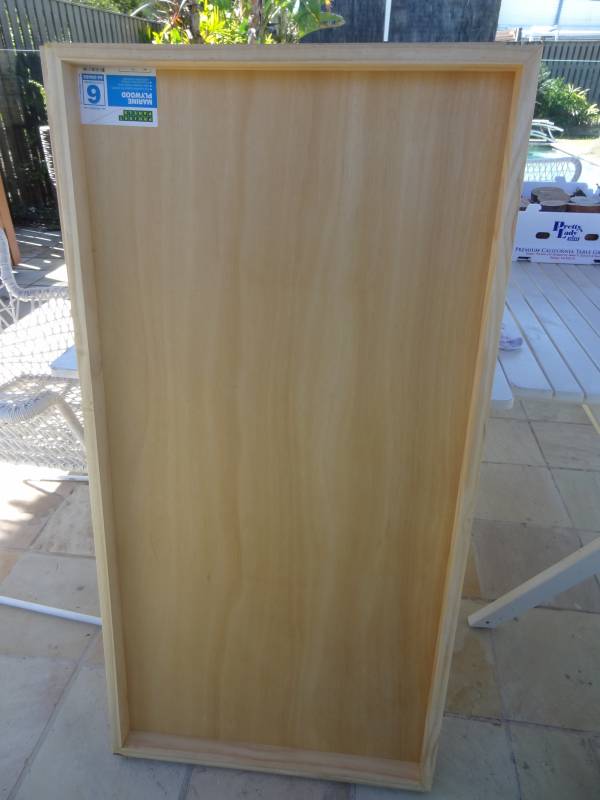
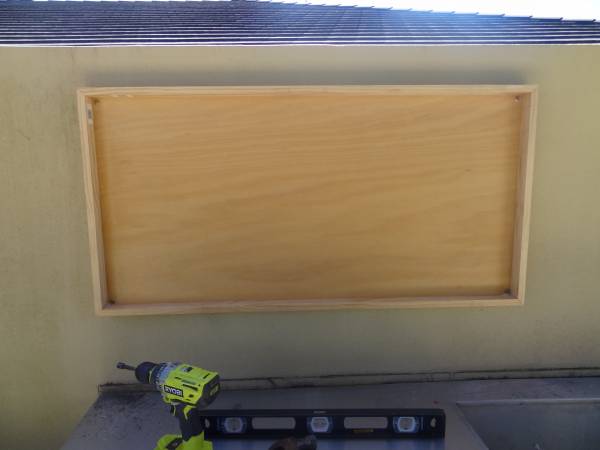
I used the Cordless RyobiOne+ Nail gun to put the frame together.

The next part was a couple of days later due to a whole lot of rain and other life commitments that got in the way. In between, I did seal the back side of my rounds with a varnish.
I used the Hammer Drill to pre-drill the holes for the screws and used screw plugs as an anchor for the screws. Not sure what drill bits you need? Ask your local Bunnings which screw, plug and drill bit you will need. My frame was being anchored into concrete so depending on where you are hanging yours will depend on what you need. Again I loved that this drill was cordless and went wherever I went without hassle.


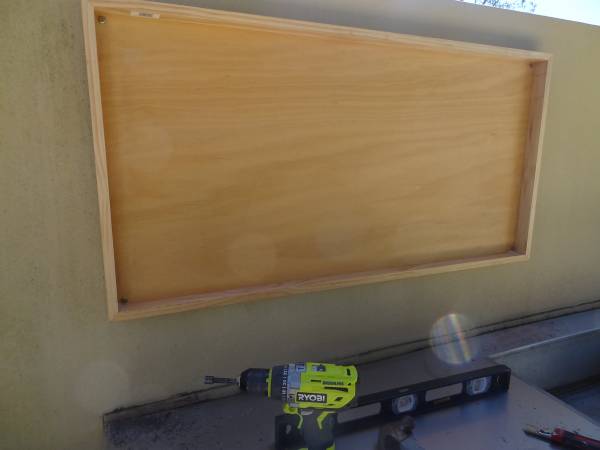
Now came the fun part, filling the frame with the wood circles. For this part I had my mum assist me, only because she couldn’t help herself and wanted to join in on the fun. Besides she is better a jigsaw puzzles than me and I needed to break off to go and get the kids from school.
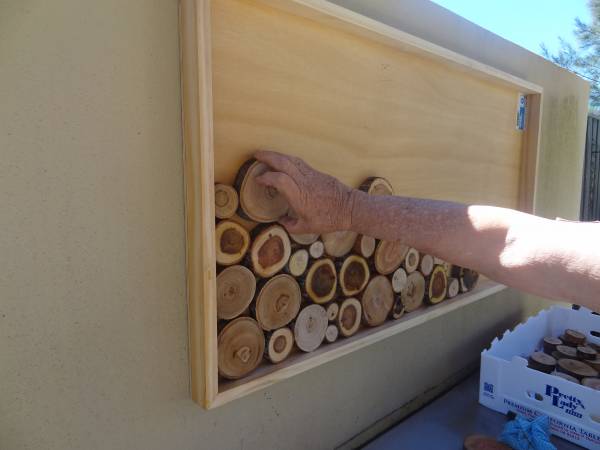
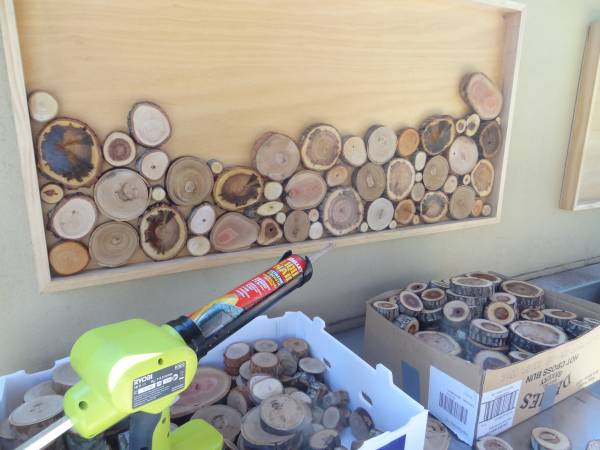
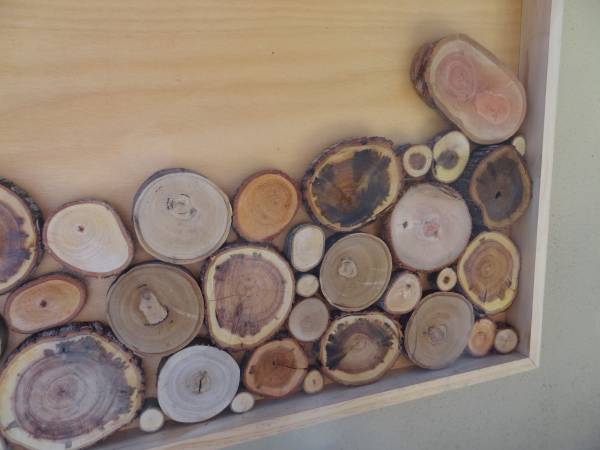
I had two boxes on the go, dark wood and light wood. I used my RyobiOne+ caulking tool to pipe on the quick set adhesive. We started out sticking one at a time but as we got more confident with our puzzle skills we glued 10 or more in advance.
(You should wear gloves if you don’t want glue on your hands for next 48 hours)
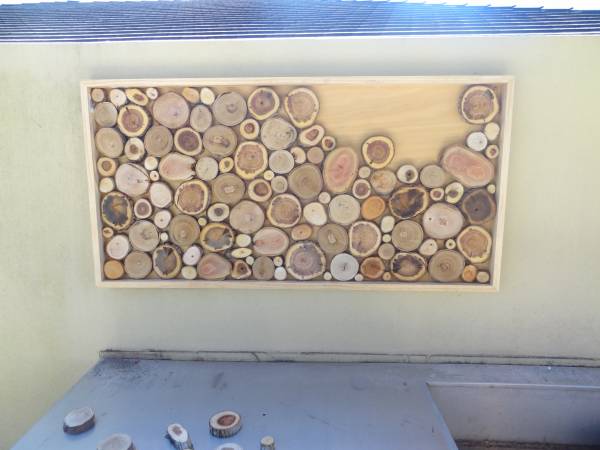
This was the most satisfying part of the project, seeing all those little rounds going together like a piece of art.
Once the design was completed I sat back and admired my handy work. The outside is finished off with a coat of varnish to seal the wood as this is not in a rain proof location.
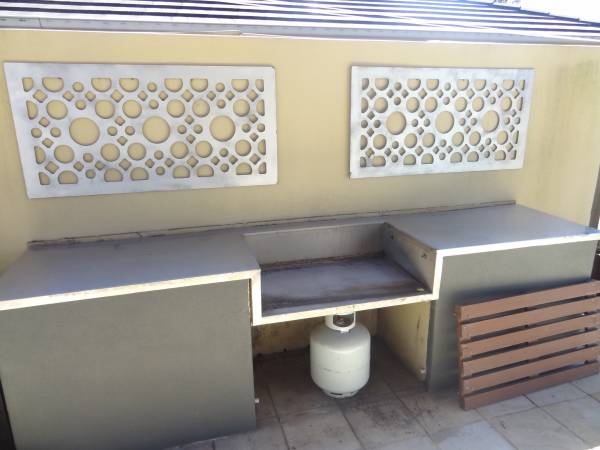
Now to go and and tackle the BBQ bench top that rotted off the wall. I will be using my new tools for that too.
I wanted to give a big shout out to Ryobi, not for the free tools (though great) but for motivating me to take on a project I thought was beyond my reach. I have gone on to make so many more things with my tools, cutting boards, cheese slabs, picture frames and I have done repairs around the house that have been sitting there for years waiting for someone else to do them. I did them! On my own, just me and all my girlyness and guess what, I did a damn good job too!

Before
RYOBI is so confident in their ONE+ tools, they back them with a 6 year replacement warranty*. Go follow them on their Instagram to see what other projects have been done.
* 6 year warranty applies to cordless products registered at www.ryobi.com.au. Batteries and chargers have 3 year warranty only. Corded tools have a 4 year warranty.


Beautiful job! This is so striking!