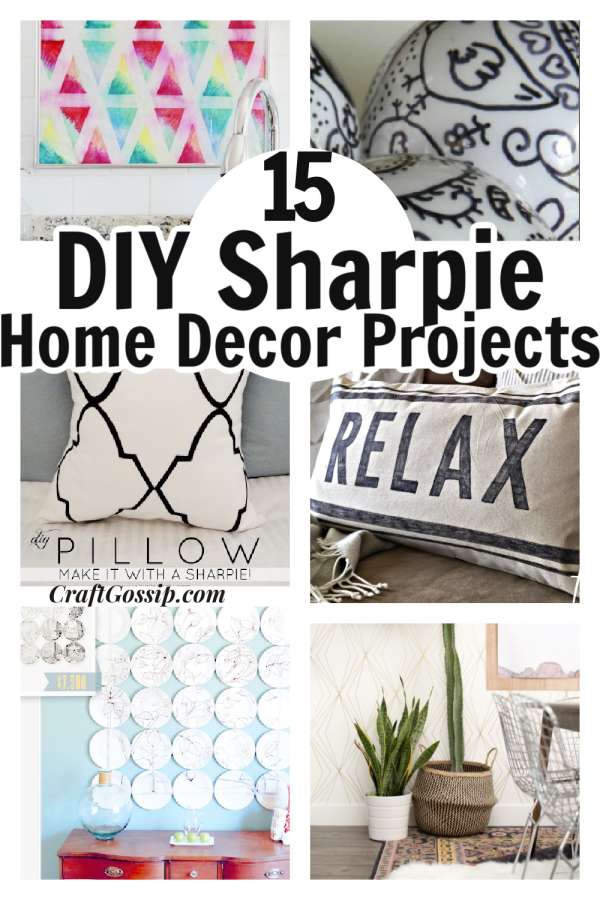
Sharpie pens are a versatile and affordable tool for home decorating. With their wide range of colors and easy application, you can create unique, one-of-a-kind pieces for your home. The rustic farmhouse style is particularly popular right now and small imperfections in your design can add character to your creations.
To get the most out of your Sharpie pens, it’s important to use them on the right surfaces and to set the ink properly. Here are my top tips for using Sharpie pens in DIY crafts.
Fabric: Sharpie pens require heat to set the ink in the fabric. After you’ve finished your design, you can place the item in the dryer for 15 to 20 minutes on high heat, or you can use an iron. Make sure your iron is set to the highest setting and iron both sides for five minutes with the steam turned off. To protect your iron, place a sheet of baking paper or freezer paper between the design and the iron.
If you want a bright, long-lasting color, use Sharpie’s fade-resistant fabric markers .
.
Ceramic: For ceramics, I prefer an oil-based Sharpie , but if you only have regular Sharpies, you can still use them. After your design is complete, bake the ceramic item at 350 degrees for 30 minutes. Note that these mugs and plates are not dishwasher safe, so be sure to handwash them.
Metal and Glass: To set Sharpie ink on metal and glass, use a can of clear acrylic sealer  and spray over the top of your design. If you’re working with glass, you can also use the ceramic method or a glass paint pen.
Plastic: Sharpie pens can be tricky to use on plastic because of their shiny, non-porous surface. To make it easier, sand the area where you want your design to go with 120-grit sandpaper.  After you’ve finished your design, seal it with a clear sealer.
In conclusion, using Sharpie pens for home decorating is a fun and affordable way to add unique, personal touches to your home. Whether you’re working with fabric, ceramics, metal, glass, or plastic, there’s a Sharpie pen that’s right for the job. With a little heat and sealant, your designs will last for years to come. So get creative, have fun, and see what amazing pieces you can make with Sharpie pens.
Faux Shiplap: DIY Sharpie Shiplap and Painted Shiplap Tutorial |
DIY Cowtan & Tout Bamboo graphic pattern – Cuckoo4Design
An Easy And Cute Shoebox Craft For The Home – Pillar Box Blue
LiveLoveDIY: DIY Stencil Sharpie Pillow
Lightbulb Doodles – the Coolest of Sharpie Crafts
Quick’n’Easy DIY Two-Sided Sharpie Pillow for Fall | The Happy Housie
While They Snooze: Anthropologie Plate Art Knockoff Tutorial
The Best Way To Make A Sharpie Pillow – Twelve On Main
https://ispydiy.com/diy-home-thanksgiving/
owen’s olivia: $5 wall treatment || tutorial
Art Wall: inspired design: hand-drawn frames
How to Make Stained Glass With Sharpies Markers
DIY Sharpie Pen Jeans Tutorial
Jeans are a staple in every wardrobe, and you can make them even more unique by personalizing them with Sharpie pens. With this simple DIY project, you can create one-of-a-kind jeans that reflect your personality and style. Whether you want to add a pop of color, some abstract designs, or your favorite quotes, Sharpie pens make it easy to do. In this tutorial, we’ll walk you through the steps to make your own Sharpie pen jeans.
Materials you will need:
A pair of light-colored jeans
Sharpie pens in the colors of your choice
Baking paper or freezer paper
Iron
Step 1: Preparing the Jeans
Start by laying out your jeans on a flat surface. Make sure the area you want to decorate is clean, dry, and free of any wrinkles. If there are any pockets or seams in the way, you can fold them under to make a flat surface to work with.
Step 2: Sketching your Design
Next, use a pencil to sketch your design onto the jeans. If you’re unsure of what to draw, you can find inspiration online or just doodle freely. You can also print out images and trace them onto the jeans with a pencil. Keep in mind that your design will be inverted when you flip the jeans over to decorate the other side.
Step 3: Coloring in your Design
Once you’re happy with your sketch, it’s time to start coloring it in with the Sharpie pens. Make sure to let the ink dry completely between each color, so it doesn’t smudge. If you make a mistake, you can easily erase it with a pencil eraser before the ink dries.
Step 4: Setting the Ink
Once you’ve finished coloring in your design, it’s time to set the ink. Place a piece of baking paper or freezer paper over the design and use an iron to apply heat for five minutes on both sides. The heat will help the ink set into the fabric, making it more durable and resistant to fading.
Step 5: Finishing Up
After the ink has cooled, you’re ready to wear your newly personalized jeans. Make sure to avoid washing them for at least 24 hours after applying the ink, and always wash them inside out to protect the design.
And there you have it, your own DIY Sharpie pen jeans! This fun and simple project is a great way to add a personal touch to your wardrobe and create something that’s truly unique to you. Whether you choose to keep it simple or go all out with an intricate design, you’re sure to love the results. So grab your Sharpie pens and get started today!