• Home
  • Suggest A Craft
  • DIY Newsletter

Home and Garden

Ideas For DIY

  • About CraftGossip
  • Our Network
    • Bath & Body Crafts
    • Candle Making Ideas
    • Crochet Ideas
    • Cross Stitch
    • Edible Crafts
    • Felting Patterns
    • Glass Art
    • Home & Garden Ideas
    • Indie Crafts
    • Jewelry Making
    • Kids Crafts
    • Knitting Patterns
    • Lesson Plans
    • Needlework
    • Party Ideas
    • Polymer Clay
    • Quilting Ideas
    • Recycled Crafts
    • Scrapbooking
    • Sewing Patterns
    • Card Making
    • DIY Weddings
    • Not Craft Ideas
  • Giveaways
  • Roundups
  • Store
  • Search

30 Christmas Cards You Can Make Yourself

September 14, 2017 by Shellie Wilson

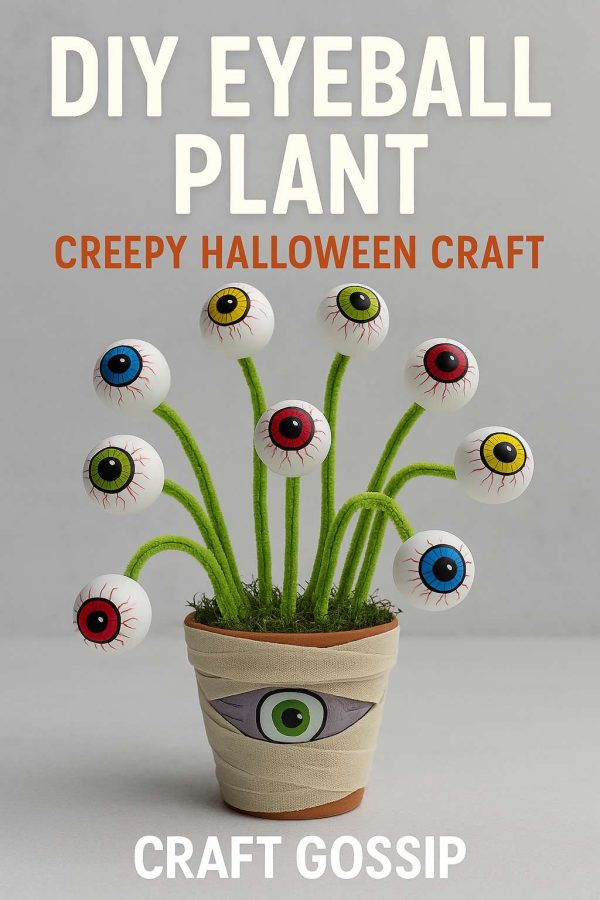
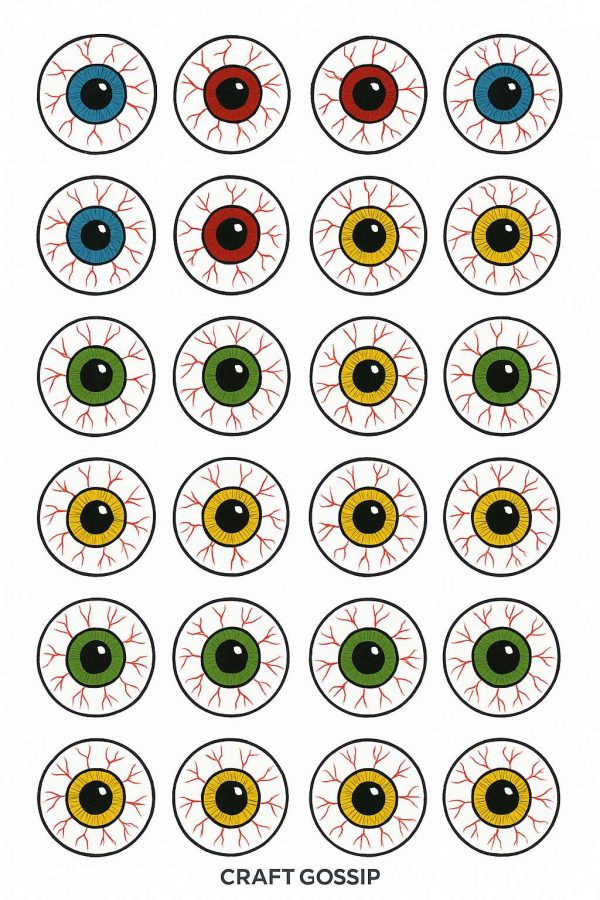
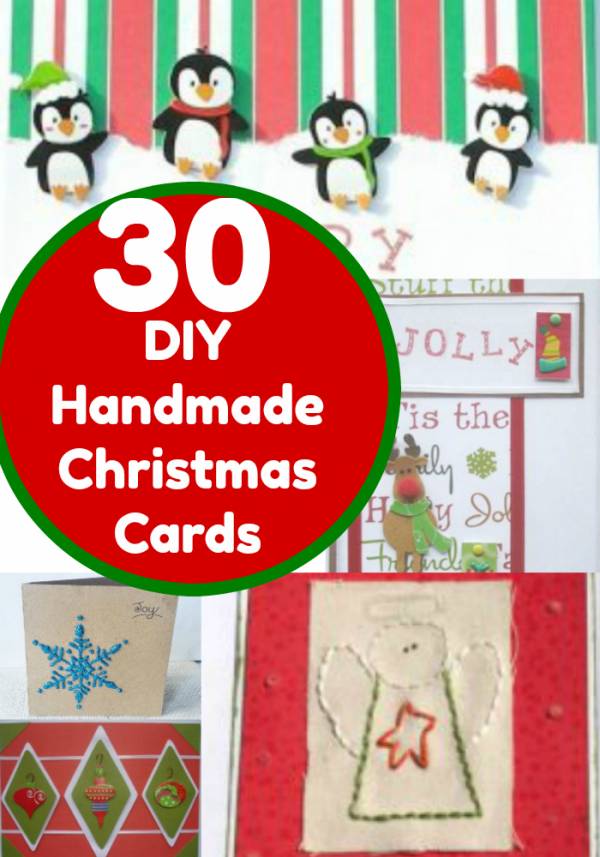
Handmade Christmas cards are a great way to send a little extra love and thought this holiday season. We have composed this massive list of handmade Christmas card patterns and tutorials to inspire your creativity. Some of these Handmade cards are stamped with store bought Christmas stamps, like snowmen stamps and sentiment stamps. Some of the tutorials show you how to use Christmas stickers upon patterned Scrapbooking paper to create beautiful layered Christmas cards. You can use these cards for inspiration and use the products you have available to you. Set up a card making afternoon and let your kids have fun creating different designs to give to friends and family.


Christmas Tree Bauble Stamped Card  with text background


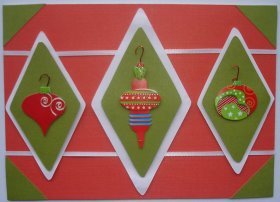
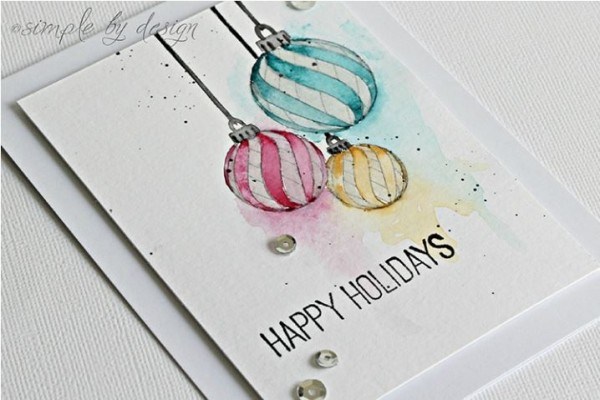
3 Hanging Bauble Ornaments  handmade card


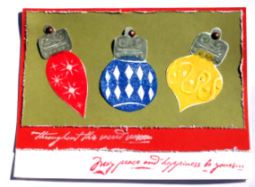
Stamped Handmade Christmas Cards in bright colors


Giant Snowflake overlay Handmade Glitter Xmas Card with cardstock snowflake

Christmas easy quick Handmade greeting Card using store bought stickers


Embossed Christmas Card in tropical black and gold design

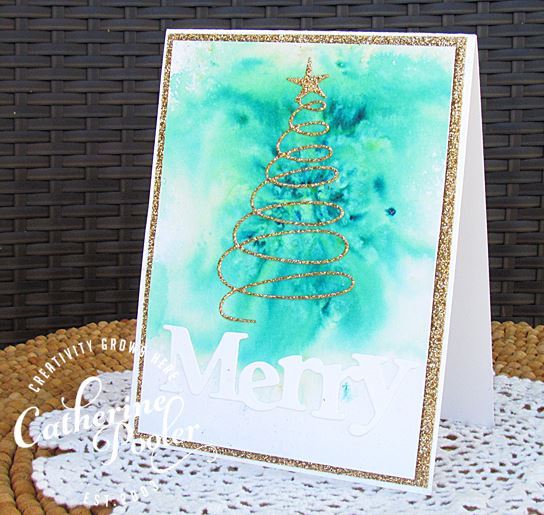
Water color wash Handmade Christmas Card with Glitter cardstock


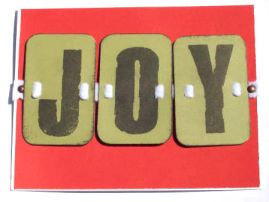
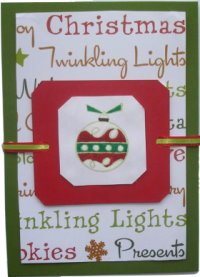
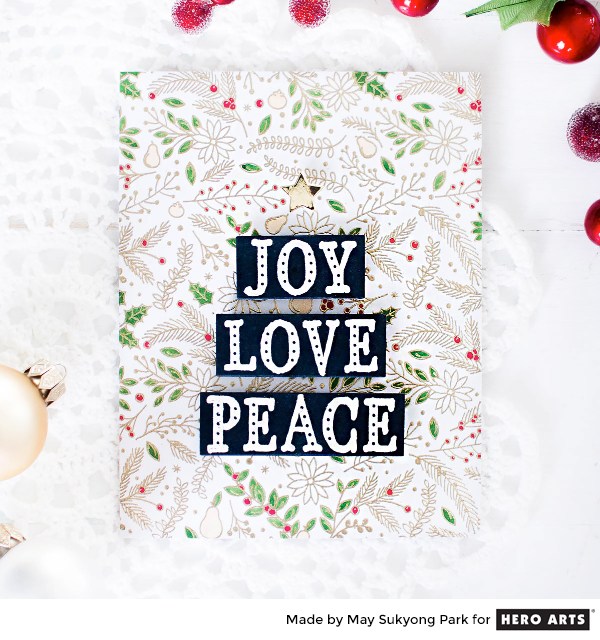
Large stamp JOY Christmas Card you could use sticker letters also


Cute  Penguins Christmas Card For childrens Handmade Craft


Watercolor  Christmas hand painted card design using watercolor paints


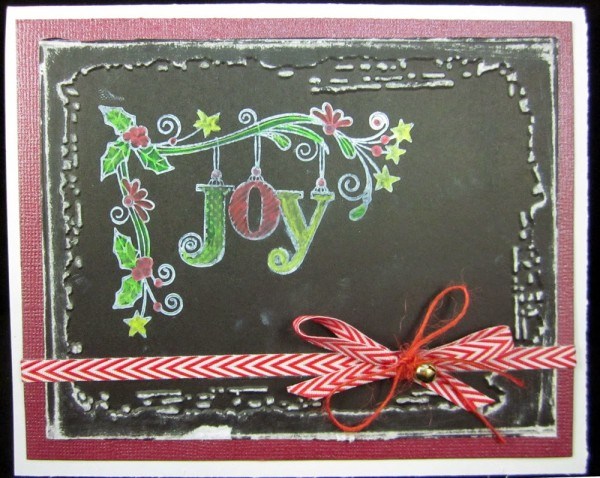
Chalkboard Design Black Christmas card with chalk artwork and ribbons


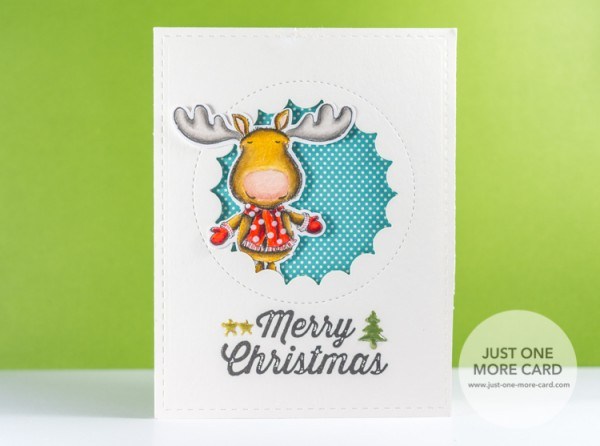
Purple Onion design by Just one more card.com.  Rudolph Cut out stamped card.


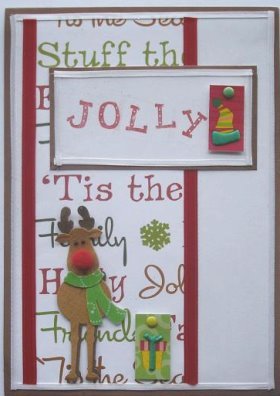
Rudolph Embellishments for a handmade festive Christmas card 


Simple snowflake winter scene easy handmade DIY Christmas Card

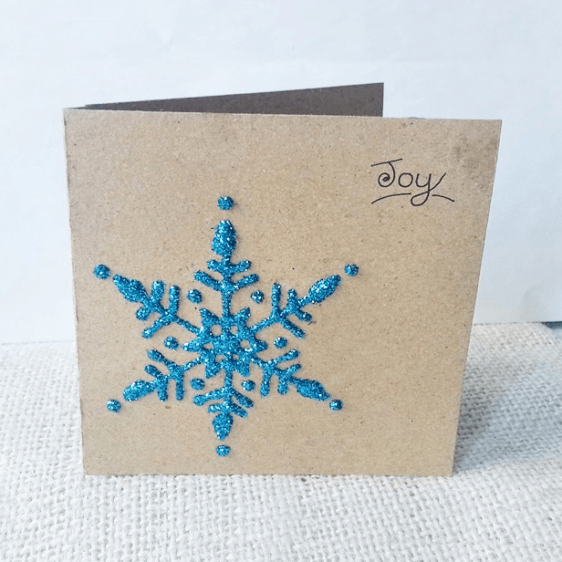
Glitter snowflake – Simple but elegant Christmas Card using glitter glue.


Snowman Embellishment Card. Use snowflakes and stickers to make this DIY Christmas Card


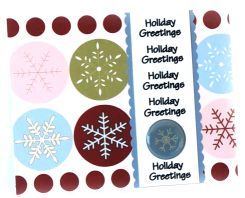
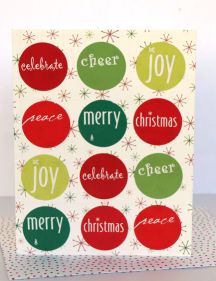
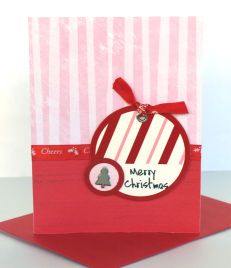
Christmas Sentiments Handmade Card in circle design.


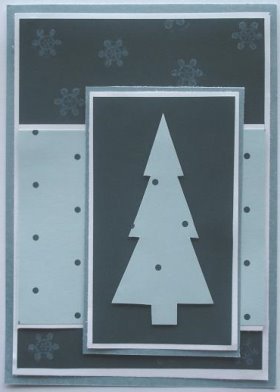
Masculine man’s Christmas card in dark colors.


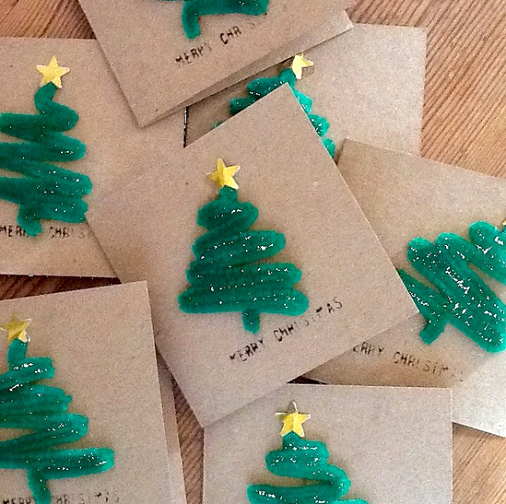
Pipecleaner Christmas card for Kids to make,


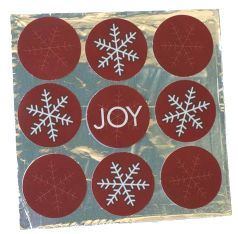
Silver Foil JOY Handmade Christmas Card

Layered Scrapbook Chalk handmade Xmas Card 


Candy circles Christmas card design.


Handmade DIY Christmas Card


Word tree Christmas Card


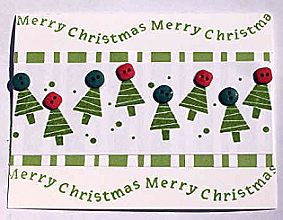
Trees and Buttons Christmas Card using red and green buttons.


Stamping Christmas Card Tutorial


Fun, sweet Gingerbread man stamped Handmade Card


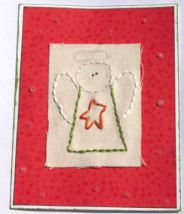
Hand stitched embroidered Angel Christmas Card Project


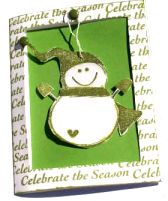
Snowman stamp Christmas Holiday Card


Snow Card Stock Letter Handmade Card

Related Posts:

  • 40+ Buffalo Check Christmas Decorations You Can Make…
  • How to Make a Christmas Tree Star from Recycled…
«
»

Have you read?

DIY Eyeball Plant – Creepy Halloween Craft with Ping Pong Balls

Halloween crafts are the most fun when they’re a little bit spooky and a little bit silly. This DIY Eyeball Plant ticks both boxes—it’s quirky, creepy, and surprisingly easy to make. With nothing more than ping pong balls, pipe cleaners, and a flower pot, you can whip up a planter that looks like it came straight out of a mad scientist’s greenhouse.

It’s budget-friendly, kid-friendly (with a bit of hot glue supervision), and the kind of decoration you’ll want to bring out year after year. Let’s get crafting!

Supplies You’ll Need

  • 12–20 white ping pong balls 
  • Permanent markers or acrylic paints (black, blue, green, yellow, red) 
  • Fine red marker or paint pen (for veins) 
  • Green chenille stems (pipe cleaners) 
  • Small pot, tin bucket, or Halloween-themed planter 
  • Floral foam or foam block 
  • Hot glue gun and glue sticks 
  • Optional: fake moss, shredded paper, or Halloween spider webbing to cover the foam 
  • Optional: gauze or bandages to wrap the pot for a “mummy look” 

Step-by-Step Instructions

Step 1: Make Your Eyeballs

  1. Start with plain white ping pong balls. 
  2. Use a black marker or paint to draw the pupil. 
  3. Add a ring of color around the pupil for the iris—blue, green, yellow, and red all look fantastic. 
  4. With a fine red marker, draw little squiggly lines radiating out from the iris to make veins. 
  5. Set aside to dry. 

Crafty Tip: Add a coat of glossy Mod Podge or clear nail polish to give your eyeballs a wet, realistic shine.

Step 2: Attach to Stems

  1. Use a thumbtack or skewer to poke a small hole in the back of each ping pong ball. 
  2. Add a dab of hot glue into the hole. 
  3. Insert one end of a green chenille stem into the hole and hold it until the glue sets. 
  4. Bend the stems at different angles so your eyeballs “grow” like wild plants. 

Step 3: Plant Your Eyeball Stems

  1. Place a block of floral foam inside your flower pot. 
  2. Stick the eyeball stems into the foam, varying the heights and angles for a natural, chaotic look. 
  3. Cover the foam with moss, shredded paper, or fabric scraps to finish it off neatly. 

Step 4: Style and Decorate

  • Mummy Wrap: Wrap gauze or white fabric strips around the pot and add a painted eye for a fun, spooky twist. 
  • Extra Creepy: Add small plastic spiders, snakes, or bugs crawling among the stems. 
  • Glow Factor: Use glow-in-the-dark paint for pupils so the eyeballs glow at night. 
  • Party Favors: Make mini versions in paper cups for table centerpieces or party giveaways. 

Where to Display Your Eyeball Plant

  • On your Halloween buffet table as a quirky centerpiece. 
  • By the front door to greet trick-or-treaters. 
  • In your living room with pumpkins and cobwebs for a full spooky effect. 
  • At the office desk or classroom for a non-messy, attention-grabbing decoration. 

Variations to Try

  • Bouquet Style: Tie stems together with black ribbon instead of planting them in foam. 
  • LED Glow Eyes: Use clear ping pong balls with mini LED lights inside. 
  • Rainbow Eyes: Paint each iris a different bright color for a fun twist. 

This DIY Eyeball Plant is the kind of project that proves Halloween decorating doesn’t need to be complicated or expensive. With just a handful of supplies, you can make something wonderfully creepy that gets people talking.

So, what do you think—will you stop at one eyeball plant, or make a whole garden of them?

10 Halloween Crafts Made From Scrap Wood [Home and Garden]

12+ Halloween Spider Crafts For Kids [Kids Crafts]

13 Awesome Halloween Cape Free Sewing Patterns [Sewing]

Explore

Bedrooms Christmas Craft Ideas Easter Garden and Yard Halloween Holidays Home Decor Kitchens Living Areas Makeovers and Redos More DIY's Organizing Outdoor Decor Porches, Patios and Decks Recycled Crafts Seasonal Trash to Treasure Windows and Walls Wreaths

RSS More Articles

  • Trick or Treat in Style with the Free Happy Jack Treat Bag Pattern
  • DIY Eyeball Plant – Creepy Halloween Craft with Ping Pong Balls
  • DIY Milk Jug Halloween Skeleton Faces – Day of the Dead Inspired
  • 13 Witchy Halloween Card Ideas using Stamps and Dies
  • Create Personalized Dish Towels with DIY Infusible Ink: A Simple Craft Idea
  • DIY Clay Egg Tray – Handmade Farmhouse Charm for Your Kitchen
  • Textured Hat Knitting Patterns
  • Free Crochet Skull and Bones Granny Square Pattern
  • Easy Fall Crafts To Decorate Your Home
  • Copycat Sizzler Cheese Toast Recipe – Bring Back the Family Favorite

Copyright © 2025 · CraftGossip | Start Here | Contact Us | Link to Us | Your Editors | Privacy and affiliate policy