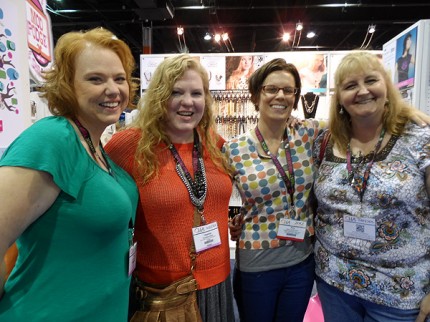
 The summer Craft and Hobby Association Trade Show is always held in Chicago. More specifically, Rosemont, Illinois. I had originally intended to head down their myself, but after meeting and interviewing the Craft Editor for Reader’s Digest Publications, Shalana Frisby, we decided to go together. I just love hanging out with Shalana, we have become fast friends! (pictured left to right: Shalana Frisby, Country Woman Magazine; Heather Mann, Dollar Store Crafts; Amy Anderson, Mod Podge Rocks!; and me)
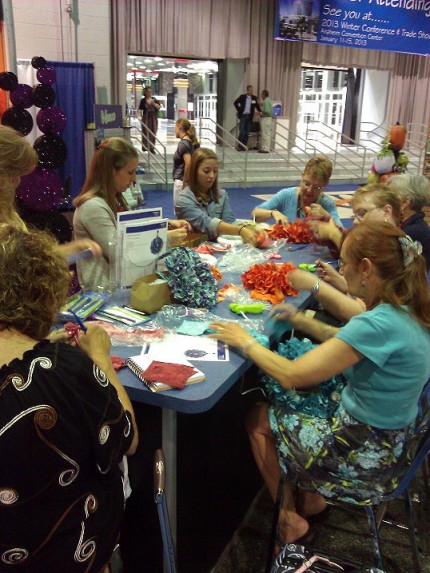 There were quite a few vendors on display, though I didn’t get a chance to chat with them all. There were plenty of make and takes available. Unfortunately for me my battery pooped out before I got all the pictures that I wanted, but suffice it to say that there was no shortage of scrapbook and paper product vendors at the show!
Shalana was able to snap quite a few pictures and shared them on Country Woman Magazine’s Pinterest board here.
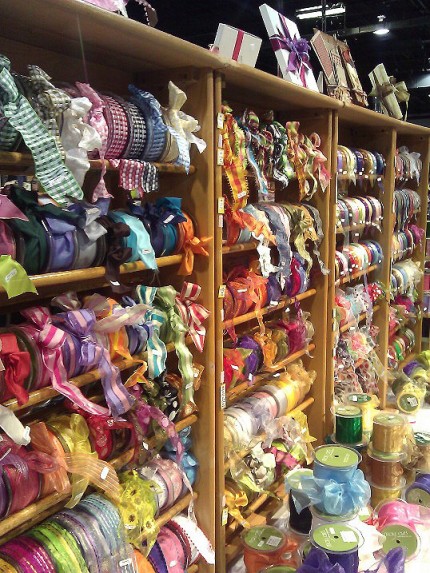 There were a few things that caught my eye. One was this ribbon display. So many gorgeous patterns and colors as far as the eye could see! So if you’re looking for a trendy ribbon supplier, be sure to give May Arts a look.
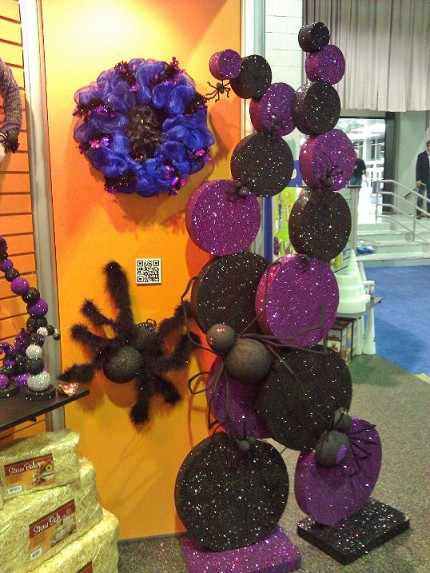 FloraCraft had a fun Halloween display as well. Lots of purple, and the royal blue mixed with black was quite striking! They had a fun display using, of course, Styrofoam.
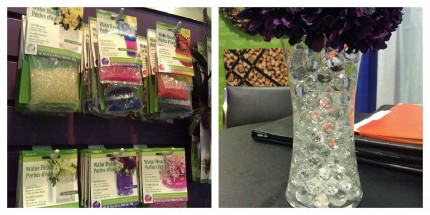 They also had these hydrating water beads. When hydrated they are perfect in vases and bowls, then just lay them out on a plate or cookie sheet to dehydrate to shrink to their original packaged sized. Reusable. Very cool.
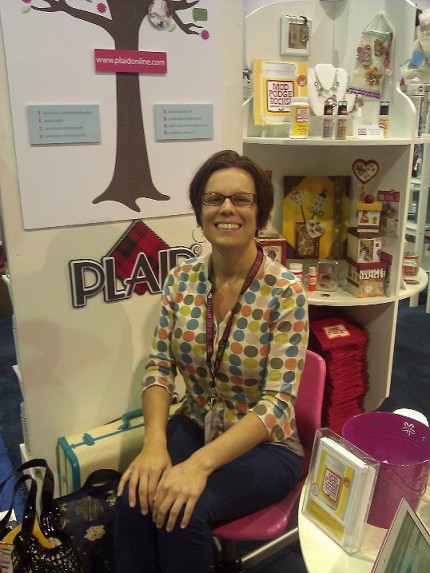 And of course, how could I attend CHA and not meet up with plenty of industry friends. Here’s Amy Anderson of Mod Podge Rocks! at the Plaid booth.
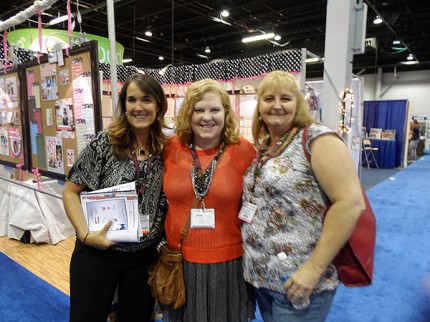 This shot is of Jen Goode of JGoode Designs, Heather Mann of Dollar Store Crafts, and me. These ladies are a big part of my everyday online life and I loved finally meeting them in person!
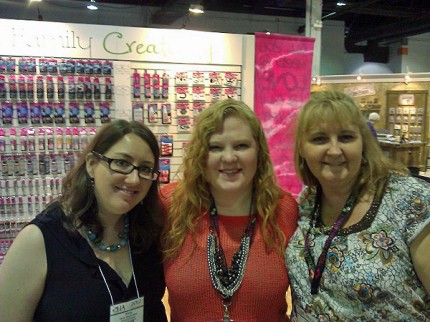 Lastly, here’s a shot of Alexa Westerfield of I Love to Create along with Heather and I. I hosted a make and take at their booth for part of the afternoon. I also had the opportunity to met fellow Craft Gossip editor (of our Candle Making channel) Heidi Gustad. Unfortunately we didn’t snap a picture.
It was fun seeing all that craft product in one place. What would you ask the vendors if you could go?
woohoo! Looks like it was a great time! 🙂
gail
Fun!! Thanks for sharing 🙂
I loved meeting you – so fun! You are as great in person as you are online. There’s only one thing I’m upset about which is my HAIR is these pictures. It looks like crap. It was acting up!!
I wish I would get my act together and open a shop on etsy so that I could afford to go to such a show as this one and buy some neat supplies. Wouldn’t it be fun if you could win a chance to do a Supermarket Sweep kinda thing but with craft supplies instead of groceries?
Ha ha yes that would be fun Ellen! 🙂
You are so lucky!! Looks like it was amazing!
I so enjoyed spending the day with you Amanda at CHA! It was a blast. And meeting everyone you knew was amazing – such a talented lot of crafters and designers 🙂