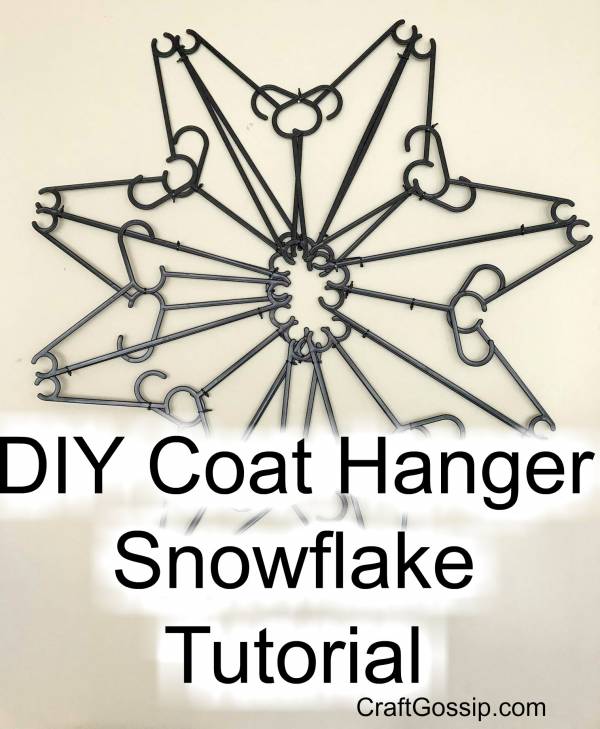
Coat hanger or hanger snowflakes are going crazy right now and why? Not only are they super cute but they are so easy and affordable to make. This snowflake cost me under $3 to make. Do you know what else is great about these giant snowflakes? They are waterproof, so they are the PERFECT addition to your outdoor yard art Christmas displays.
Once you have the basic snowflake design worked out you can embellish them or leave them natural. You can make white ones, pinks, ones, fluffy ones and even light up ones by adding some battery lights to them. Using metal or gold clothing hangers
 work really well too and whilst they give a thinner snowflake they are metallic hangers so they may suit your decor better.
You can wrap these snowflakes with tinsel, lights and even fluffy wool roving onto a white hanger one for a soft snowflake.
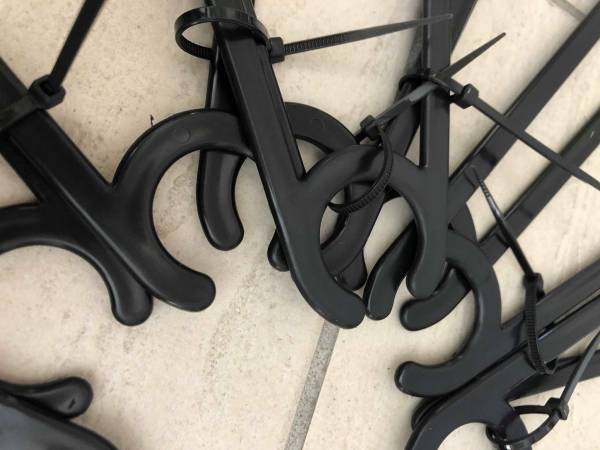
There is no right or wrong way to design your snowflake. It will also be slightly dependant on how your hangers are designed. I used really cheap hangers which were flat and they would actually make terrible hangers for clothing, so just as well that’s not what I bought these hangers for.
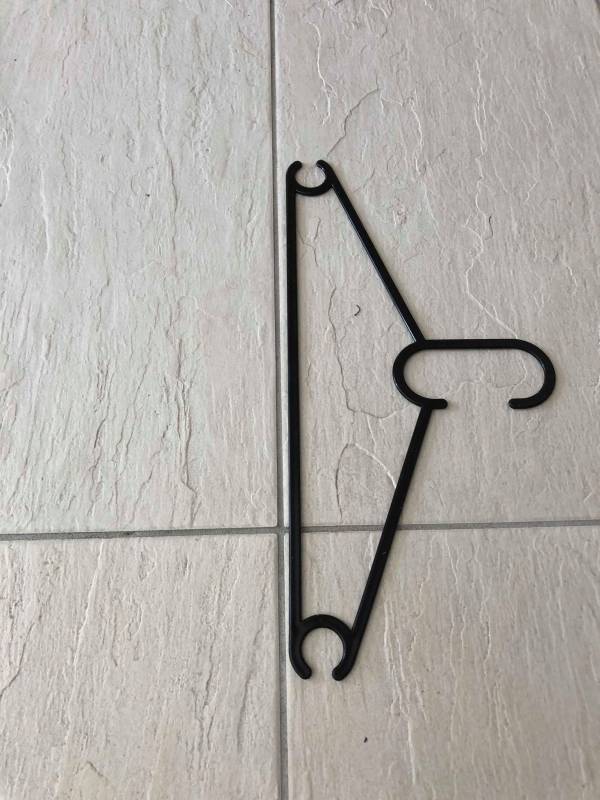
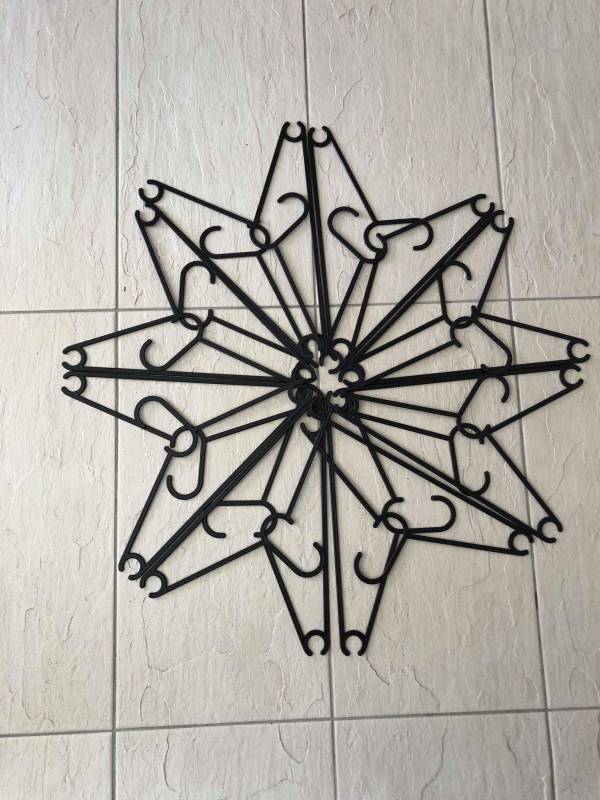
Start off with the first part of your snowflake hanger. The key to a successful coat hanger snowflake is to make sure you repeat the design. It doesn’t matter what your design is as long as you repeat it all the way around.
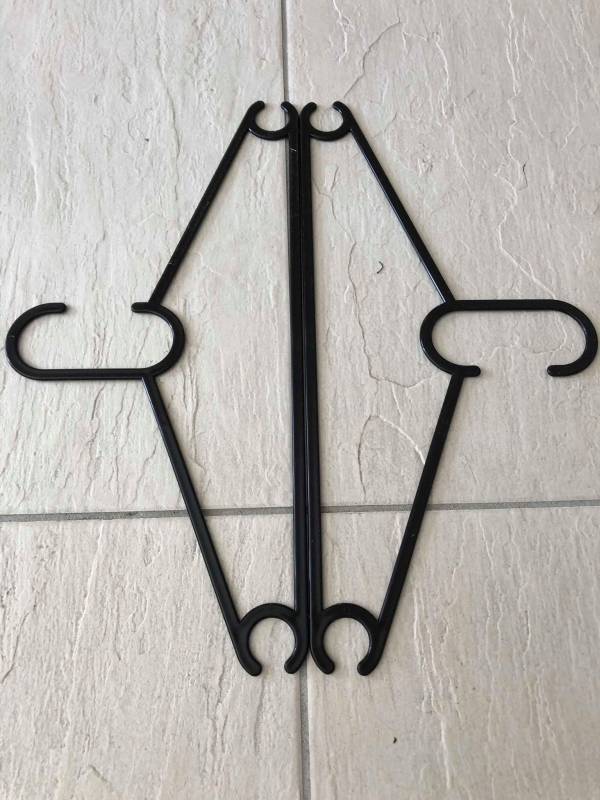
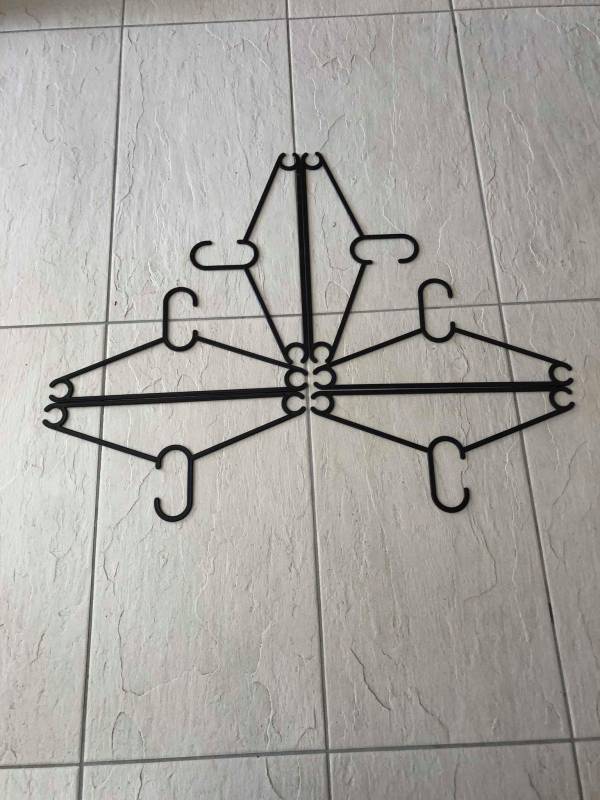
When I got to this point I was very tempted to leave it and turn it into a religious coat hanger cross, but I carried on with my snowflake design. I will probably go back and make another one and stop here. I added some more at this stage and to be honest I believe this would be a sufficient design that only uses 12 hangers. If you want to carry on with more layers then go back to the cross-stage and add the second layer.
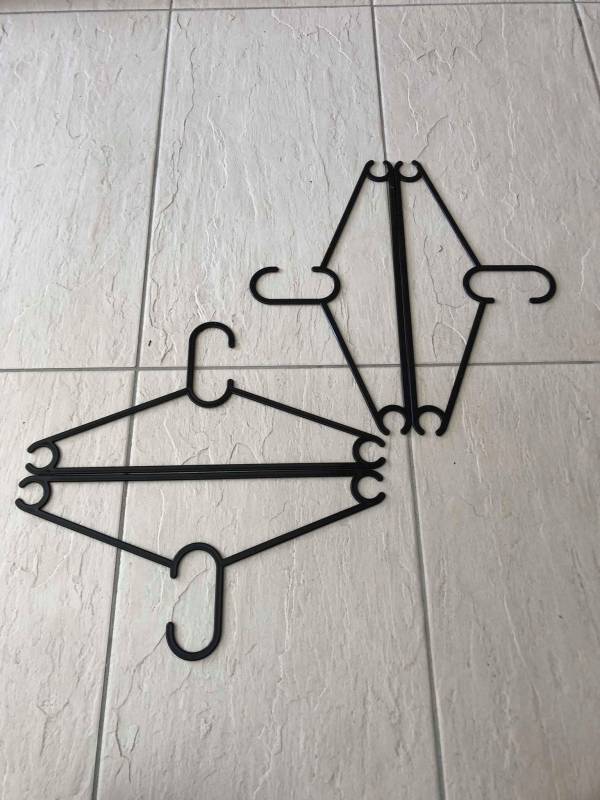
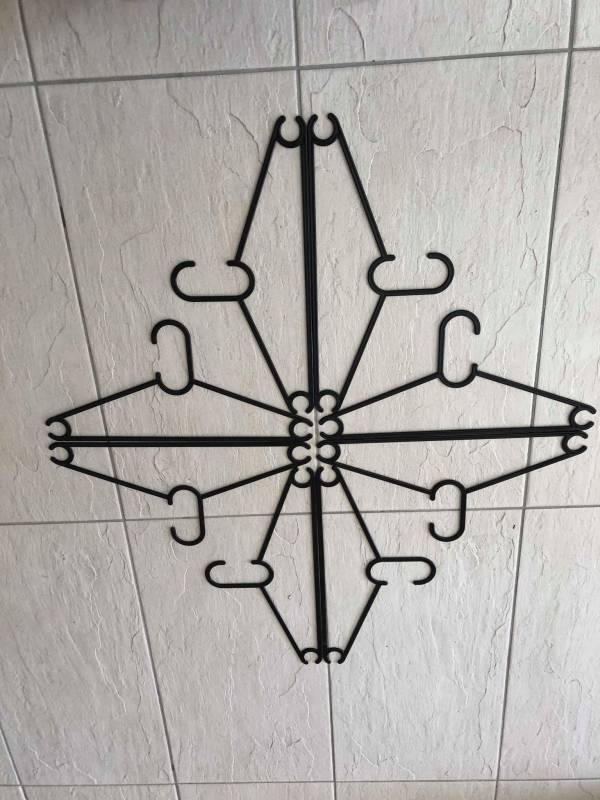
The next step is the second layer which is the same as the first except the points of your star or snowflake are going in the gaps.
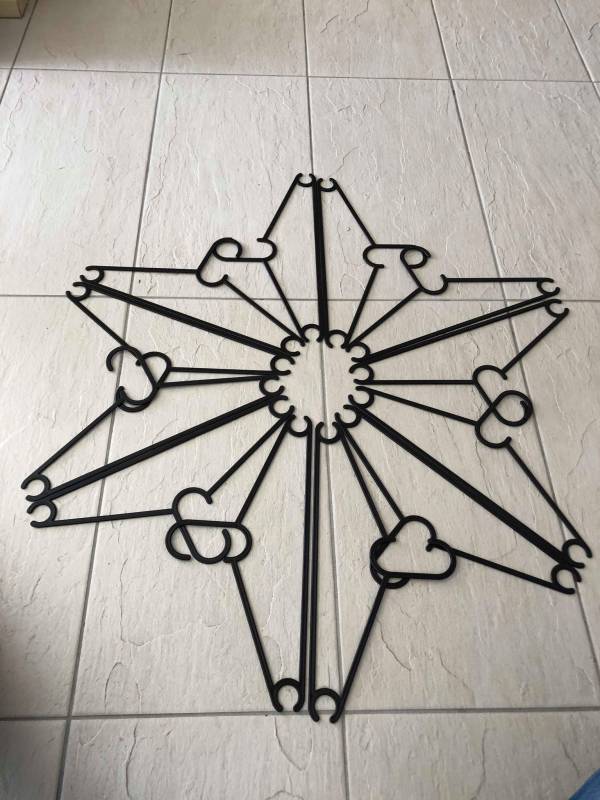
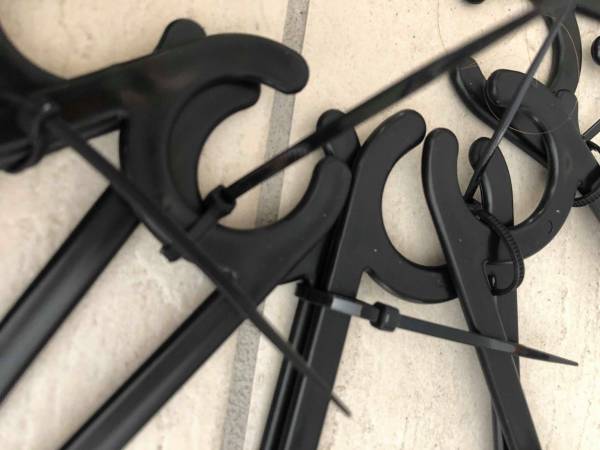
Once you are happy with your design you want to secure it with mini zip ties . Now whilst everyone is using zip ties and that seems to be the most popular way to make these, I do believe hot glue or E6000 glue
 would be so much better. My zip ties did keep slipping and sliding around, and whilst it did allow me to adjust the snowflake shape, it also infuriated me as I have very little patience.
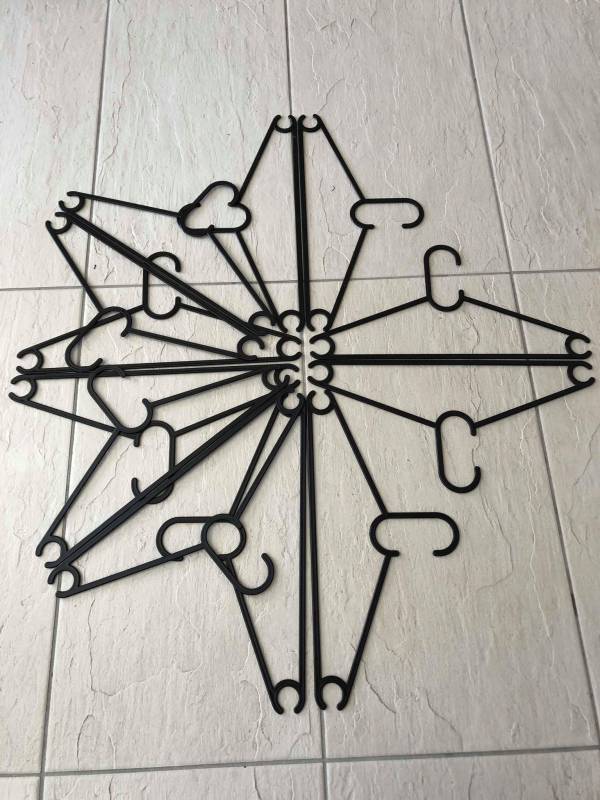
If you are using zip ties or cable ties as they are known to secure your hangers then make sure you do not pull them tight until you have finished laying out your design and are happy with it. Make sure you secure it from a hanging position not just flat on the ground. When you lift up the snowflake gravity kicks in and the hangers start sliding.
Basically you can create any design you like and it really is simple. Don’t worry too much about how others look and worry about working your design with your hangers. Different coat clothing hangers yield very different results.
Check out this baby hanger version we have over on our sister site Craftbits.com Clothing Coat Hanger Snowflake
Do you have a Christmas snowflake design to share? Send us your photo or add it in the comments below. We would love to see your variation on how to finish off these hanger snowflakes.


Love this snowflake. It is so neat and different than others I have seen. Please post where you purchased these hangers from? Thank you so much.
Merry Christmas and Happy New Year 2022!