We were given the opportunity to try out Surebonder hot glue guns and like all our DIY Craft reviews we give a hands-on practical and honest review. I have some bad history when it comes to hot glue and hot glue guns. I have an inability to use a hot glue gun without burning myself. So for this DIY project, I handed over my guns and ideas to Grandma Craftgossip. She decided to add (yet another) garden ornament to her yard.
Before I go into the tutorial how about I tell you what she thought of the glue gun? Firstly she DIDn’t burn herself. It isn’t hot to touch like the cheap guns from the dollar stores. So safety wise that is an important thing. The other issue with cheap glue guns and glue is that the glue pops off the project once cold. So to put it to its true test Grandma Craftgossip decided to glue non porous shiny surfaces together. She loved it!, in fact, she loved the glue gun so much she hasn’t actually returned it back to the office yet. The glue gun by Surebonder is promoted as an Industrial glue gun and I would have to 100% agree with that. This isn’t a simple sticky craft glue gun it is a tool. A full on adhesive tool that works in the office, in the shed, in the garden and of course in the craft room. Don’t let the words industrial turn you away from using it for craft this is the only glue gun you’re going to need in the house.
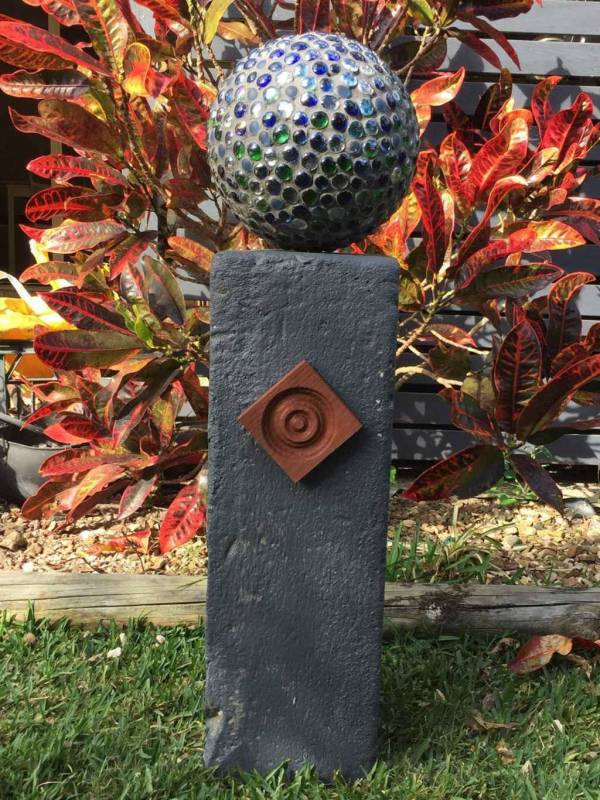
How to make the Gazing Ball.
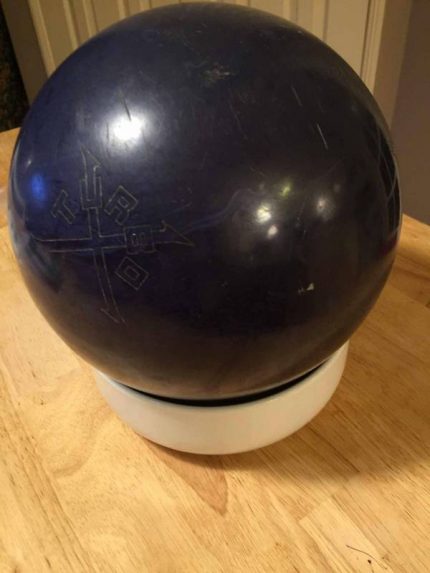
1 upcycled bowling ball (found in thrift store for $2)
Packet or box of tile grouting
Sponge
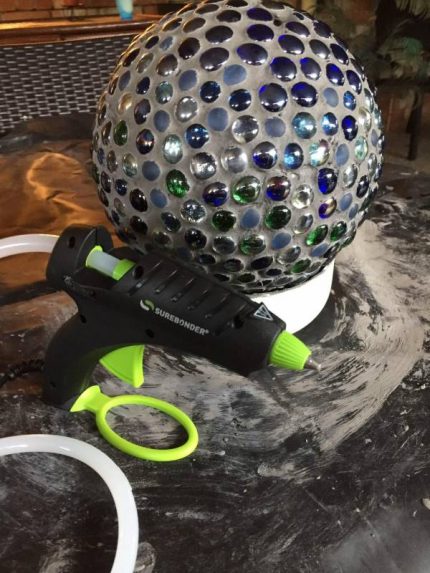
Surebonder Glue gun and glue

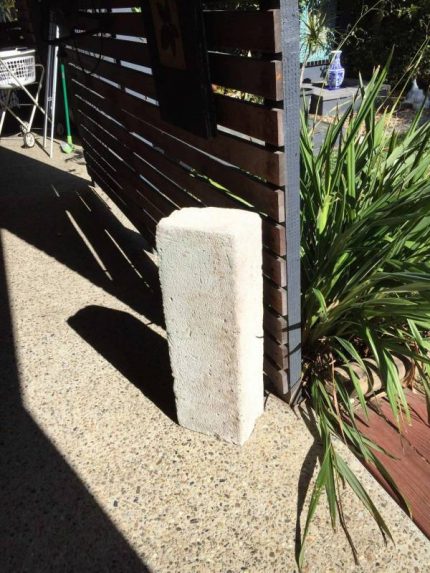
A cinder block for the base (optional)
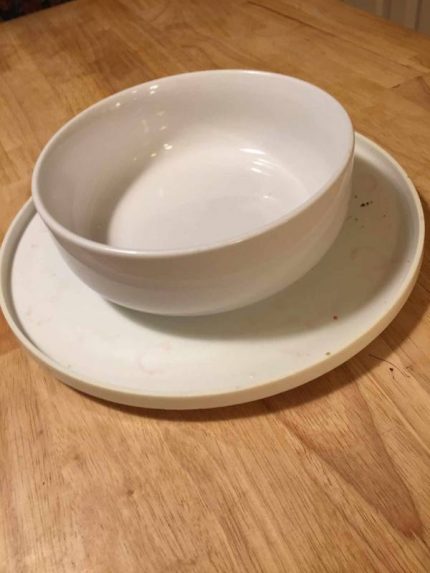
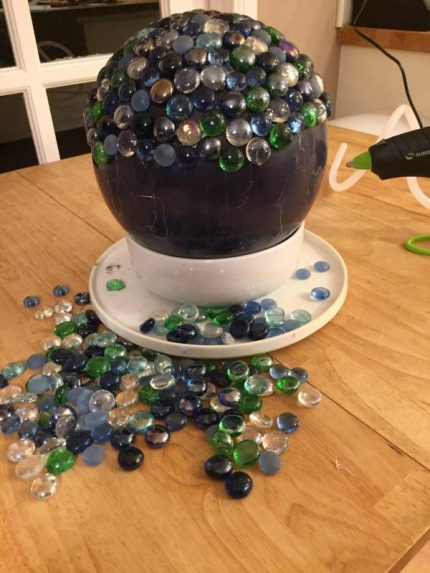
Start by taking your bowling ball and creating a base for it so that it doesn’t roll away.
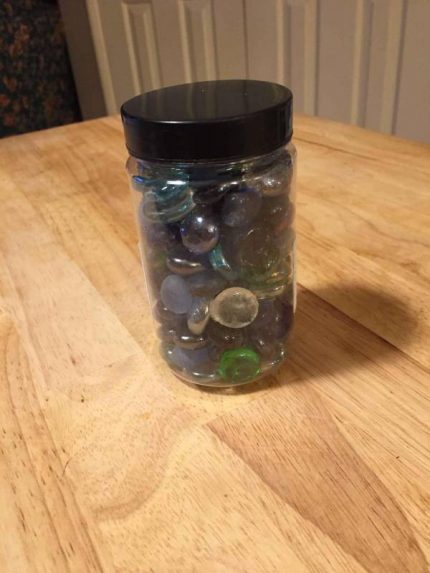
then one by one start glueing on the marbles.
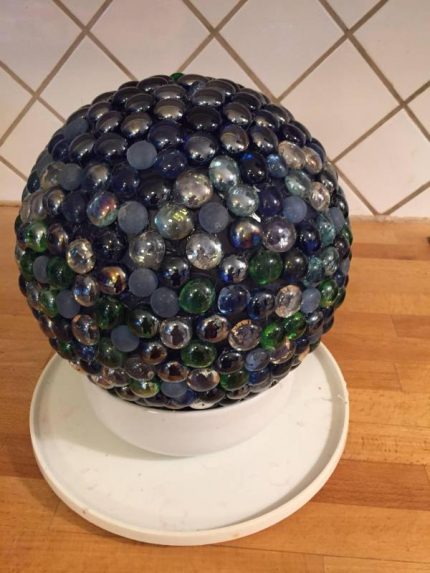
Once the Ball is covered allow to sit overnight and then using the instructions on your grout mix, grout the whole ball.
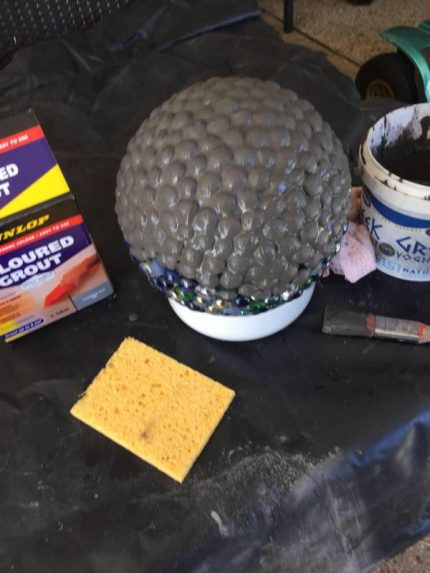
Clean off the grout with a damp sponge to reveal the Marbles.
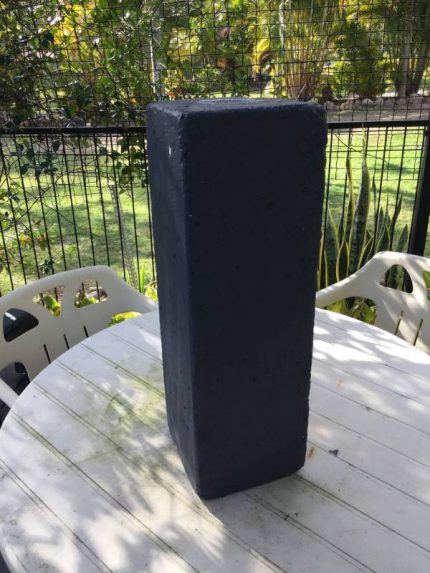
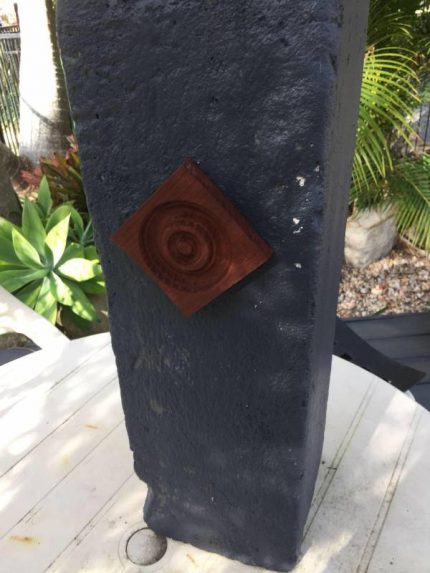
Paint a cinder block and add a decorative block to the front (optional)
Use your Surebonder glue gun to attach the ball to the cinder block.
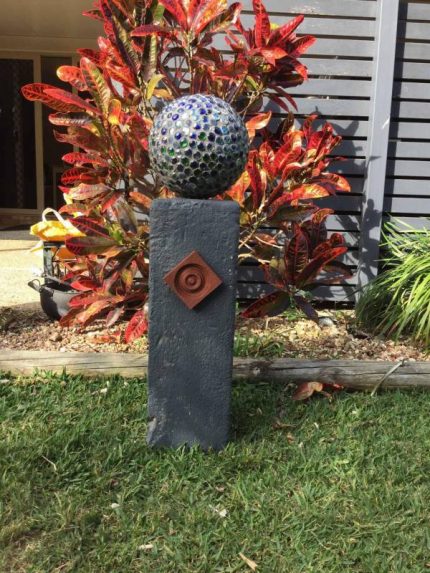

I did several bowling balls using the same glass bead as well as larger ones using E6000 glue and it works really great..I’ve had one in my for at least 5 years without losing anything..The beads have a tendency to slide with the glue, so before moving on you need to wait till it gets tacky..I love using black grout cause it makes all the colors in the beads pop..Happy crafting…