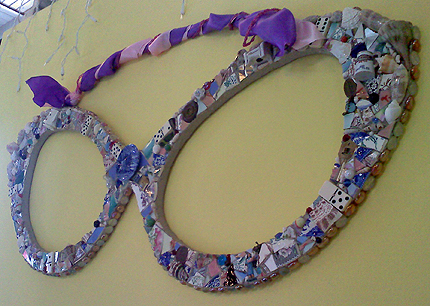
 I don’t have a link for you today. No tutorial to send you to, no blog post or artist gallery. The pictures I’m showing you here are off of my cruddy cell phone. A couple of months ago my oldest son had an appointment, and that meant I had some time to kill. So I called a friend who was familiar with the neighboring town of Elkhorn, Wisconsin. It was cold, snowy and slushy, and the town wasn’t really hopping the way it might have been in the summer months. So I asked my friend if there were any thrift stores or consignment shops I could kill some time in. She mentioned a cool store she had always wanted to go in called Uncle Hunk’s Junk. That sounded like my kind of place!
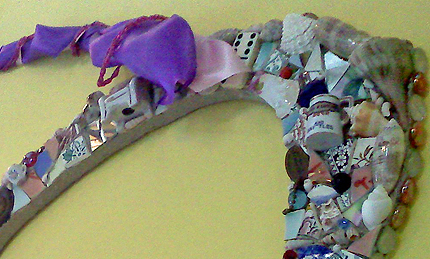
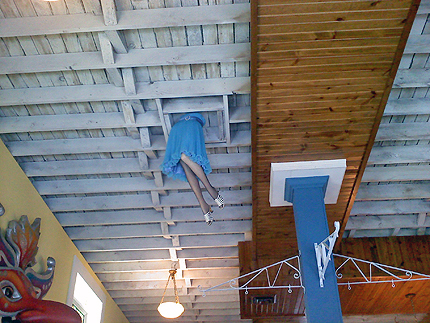 Unfortunately for me Uncle Hunk’s Junk closed some time ago. The building is still there as are some of the decorations and props. It’s now home to the Elkhorn Area Chamber of Commerce. There’s still a mannequin torso and legs suspended from the ceiling and these awesome mosaic sunglasses.
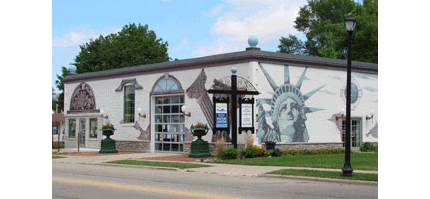 The sunglasses were probably four feet across, I only wish I had my actual camera with me instead of my phone. There’s not much information available about the old store online. There’s a great photo here of the outside of the building from a few years ago. The photo above is from the chamber’s website. See the amazing mural? It’s still there, no one painted over it. How could they? It’s too cool. Be sure to visit that link too, more amazing mural on the other side! The murals were painted by Florida artist, Christopher Burlini.
So if you are ever in Elkhorn, Wisconsin, make sure you stop by the chamber in the old Uncle Hunk’s Junk building. They’ll even give you a card for a local coffee shop good for a free cup of coffee. 🙂 Heck, if you’re even in Elkhorn, look me up, I’ll go with you!
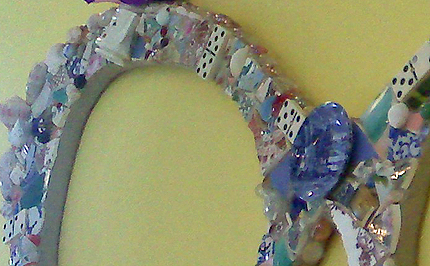
In closing, here’s a couple of cruddy close ups (sorry, cell phone yuk) of the mosaic sunglasses. These were so fun.


I LOVE this photo of the Mosaic Sunglasses! My husband is the Operations Manager of the largest eyeglass recycling centere in the world. We volunteer 60 hours a week to help provide donated eyeglasses to those in need around the world…it’s an awesome experience. This is gorgeous!!!!! Wish I’d thought of it!!
Thanks for sharing this photo.
I only wish I had had my camera with me. If I ever go back I’ll take it with so I can get better pics. Thanks for the comment Arlene!