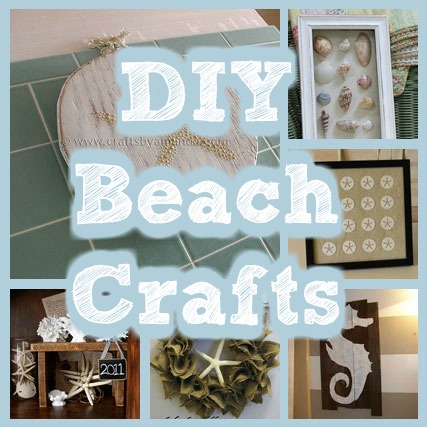
Since I’ve started changing my bathroom over to a beach themed decor, I’ve been keeping my eye out for beach themed projects. I love seahorses, sand dollars, seashells and starfish, but really anything beach themed is super cool to me. I love the cool blues and greens paired with the light sand colors. Mmm! Here are 6 beach crafts that you may enjoy.
Looking for more crafts using collected keepsake seashells or maybe just store bought ones. 
Check these out Seashell Frame and Seashell Windchime from our sister site Craftbits
1. Starfish Plaque
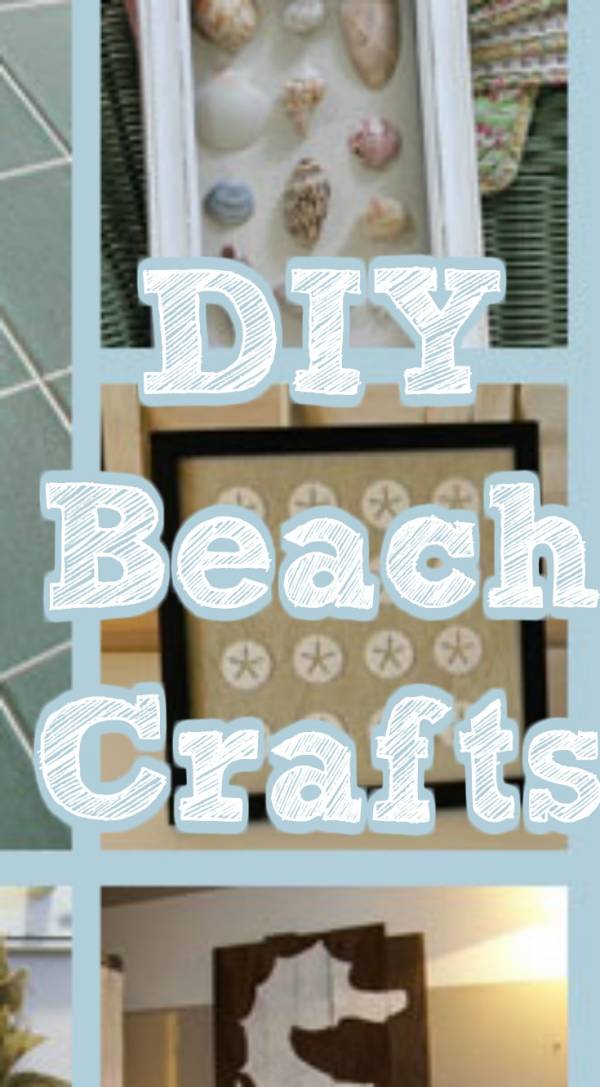
2. Seashell Shadowbox
3. Framed Sand Dollar Art
4. Faux Coral
5. Burlap and Starfish Wreath
6. Seahorse Plank
Making beads out of sand with children is an easy, although a somewhat messy, project to do.
Ingredients:
Clean sand
White glue
Nail
Plastic container for mixing
Tray for drying
Directions:
1. In a plastic container, mix one cup of clean sand with 1/4 cup of white glue. Kids really like getting their hands in there and mixing it up.
2. Check the texture of the mixture. You want it to be stiff enough to hold a shape without collapsing. If it is not stiff enough add more sand until it reaches the texture you want.
3. Pinch off a piece of the mixture to roll into the size bead that you want. Beads can be made into any shape or size.
4. Using the nail, poke a hole through the center of the bead. This has to be done before drying. If you try to do it after the bead will break. You can use different sized nails depending on what you will be threading the beads on.
5. Let the beads dry on a tray until hard.
6. Once the beads are dry you can decorate them with markers or paints. It is easier for children to use markers.
7. Now the beads are ready for to be used.
To make sand beads that look a little more professional there is a recipe which involves cooking the mixture. This recipe gives you beads that are stronger and more polished looking. This mixture can also be used to make small figurines. I remember using this in school to make cars and planes to add to a model of an airport the class was making.
Ingredients:
4 cups of sand
2 cups of corn starch
1 tablespoon plus 1 teaspoon of cream of tartar
3 cups of hot water
Large sauce pan
Nail
Tray for drying
Directions:
1. Mix the dry ingredients into a large sauce pan.
2. Stir in the hot water.
3. Cook over medium heat. Stir constantly until all the water is absorbed and the mixture is too stiff to be stirred anymore.
4. Allow the mixture to be cooled until it is at a temperature where it can be handled without burning your hands.
5. Pinch off a piece of the mixture to roll into the size bead that you want. Beads can be made into any shape or size.
6. Using the nail, poke a hole through the center of the bead. This has to be done before drying. If you try to do it after the bead will break. You can use different sized nails depending on what you will be threading the beads on.
7. Let the beads dry on a tray until hard.
8. Once the beads are dry you can decorate them. A good acrylic paint and let dry.
9. If you have painted the beads then you should seal them with a clear sealer. I like the spray on ones the best.
If you should have any of the mixture remaining you can store it in an airtight container for future use.
Making your own beads can be a fun family activity; especially if you use sand that you have collected while on vacation. Many beaches have different colored sand which can make unique sand beads. Making a necklace or bracelet out of beads you have made from sand you collected is a nice way to remember family outings. Just be sure that before you collect the sand that there is not a law prohibiting the removal of sand from that beach.
Happy beading!


Thank you for including my sand dollar wall art in your beach crafts.
I love a subtle beach theme too. These are all beautiful ideas! I’m honored to have my burlap/starfish wreath included. 🙂
Thanks for featuring my seahorse!!
I would so love to do the seahorse project, but I cannot draw to save my life. Is there any to get a copy of it?
Hi there, your best bet is to click the link to go to the project and leave your comment for the designer there 🙂