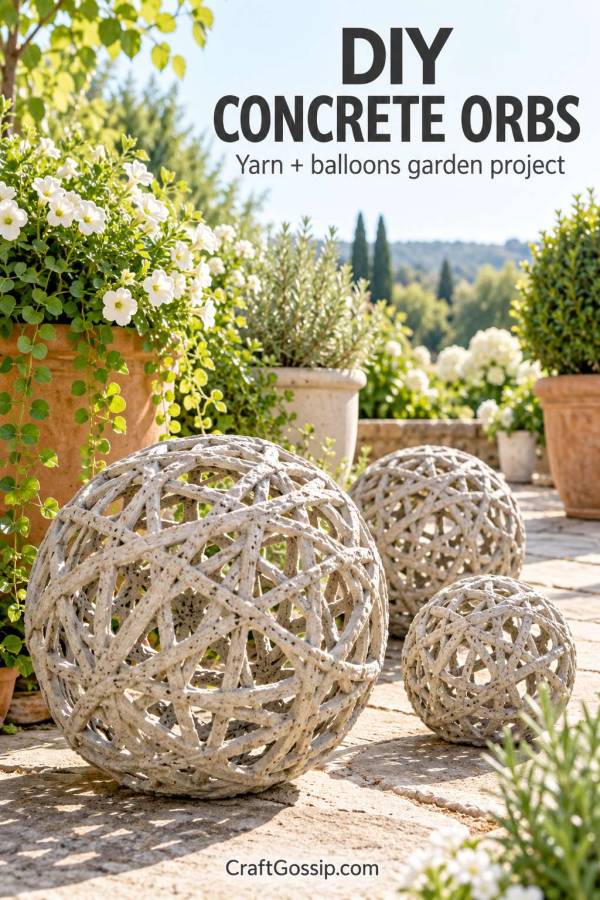
Garden decorations can be surprisingly expensive for something that sits outside collecting leaves and weather. These DIY concrete orbs have the look of a little garden sculpture, but their open yarn design keeps them light and interesting. Tuck one among your pots, group three in different sizes, or add lights for an evening display.
Barb’s beautiful concrete garden orbs inspired this post. I love the idea of using an inflatable ball as a temporary form. You can play with the size and spacing of the yarn, then deflate the ball to reveal a hollow sphere.
Supplies for DIY concrete yarn orbs
- Portland cement
- Water
- Thick, absorbent yarn
- Balloons or inflatable beach balls
- A bucket and mixing tool
- Gloves, eye protection, and a mask suitable for cement dust
- Scissors
- Bowls to hold the balls steady while the yarn hardens
Choose a yarn with some texture. Very smooth string may not hold enough cement to make a sturdy orb. You’ll also want a workspace you can protect from splashes, because this is one of those projects that looks wonderfully tidy in a finished photo and rather less tidy halfway through.
How to make concrete orbs with yarn and balloons
1. Prepare the ball
Inflate a balloon for a small orb or a beach ball for a larger garden sphere. Rest it in a bowl so it stays in place while you work. Prepare all your forms before mixing the cement.
2. Mix the cement
Follow the handling directions on your Portland cement. Add water gradually to make a fluid mixture that will soak into the yarn without running straight off it. Wear gloves while handling wet cement, and avoid breathing the dry powder.
3. Coat the yarn
Cut a generous length of yarn and work it through the mixture until the fibres are coated. Keep hold of one end. Fishing for a lost yarn end in a bucket of grey cement is exactly as much fun as it sounds.
4. Wrap the orb
Wind the coated yarn around the ball, changing direction as you go. Leave gaps between the strands so the finished orb has an open, airy pattern. Cross the yarn over itself often enough to help the shape hold together. For a first attempt, a smaller balloon is easier to manage than a large beach ball.
5. Let it harden
Place the wrapped ball back in its bowl and leave it undisturbed until the cement is firm. Allow at least 24 hours, and follow the product directions if it needs longer. When the orb is solid, deflate the balloon or beach ball and gently remove it through one of the openings. Let the sphere continue curing before putting it outside.
If an area looks thin, you can add more cement-coated yarn and give it another full period to harden. These are decorative garden pieces, so place them where nobody will step or sit on them.
Ways to display your concrete garden orbs
A single large orb makes a lovely focal point beside a planter. Smaller ones look good nestled among low plants or gathered in a wide pot. You could also place outdoor-rated battery lights inside an orb so the open pattern shows up after dark. Keep the battery compartment accessible and use the lights according to their outdoor rating.
I’d make a few different sizes if I already had the bucket out. Once you have survived the first round of cement cleanup, you may as well have a little collection to show for it.
For another project to try with the leftover supplies, see our concrete planter ideas for the home and garden. CraftBits also has a cement plant pot project if you’d like to make something for a small plant.
The beauty of these DIY concrete orbs is their slightly irregular finish. The crossings, spaces, and handmade texture are what make each one worth looking at, so don’t worry about winding a perfectly even sphere. Make one, set it in the garden, and see how quickly you start planning where the next one could go.